Home at Last!

We’re both really delighted and relieved having finally moved into our home towards the end of October. It has been a huge task to complete our house, and now we finally have a home. What we have built is better than we had hoped we could achieve. There were so many things we didn’t know how to do and working together has been one of the best parts of this whole experience. We’ve been woodworkers, designers, ground workers, carpenters, plasterers, labourers, roofers, tilers, painters, cabinet makers, and a host of other things. The experience of living in the house you’ve built yourself is ineffable, we are so deeply embedded in everything. We’re so glad to be finally in.

This year, for a variety of reasons, we were not able to work on our house for several months. Even when we were able to work on it, we experienced lots of delays, especially when engaging other trades, and waiting for materials. It seems that the post pandemic demand for trades people has not diminished. Despite all this we did get everything completed that would allow us to move in.

Many of the jobs we needed to complete this year were mainly finishing touches (e.g. kitchen cabinets) and snagging, which may sound easy, but these jobs involved countless choices and decision about colours, materials and methods. Finishes are visible and time-consuming to get as good as possible. We have improved our skills over the years building our house but most of the jobs to be completed were ones we’ve never done before.

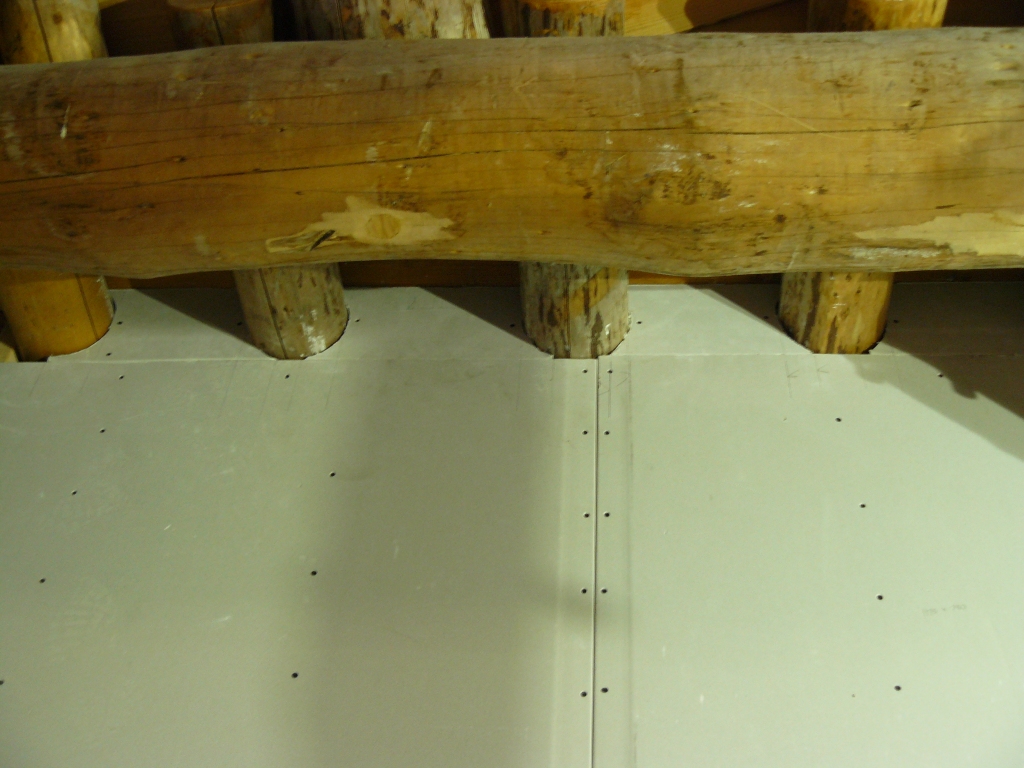
Soffit

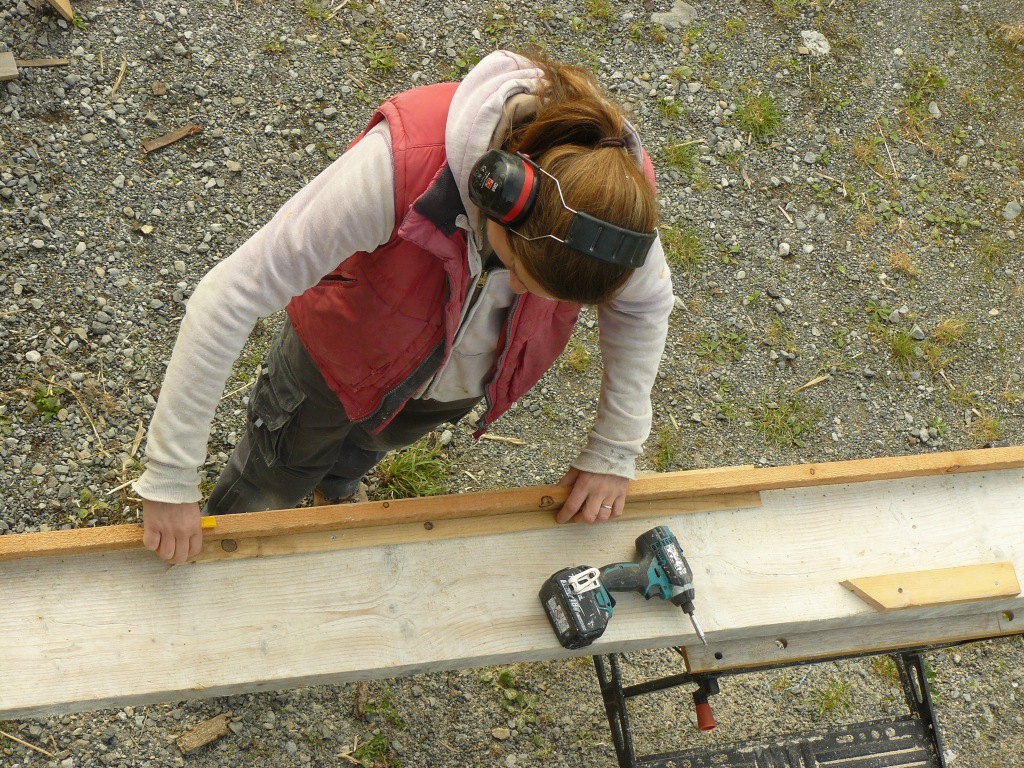
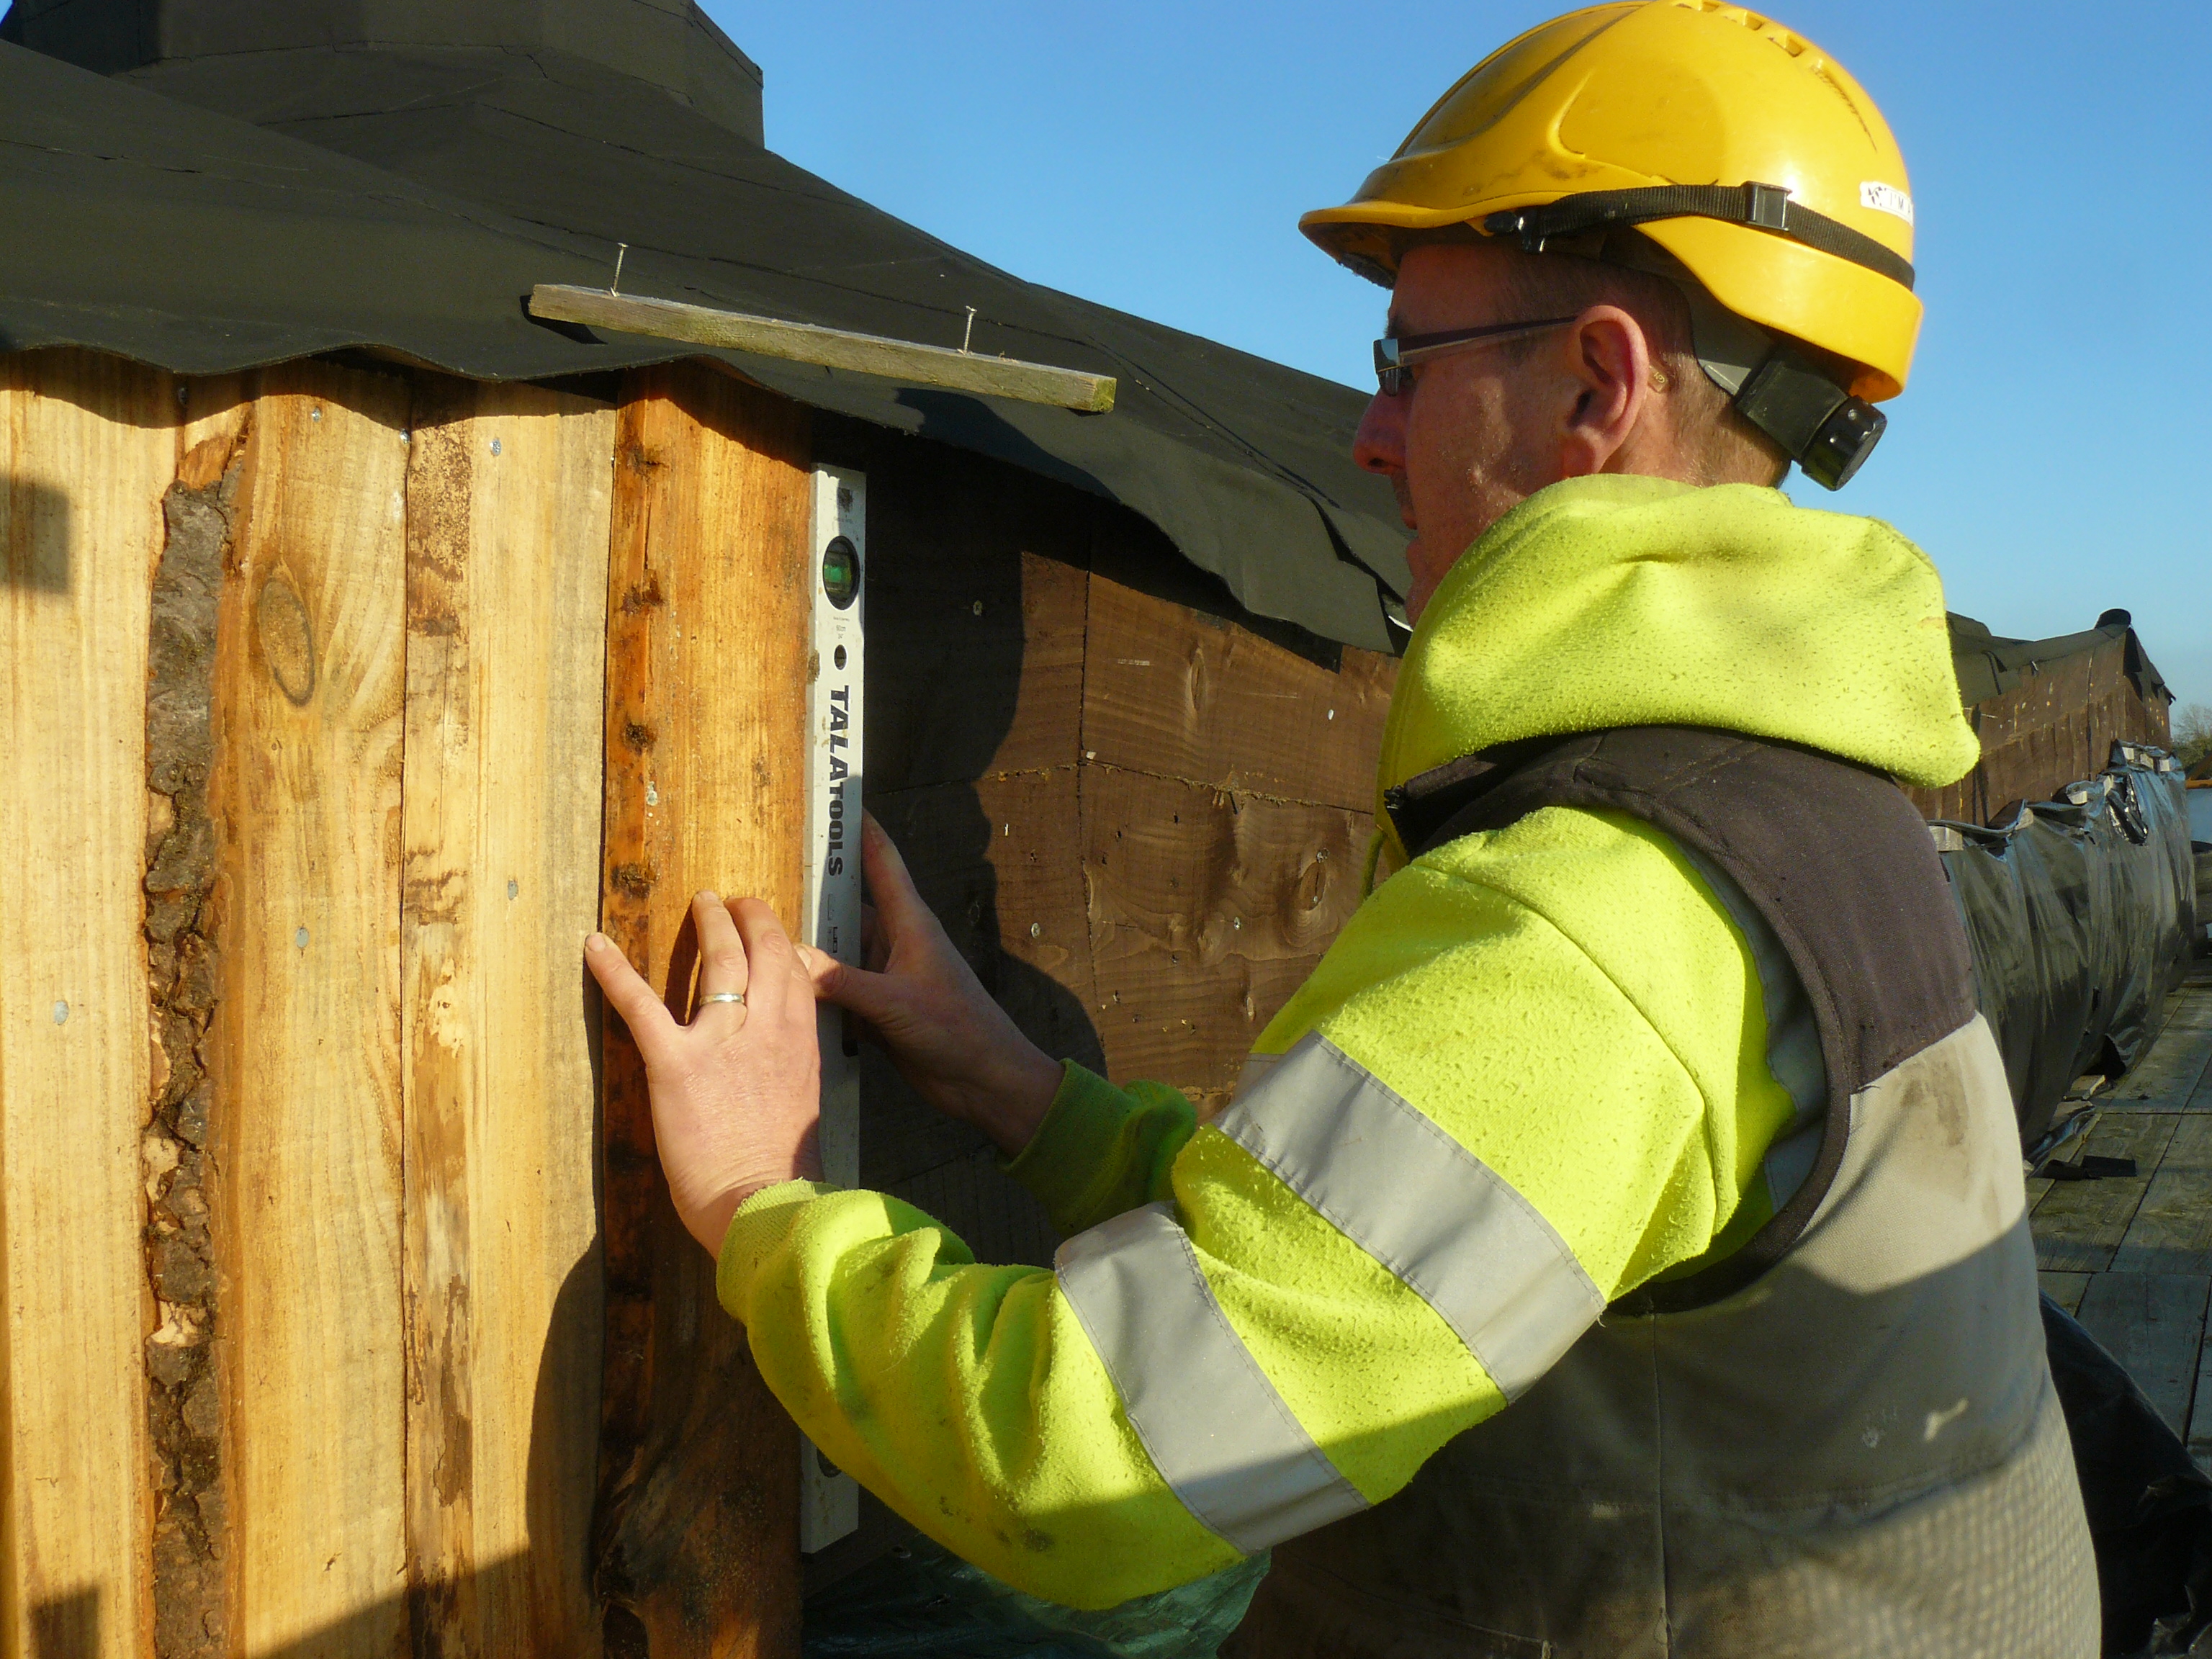
The soffit is the underside of the roof eave or overhang. It needs to be sealed off for practical and cosmetic reasons. We used lengths of 15mm (half-inch) rough-cut spruce for this. As our outer wall was slightly irregular, we used a laser level to find the exact middle of the soffit. We then screwed two lengths side-by-side and made cuts, if necessary, to the outer and inner lengths (see photo below left). We added battens, attached to the overhanging roof rafters to hold the soffit timbers in place and to keep them level.
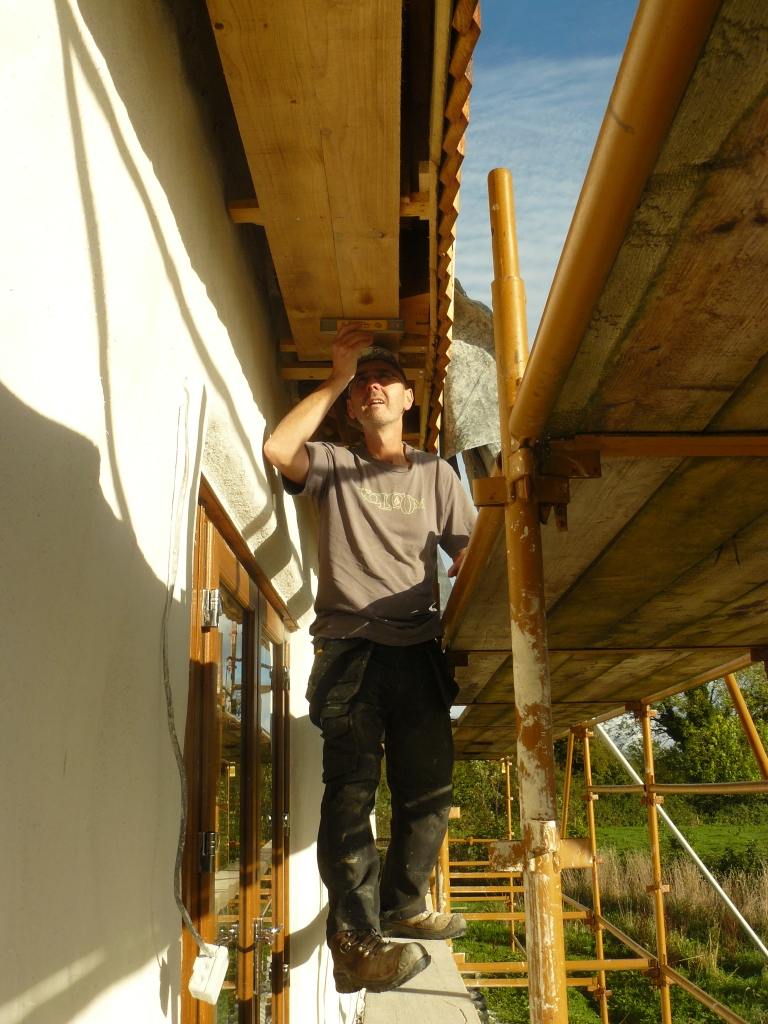
Cutting and measuring soffit timbers
Checking soffit for level
Checking the soffit for level

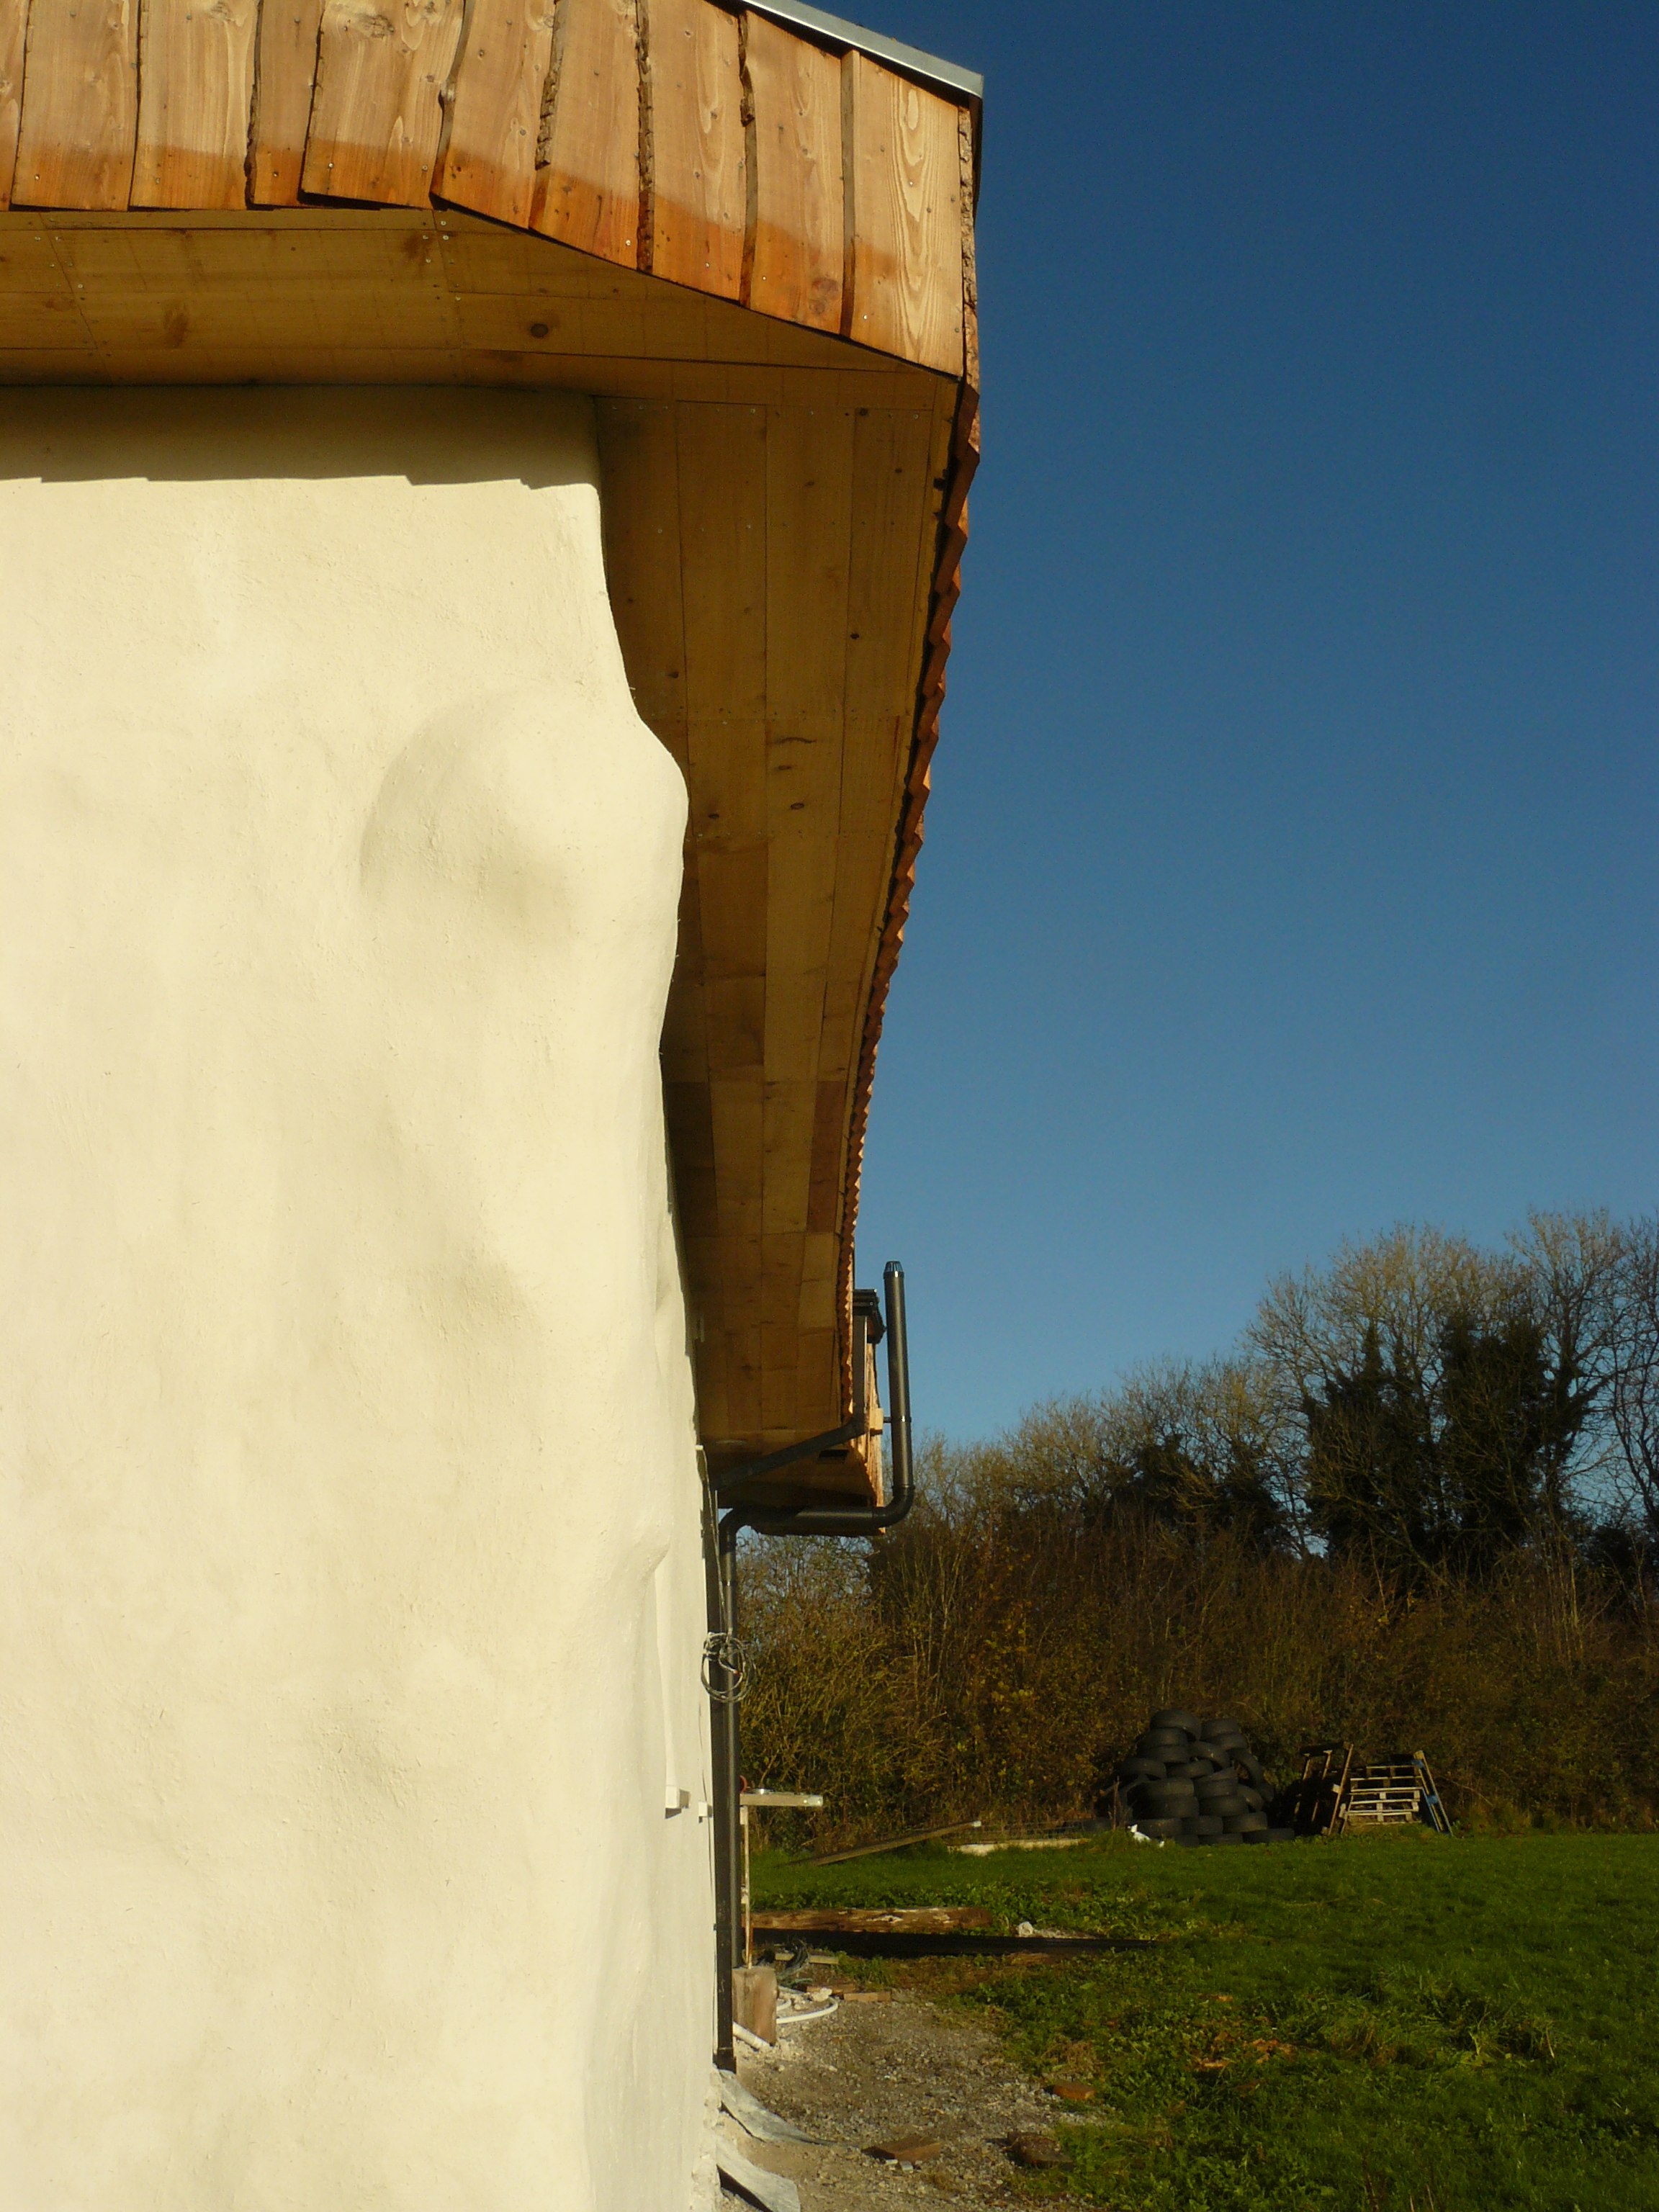
Due to the different angles of the reciprocal roof rafters, the soffit on the south and west side of the house involved a lot of additional preparation. It was one of the last jobs we needed to complete before taking down our scaffolding, and it made a huge difference to the appearance of the building. It was really satisfying to seal of this part of the roof (see photos below from south east corner).

During the Spring one family of swallows and three families of house martens had made use of the overhang to build their nests and raise their young. We look forward to them returning again next year, as their cheery, chatty, birdsong always brings a smile.

Kitchen

For our kitchen we decided to design and build it ourselves. The likely costs of such an off-standard design was likely to be very expensive and we were confident we could achieve a good quality finish, given the skill we’ve developed over the course of our build. I found the Houseful of Handmade site really useful for getting started on this. It has lots of helpful ideas and some designs, which are easy to follow or change to suit your specific situation.

We drew up several different plans for the kitchen before deciding on the final one. When we were confident about our design and layout we used masking tape to ‘mock up’ the layout and tried to envisage movement around and through the kitchen area. We made several modifications before we began.

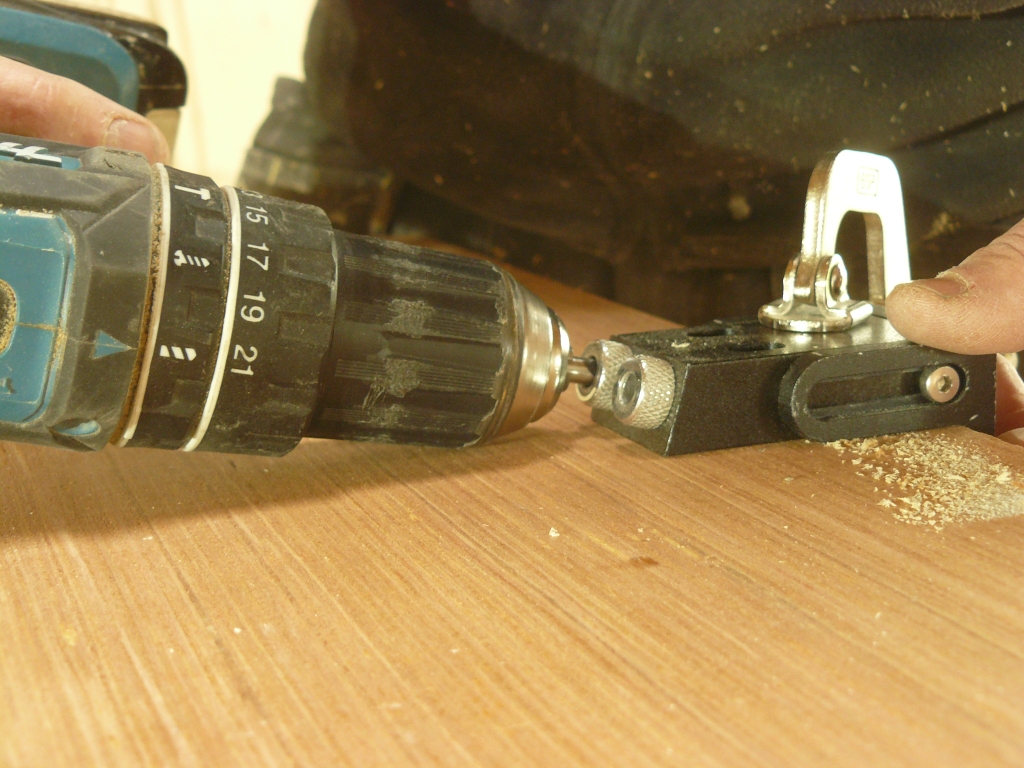
We made the carcasses for the cabinets with marine and birch ply. A really useful tool for this is a pocket hole jig, which allows for screwing pieces together at an angle which improves the joint’s stability. The units sit on lengths of 100mm x 50mm (4″ x 2″) which makes for a really sturdy base for the cabinets.

Drilling holes using a pocket hole jig
Kitchen unit carcasses

We got the cabinet doors made Shaker-style to compliment the other doors in the house. We sprayed them with special kitchen cabinet paint, which is durable and washable (from Castle Paints, a local supplier). This paint has several different constituents (hardener etc), and takes three coats, which combine to form a hard-wearing surface.

Spraying cabinet doors

We had initially thought that we’d have a wooden counter top, however, because of the three posts, cooker and sink in the same area, it would be really difficult, if not impossible, to do this in one piece. The counter top would need to be constituted of several different pieces and need several joins to connect it all together. Not really an ideal configuration for a counter top.

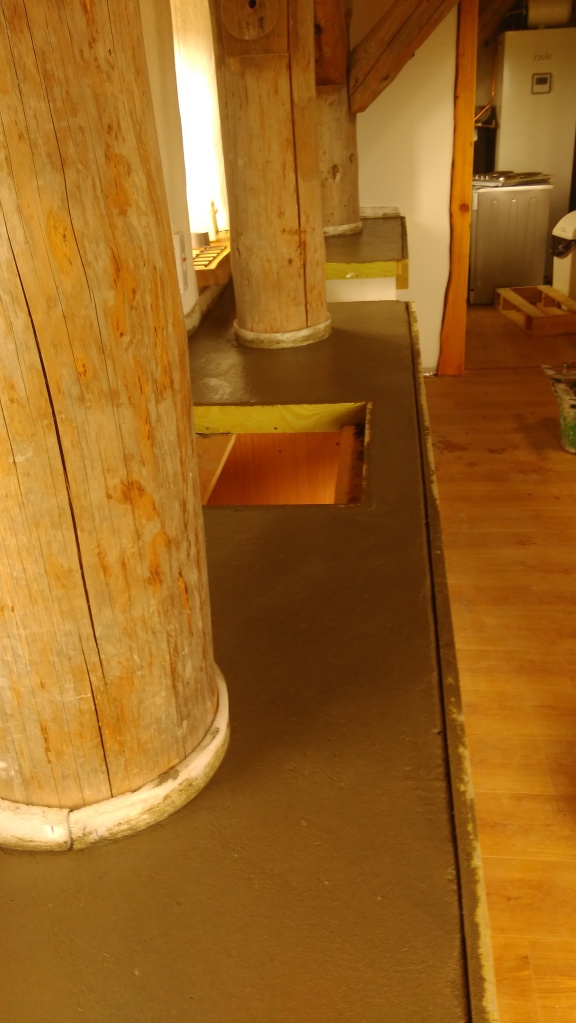
The only solution to this was to make a pourable counter top. Normally concrete counter tops are poured into a form/mould, allowed to dry and then turned upside down, and fixed in place. However, we were not able to do this and the counter top was poured in situ. We used pagged board as the base for the counter top. This board is able to absorb any moisture from the concrete mix, without swelling or deforming. We added some light mesh reinforcing for additional strength -and also added some of the micro fibres – we used in the plaster – into the concrete mix.

I found it useful to fill two mixers at a time to keep the supply of mix steady as it needs to be poured as quickly as possible. The counter top took about 4 mixes (roughly equivalent to 4 wheel barrows), the ratio was 3 parts aggregate, 2 parts sand and 1part cement, the mix was moist rather than wet. We added the first layer of concrete, tamped it, added some light mesh reinforcing, added additional concrete, and tamped and floated it until we were happy with the finish. We used an edging trowel to give a rounded finish to the top of the counter edge, and added a bead of silicone to the bottom of the mould to do the same. We placed an expansion gap around the posts and walls, and then we left it to cure for several weeks before it was wet-polished.

Making the form for the counter top
Freshly poured countertop

After several weeks curing it had changed to a much lighter grey in colour. The curing process has not produced any cracks so we were confident that the counter top was going to work. Polishing it involved using a wet polisher with 8 different diamond sanding disks – staring with 50 grit, which removes any large bits, and continuing up to 3000 grit which is polishing the surface (see below). We sheeted off the kitchen area, as this process can produce lots of dust etc, even when wetted regularly. Finally we added several coats of H-Seal concrete counter top sealer, which is also food safe and washable.

Kitchen Island

Our kitchen is somewhat unusual as there are no wall-hung cupboards. This is mainly due to the presence of three large posts which make it impossible to accommodate any. We made the island to increase our storage, and to provide a centre point for the kitchen area. The lack of wall-hung cabinets actually declutters the walls and makes the kitchen area more spacious.

We used marine and birch ply for the island. We had a length of timber (300mm x 50mm (12″ x 2″) left over from the ones we used for the wooden ring beams which we made at the beginning of the build. They were planed, sanded, and treated to make the island top. I used simple rebate joints to fit the boards together, filling any spaces with wood filler. It was then sanded several times to get a nice, smooth finish, before treating it with counter top oil.
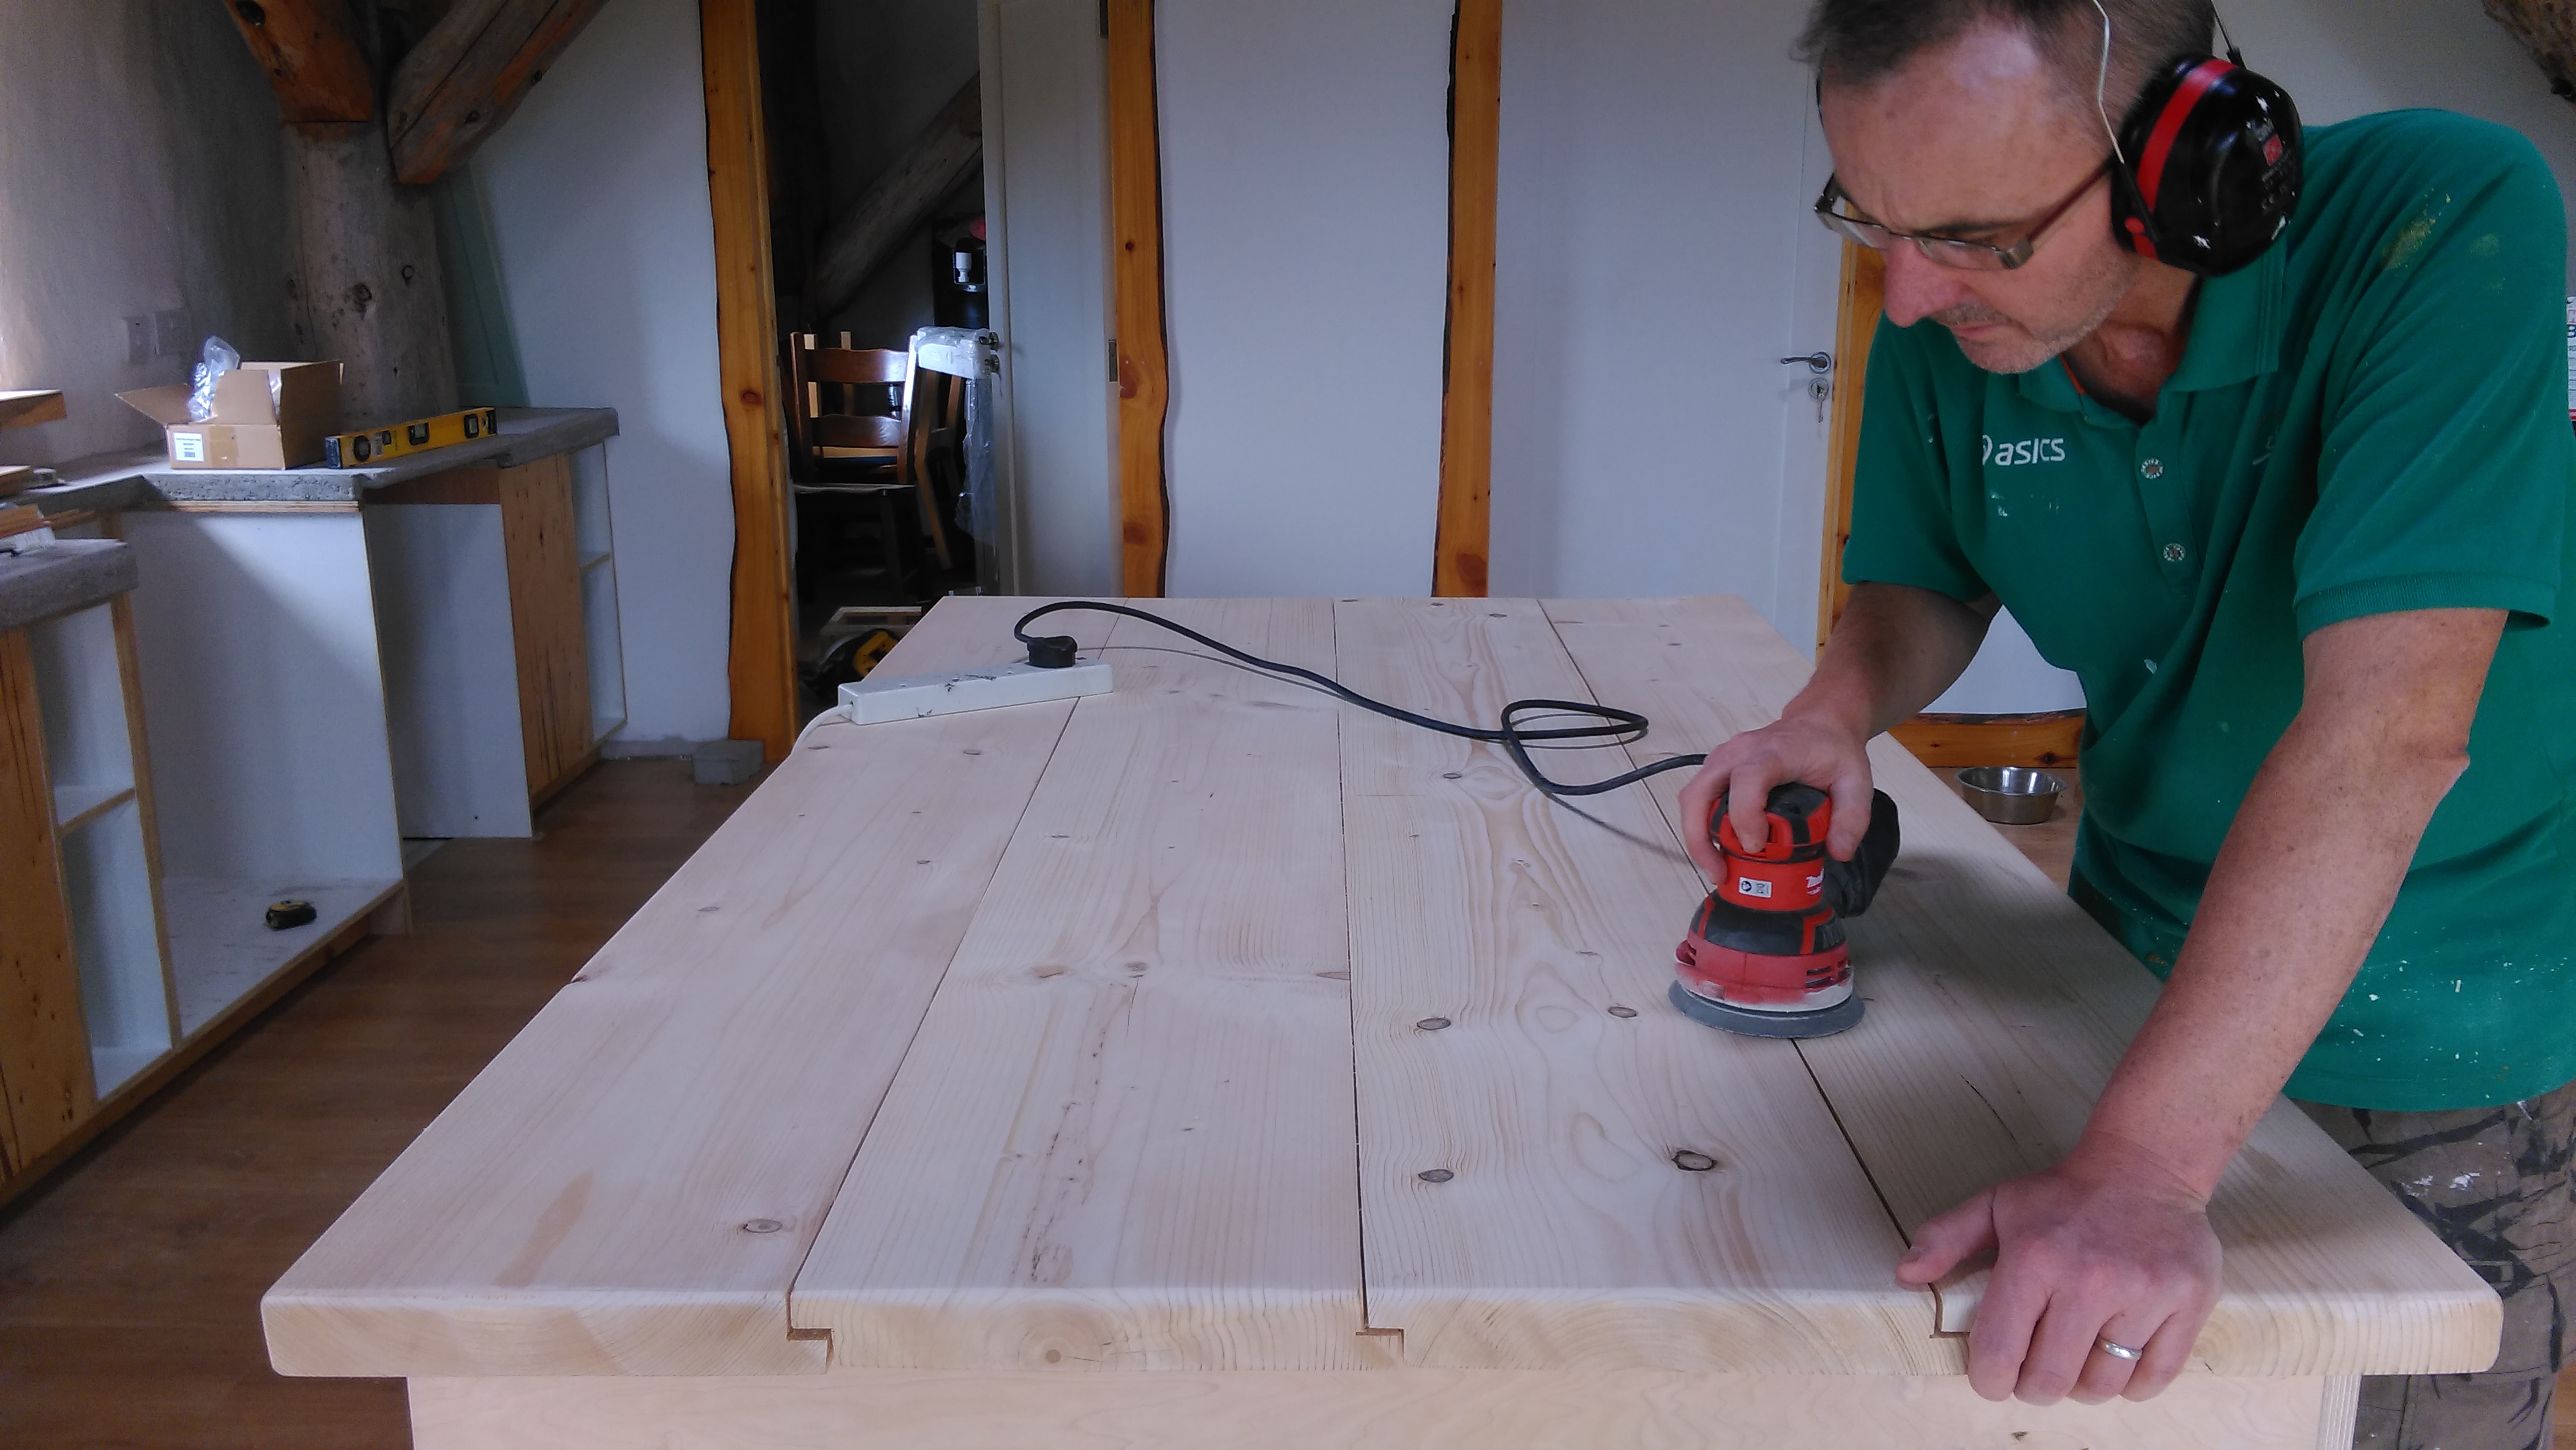
For the drawers I used dovetail joints to ensure that the drawer structure would be very solid, and that the drawer face would would be secured. This is an important detail as the drawer face receives considerable use and if it is not properly jointed, it may become lose. I found John Bullar’s instructional videos really useful for learning this skill.

For additional storage we built some shelving in our utility room, which also houses fridge, freezer, water tank and heating unit.

Window Sills

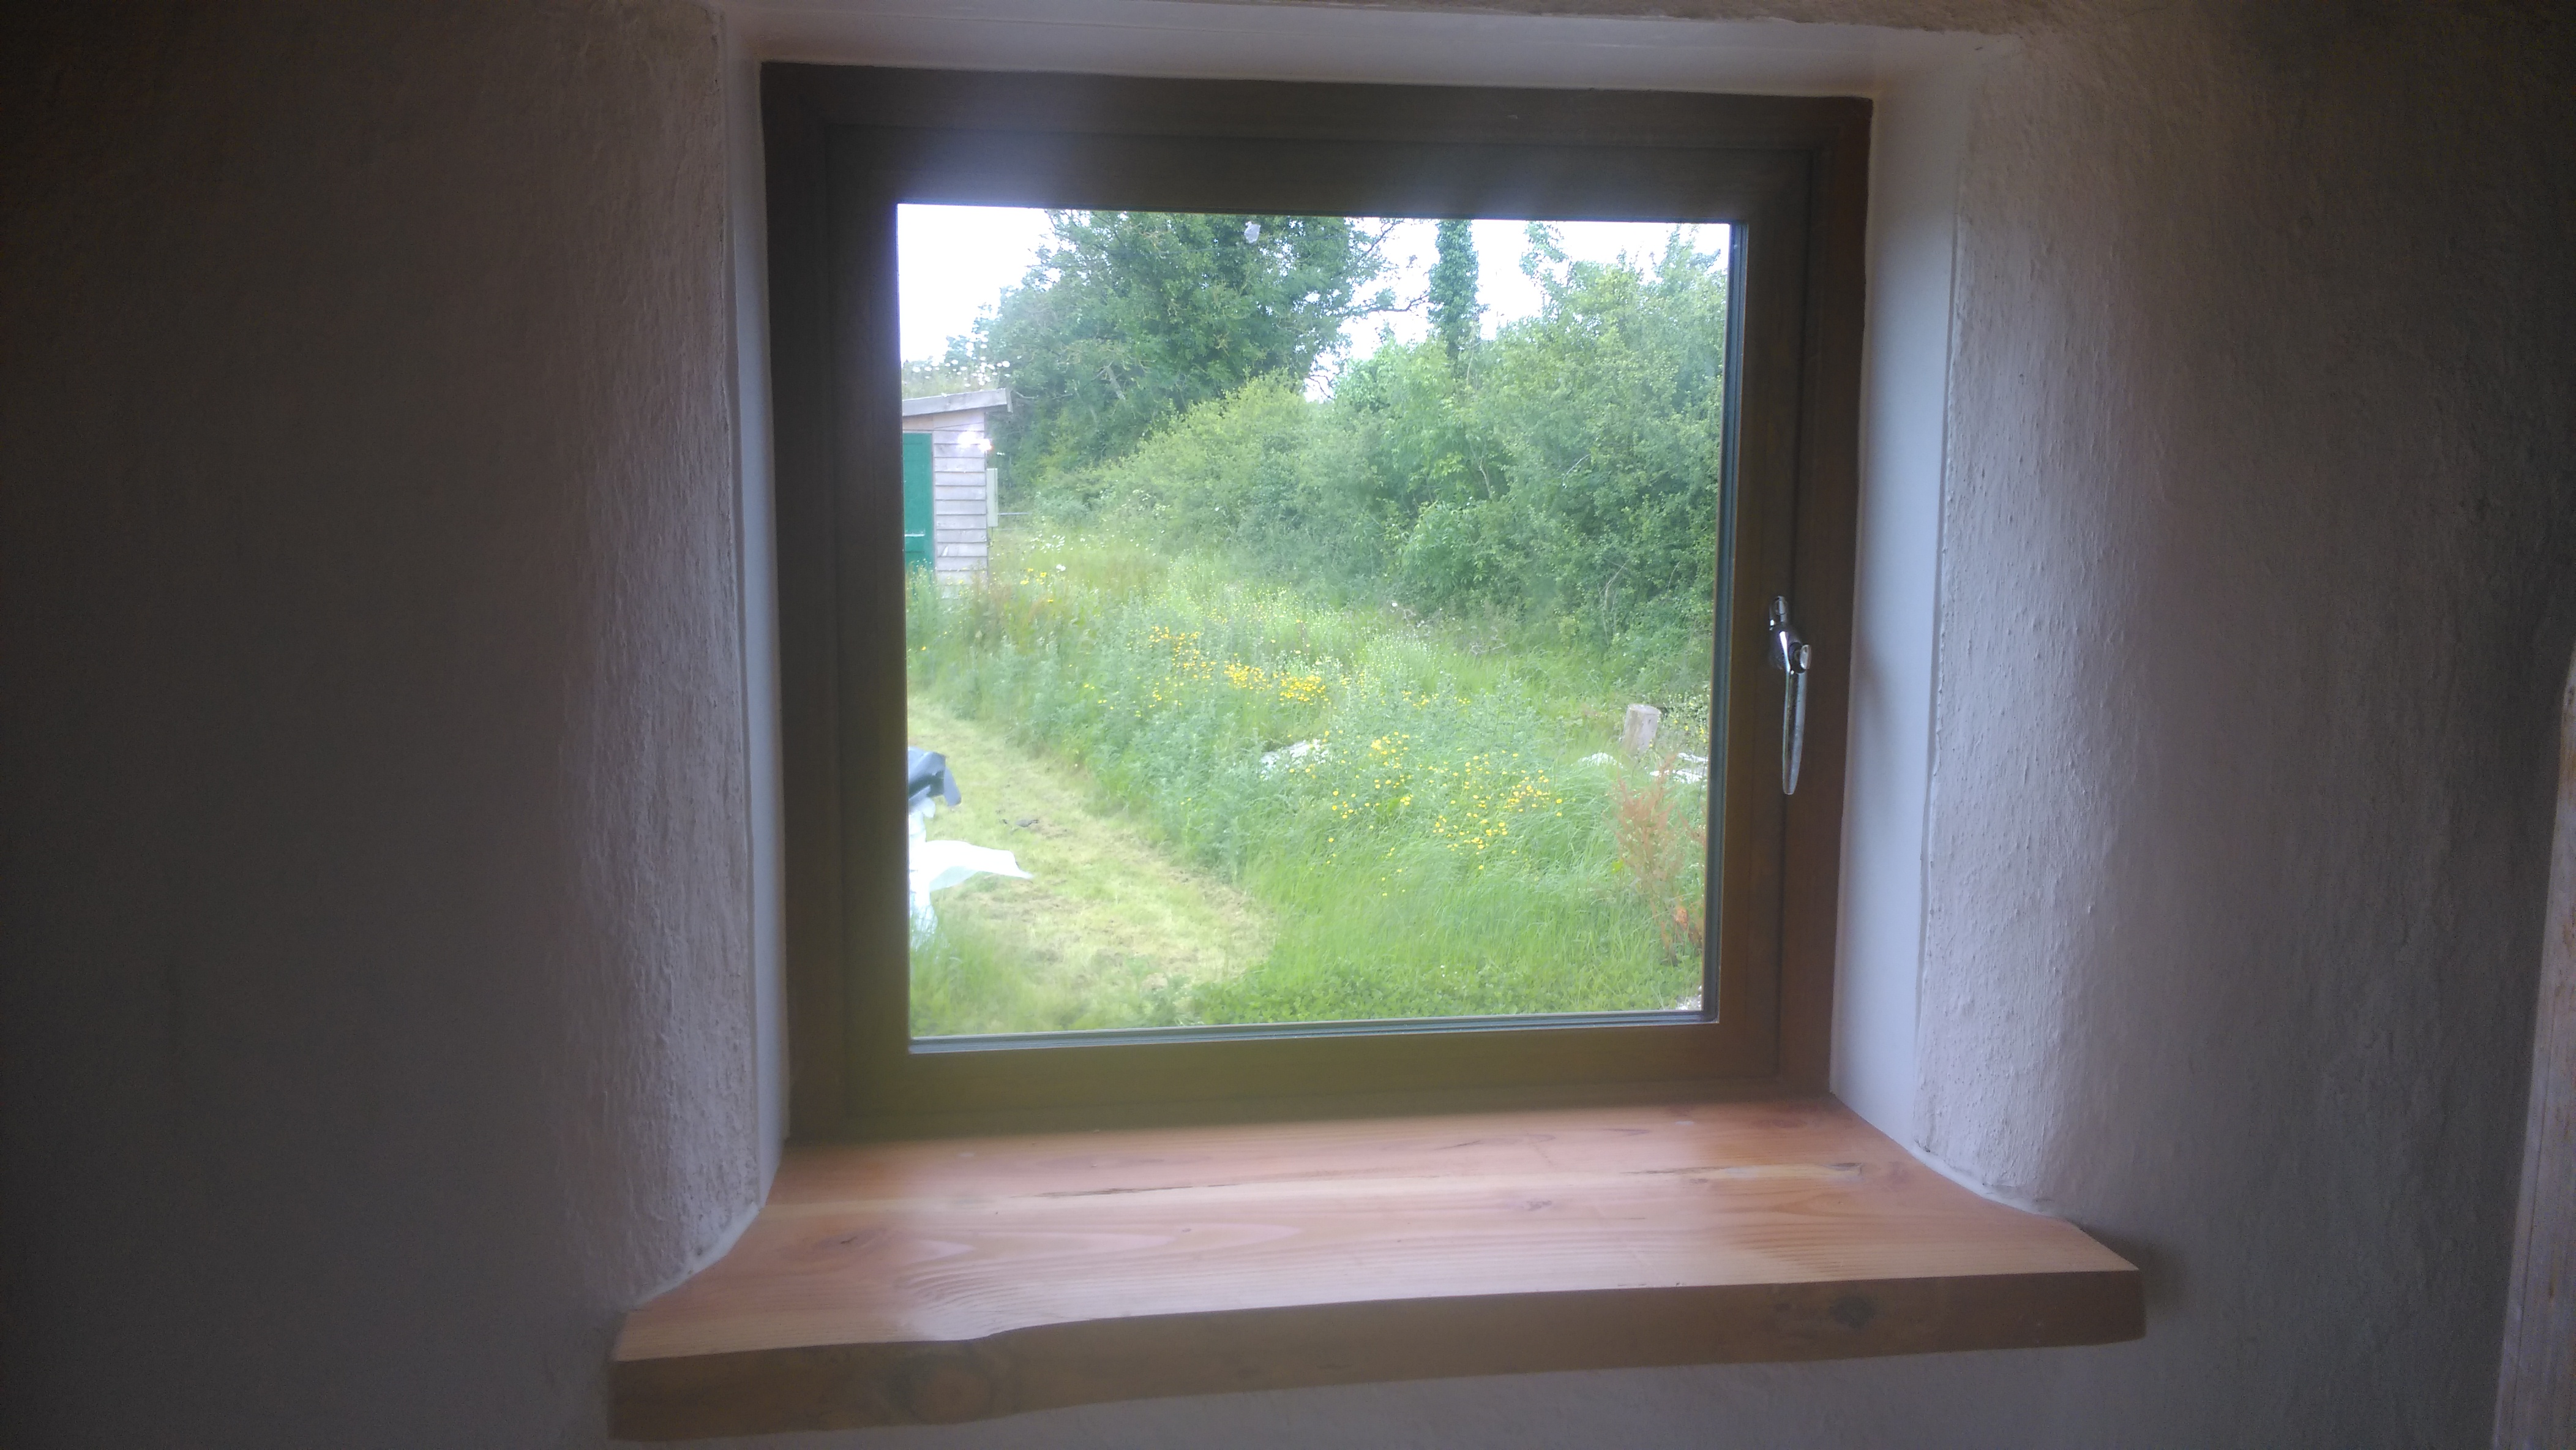
During the earlier construction of our wooden frame we kept several long (1m+) off-cuts from our posts and beams to be used for the internal window sills. These stumps were air-drying for a couple of years and before making them into window sills, they were kiln dried and cut into slabs 50mm (2″) thick. These slabs were then planed and jointed together to make 11 natural-edged window sills about 400mm (16″) wide. We then cut them to fit the window openings, and finally, they were treated with Danish oil and Osmo Top Oil.

The natural edge of the sills really compliments the undulating contours of lime-plastered internal walls. Their ‘chunky’ thickness is also in keeping with the proportions of the house.

Bathroom

We installed a quadrant bath and shower unit to maximise space in this room. A large post and braces is located in the corner of the room, which does take up quite a bit of space and requires fixtures and fitting to be worked around these features. We tried other shapes in this space, however, the quadrant shape offers the greatest use of space.

For the bath, shower and sink we applied tanking to the walls before they were tiled. This provides a waterproof and flexible layer of protection for the walls, and seals to the bathroom fixtures. It’s an extra layer of protection in case there are any cracks in the tile adhesive. Tiling the walls was fairly straightforward. We found it really useful to plan the layout of the tiles beforehand so that we could achieve symmetry in corners etc.

The bath has also a quadrant shape. We made up a wooden apron for it, as the fibreglass apron it came with really didn’t suit our bathroom. We added some plasterboard to the lime-plastered wall so that we could tile it. It was neither possible, nor desirable, to tile onto the lime-plastered wall. We were really happy with the finish we achieved here (see below)

Septic Tank and Percolation Area

This was the last major job we had to do before moving in. In some rural areas there are group water schemes, where you can connect to mini sewerage system, but our site is not located near one, so we had to install our own system which was part of our planning permission. Sometimes, the pipes and and tank are installed at the beginning of a build, but, in our case, we needed the site to store all our large round wood logs, and to be able to move it around the site as needed. We wanted to avoid a lot of traffic over newly-installed pipes.

A septic tank or domestic waste water treatment system, deals with the waste water from inside and outside (roof and gutters) the house. Waste water from inside the house is piped to a large tank where solids collect and are anaerobically broken down. The excess water is slowly percolated back into the ground via an extensive pipe percolation. The water which collects on the roof is piped into separate soakage pits filled with granular material (5-10mm), so that the water can percolate down into the soil. How you do all this is set out in the Building Regulations (Part H).

As there is a certain amount of engineering in this job, we were initially going to get a contractor. However, due to the surge in building activity for most of this year, it was difficult to get one, so we eventually decided to do it ourselves. Our local JCB man – who did the initial ground work on the side – worked with us again on this. His experience and advice was really useful for this job.
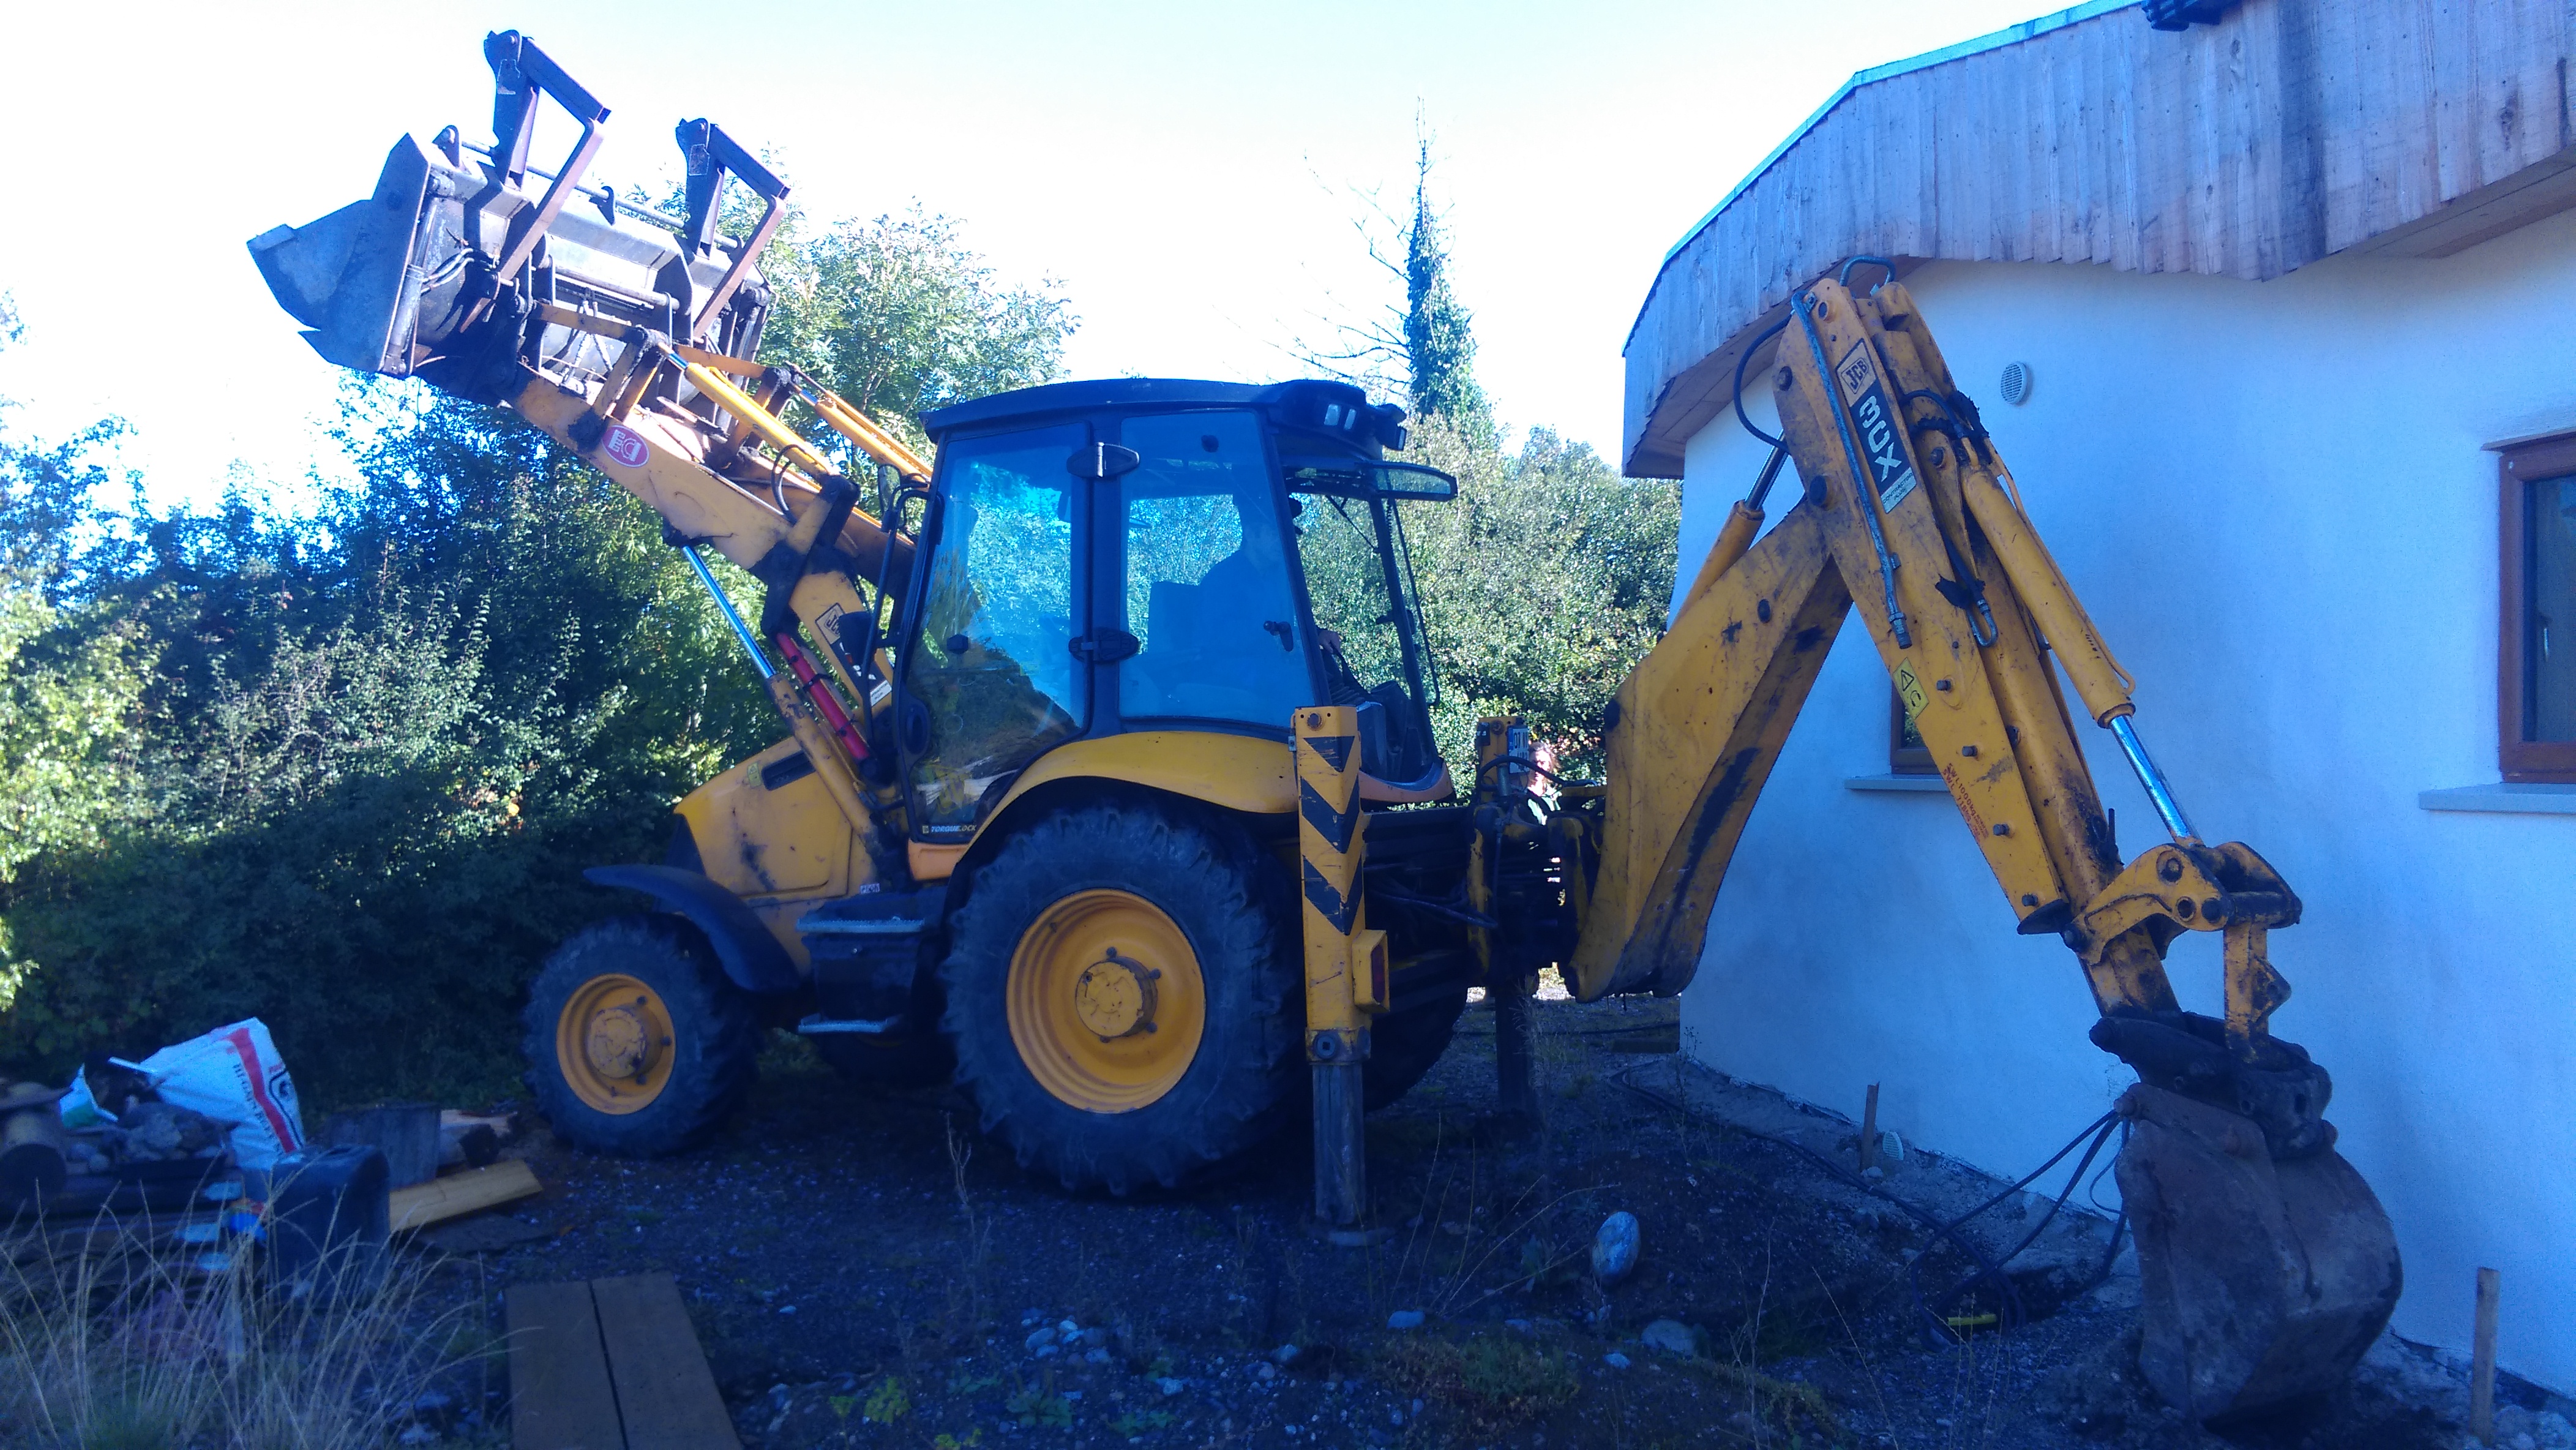
As this system relies on gravity for the waste water to drain away, the pipes need to be laid with a minimum 1 in 60 gradient. We used a water level (see left below) to maintain this gradient throughout. We laid all the piping for the septic tank firstly and then completed the soakage for the water from the roof. In addition to pipes, septic tanks and other fitting, installing this system also required over 40 tonnes of stone for the percolation area and for covering the pipes.

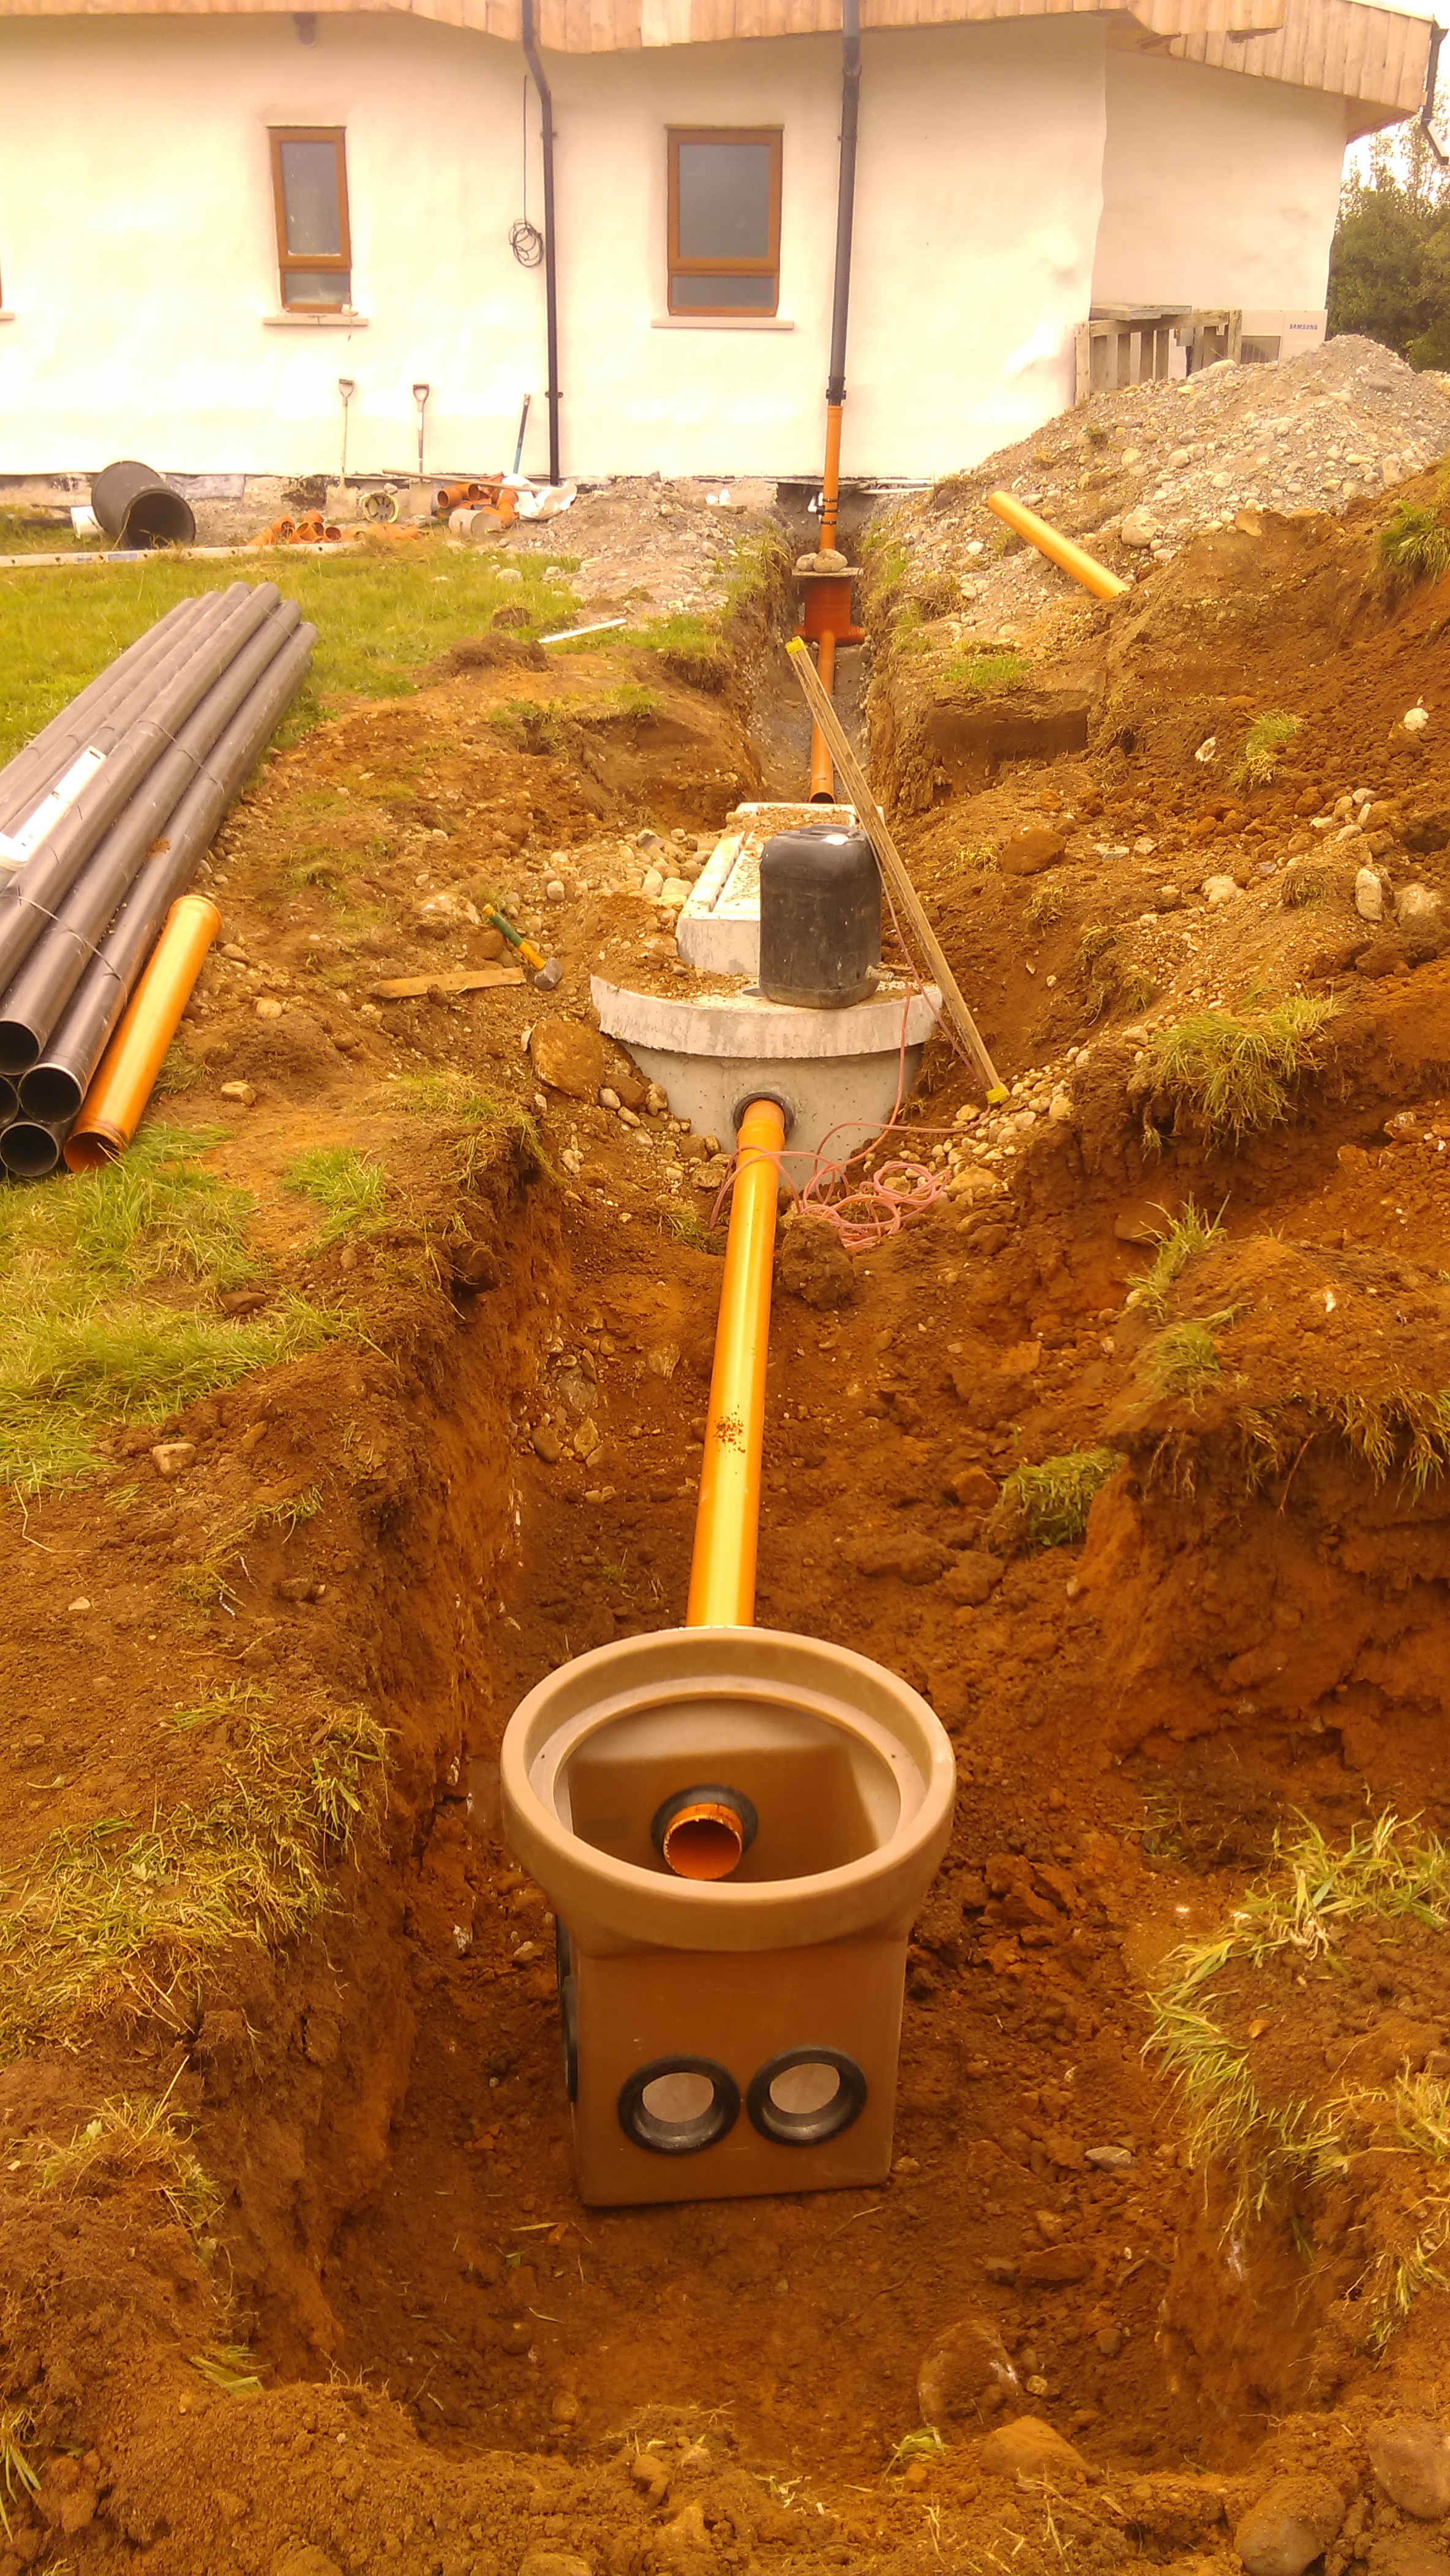
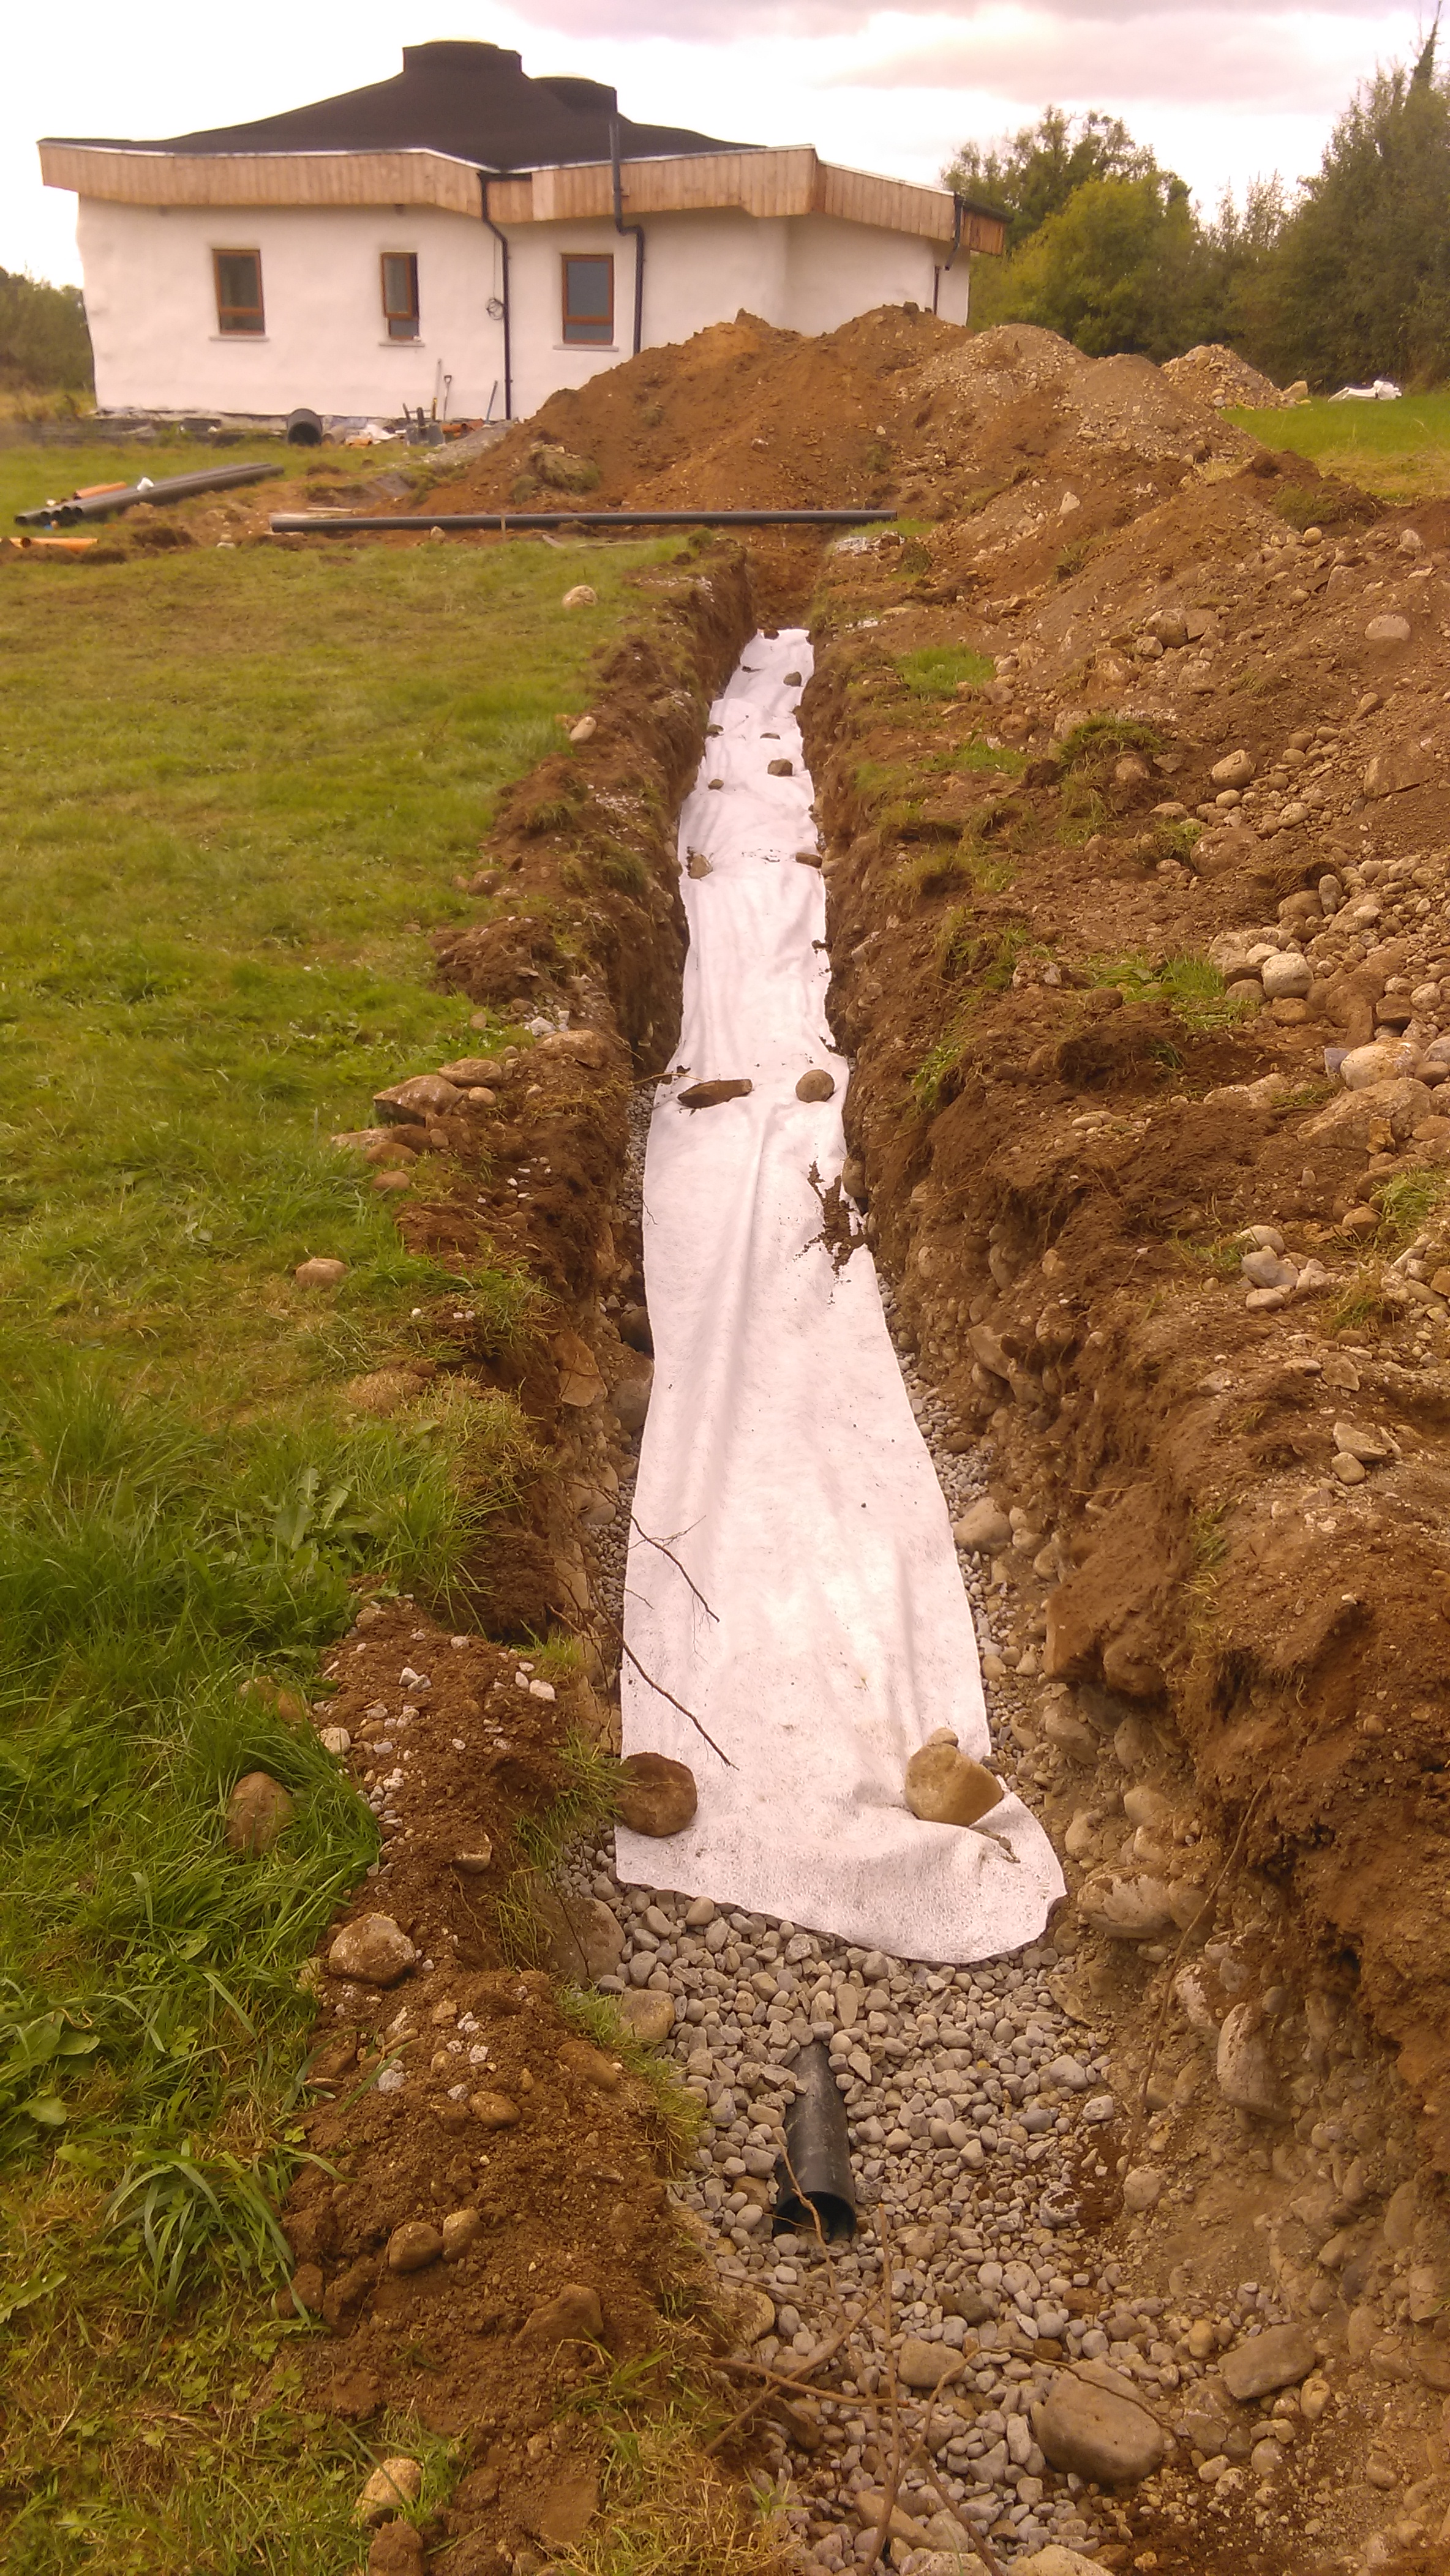
Unfortunately the weather got quite wet towards the end of this job and most of our back garden was quite ground up. The percolation area was approximately 18m x 12.5m and so takes up quite a bit of space on the site. The photo left below shows the distribution box where water from the septic tank flows before entering the six 18m percolation pipes where the water – which has been cleaned by the anaerobic processes in the tank – percolates into the soil. The photo on the right shows one of the trenches, where the percolation pipe is surrounded by granular material and covered by Terram (a weed barrier to prevent roots affecting the pipes). The end of this pipe will be joined to the ends of the other 5 and will be vented to avoid a build up of gases.

The design of the septic tank was based on the percolation test we were required to have before applying for planning permission. A local company, Molloy Precast, supply septic tanks and piping for the percolation system based on the information from the percolation test. Luckily our site is in an area which has very good drainage and no part of the site has ever been subject to flooding.

Thanks to everyone who has taken the time to read this blog.

The next phase of work on our house will mainly be concerned with getting the garden into shape, but that is for Spring time.

For now we’re just enjoying being at home.

Best wishes to all for the New Year.

Winter morning sunrise view

Lime Plastering (internal and top coat)

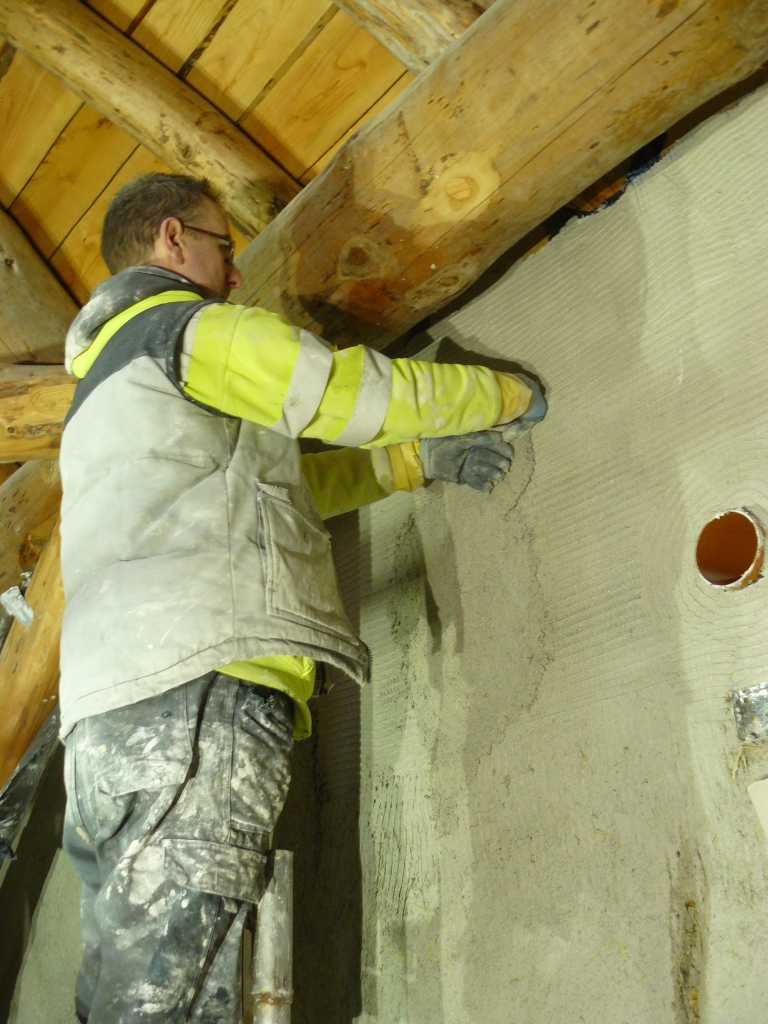
Internal lime plastering

Having spent several months of summer 2020 plastering the outside of our house, I began the inside around the end of September. Maria – when she recovered from her ankle injury – focussed on completing the internal studwork, soundproofing and insulating our internal walls.

For our internal lime plastering we decided to apply two coats only, as we wanted the plaster to broadly follow the contours of the straw bales. This decision was informed by aesthetics and also by economics. Even though we had straightened the bales and given them a ‘hair-cut’, they were not uniform, although plumb. To impose a uniform finish would use a considerable amount of plaster, which would also not reflect the natural ‘feel’ of the straw walls. We decided to apply two coats as the third or ‘straightening’ coat seemed to be unnecessary, given our decision on aesthetics.

Internal walls with second coat of lime plaster

I used NHL 2.0 with the same 5mm down aggregate used on the outside. Internal lime plastering in the Autumn/Winter months has advantages as the plaster takes much longer to dry, giving you more time to sort out any issues before it sets, and possibly cracks. As the windows and doors were installed, we didn’t have to worry about local weather conditions. One of the disadvantages about the slow drying time is that there was a lot of moisture from the drying plaster, and it caused rust to form on some of the screws we used to fix the plasterboard. We treated all the screws with a primer so that the rust would not affect any subsequent paint.

Internal Lime Plastering

Window detail

Our window reveals (internal and external) are rounded rather than the usual right-angle. There are several reasons for this; a) rounded reveals allow in more light than square ones, b) the straw bales which are notched around the window posts (2 lengths of timber (4″ x 2″) in the centre of the wall which holds the windows) are irregular, and, c) rounded reveals compliment an irregular wall surface and enhance the natural look.

Internal reveal with mesh

The reveals were built up in several passes and utilised a fibreglass mesh for structure, strength and support (see photo below). I shaped the reveals with my hands, using the back to smooth out the shape. It’s good practice to add mesh at 45 degree angles to each corner of window and door openings as this is where plaster is more likely to crack. Depending on the size of the crack, they were fixed either by an application of limewash (for hairline cracks) mixture or were opened up and filled with additional plaster.

Completed window reveal

External lime plastering: Top Coat

Due to the rather cool overnight temperatures in May, we decided to postpone plastering the top coat until later in the Summer, and, eventually began plastering in mid-July. There was a lot of preparation before the final coat could be applied. Maria worked on sealing all the windows and doors with airtightness tape, and shaping the XPS render board to provide a curved substrate at window reveals, as well as making drip-moulding for the top of the window to ensure rainfall is directed away from the wall. The moulding was made from Douglas Fir heartwood which we got from the local timber yard. The reveals were then built up in several passes and reinforced with fibreglass mesh before the top coat was applied. The blue XPS render board will help protect the wood window frame from any moisture ingress.

Window preparation

Applying the top coat of plaster is a really enjoyable job. The really heavy slog of applying the first two coats is replaced by a far more subtle and creative one. The top coat layer is between 3 and 5mm, and is applied with a hawk and trowel. The mix ratio for this coat is 2.5 buckets of aggregate to 1 of lime, with some fibres added to strengthen the plaster. As with all lime plaster careful wetting before and after the job is important.

As the substrate is not uniform like a block wall, it was not possible to load the trowel fully and apply. It needs to be applied in smaller quantities particularly if you want to accentuate the walls’ natural shape. This inevitably caused the job to be more time-consuming, however, the results make this additional detailing worthwhile. It’s great covering up, what is quite a rough uneven surface, with a thin layer of top coat, and, giving the walls their final shape.

Applying the top coat

Overall this job took about a month to finish. We kept a tarpaulin protection up for about three weeks after the plastering was finished, so that the top coat would not dry out too quickly. I then applied five coats of limewash to the walls. Limewash is fairly quick to apply as its texture is similar to milk. The fifth coat had some linseed oil added to form a soapy coating to increase rain run-off.

Limewash has a dual refractive index which means that it can appear really bright under blue skies with lots of sunshine. When it is cloudier the house appears to be more off-white in colour. The house truly reflects the brightness of the day. The walls have a lot of character and texture. It’s noticeable that people generally want to feel the walls when they see it.

Other jobs

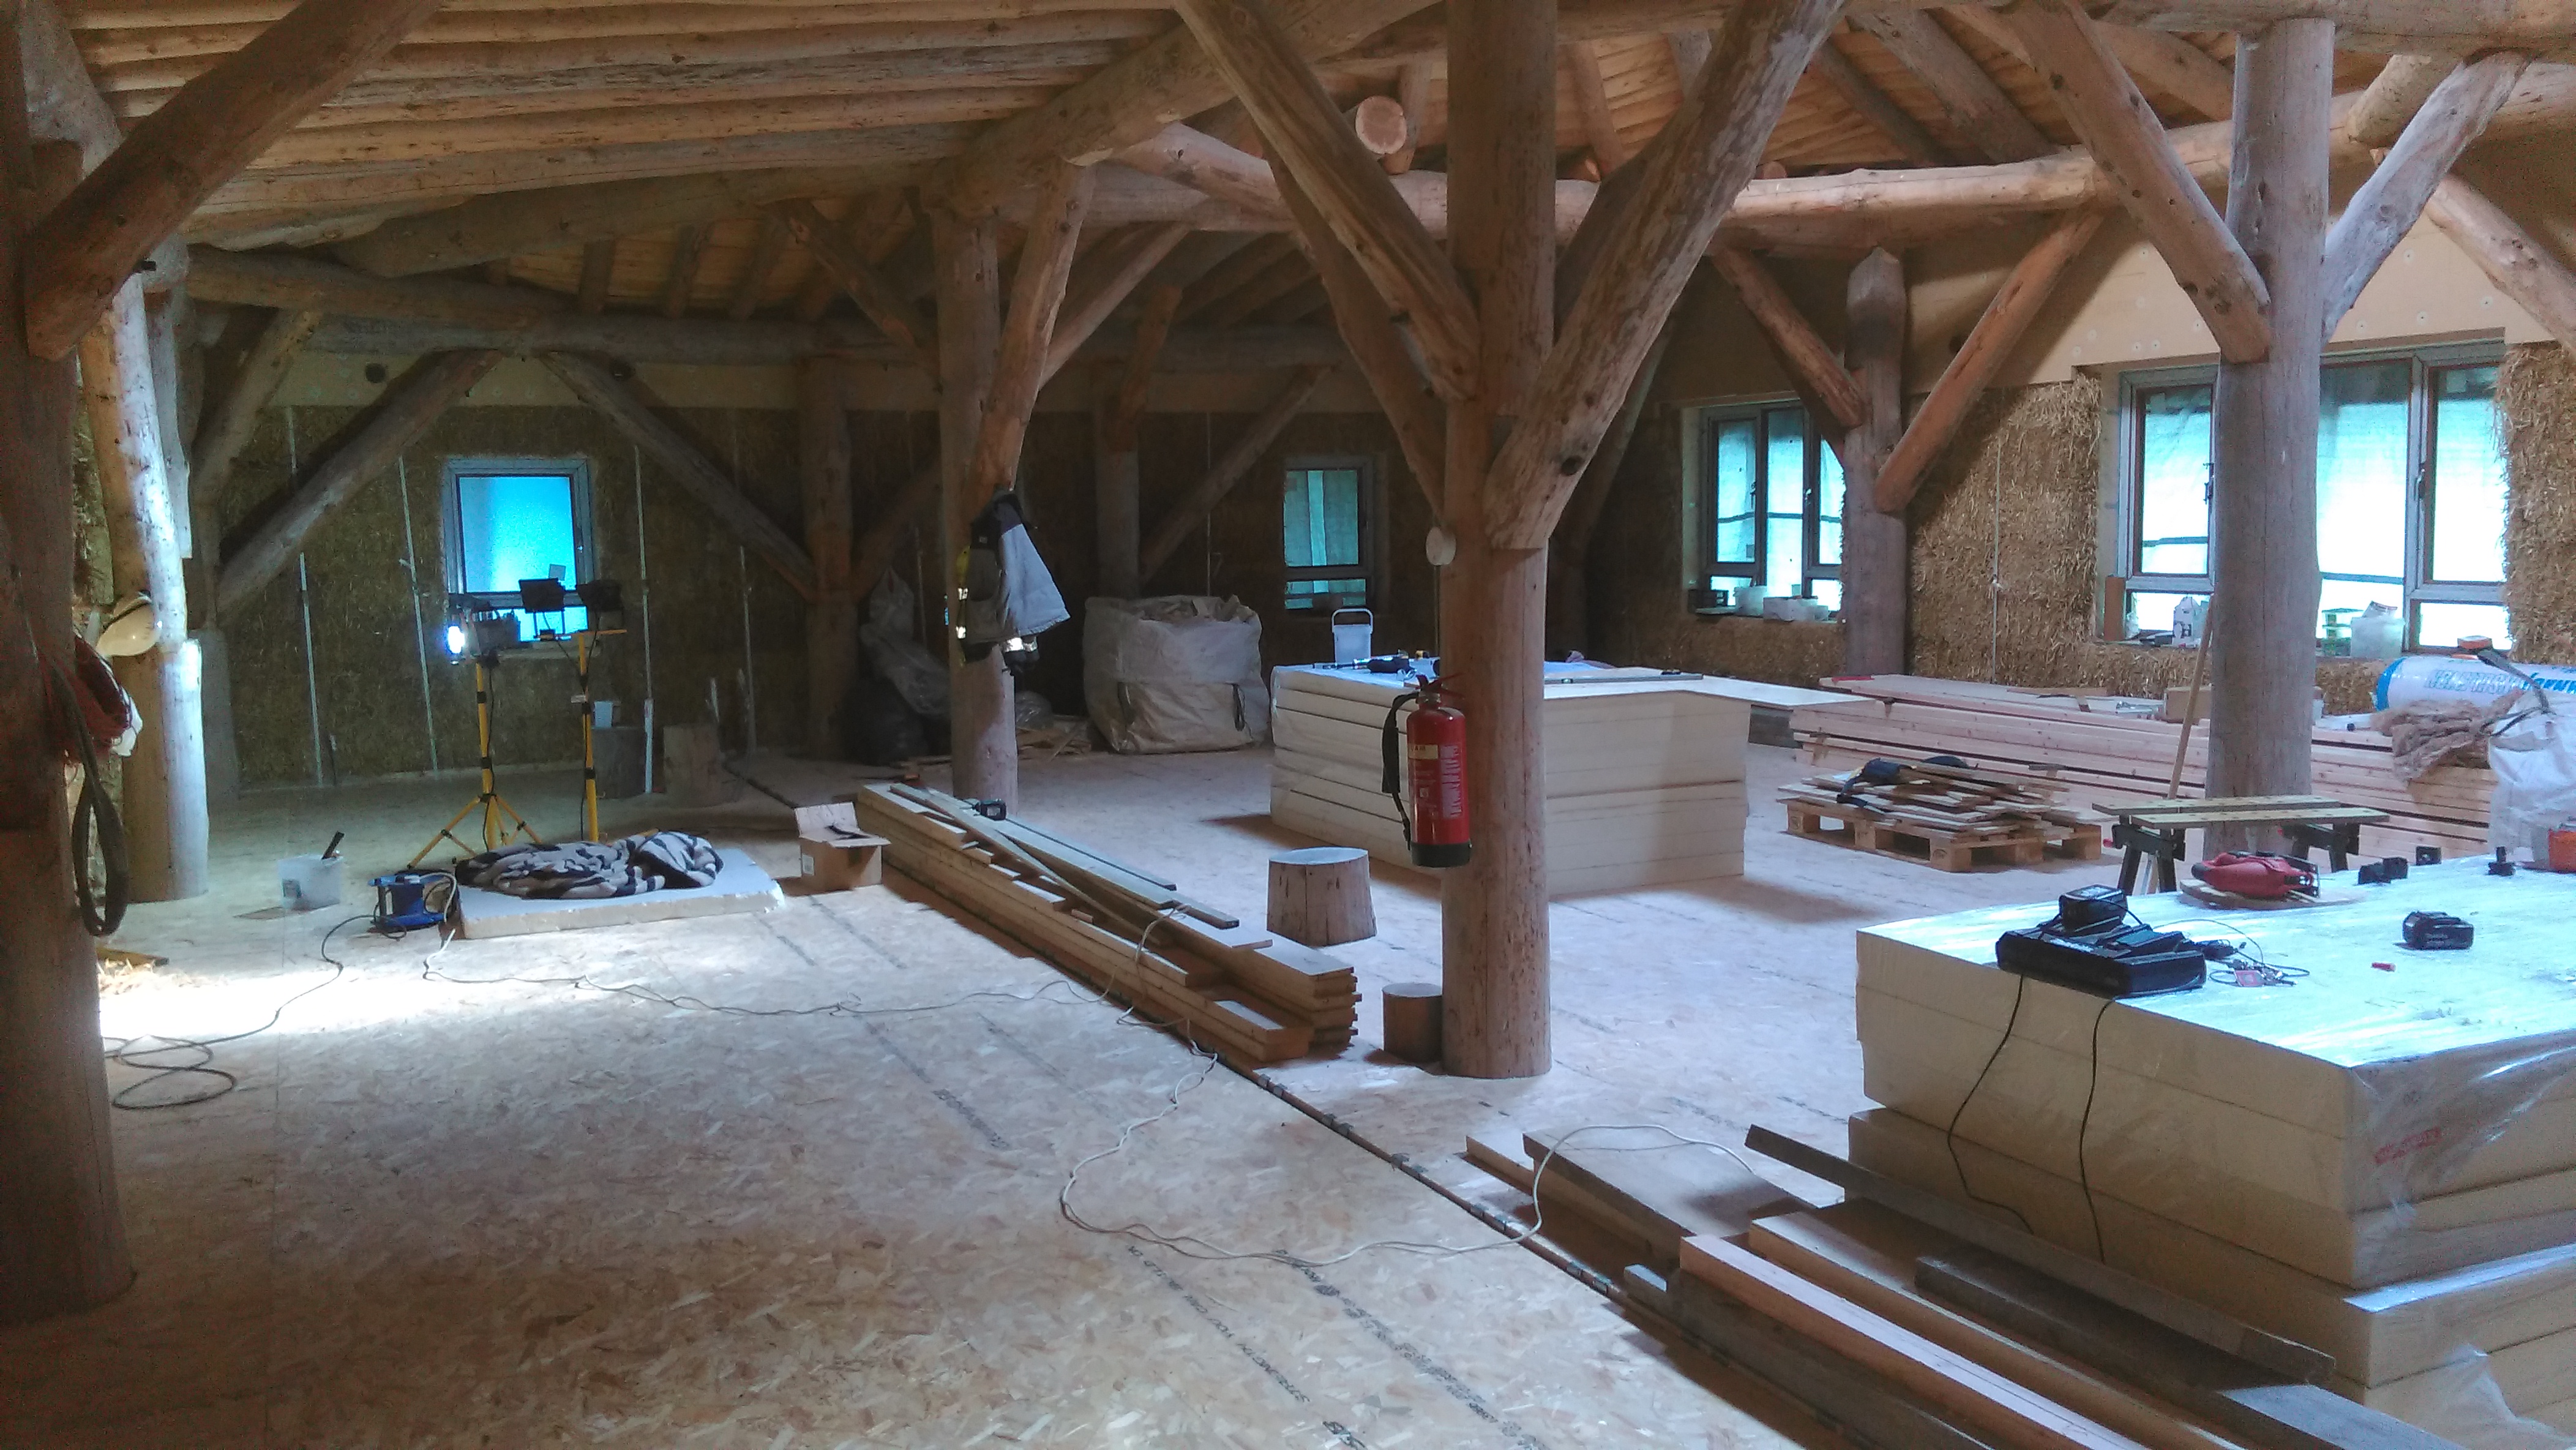
Complete dry-lining

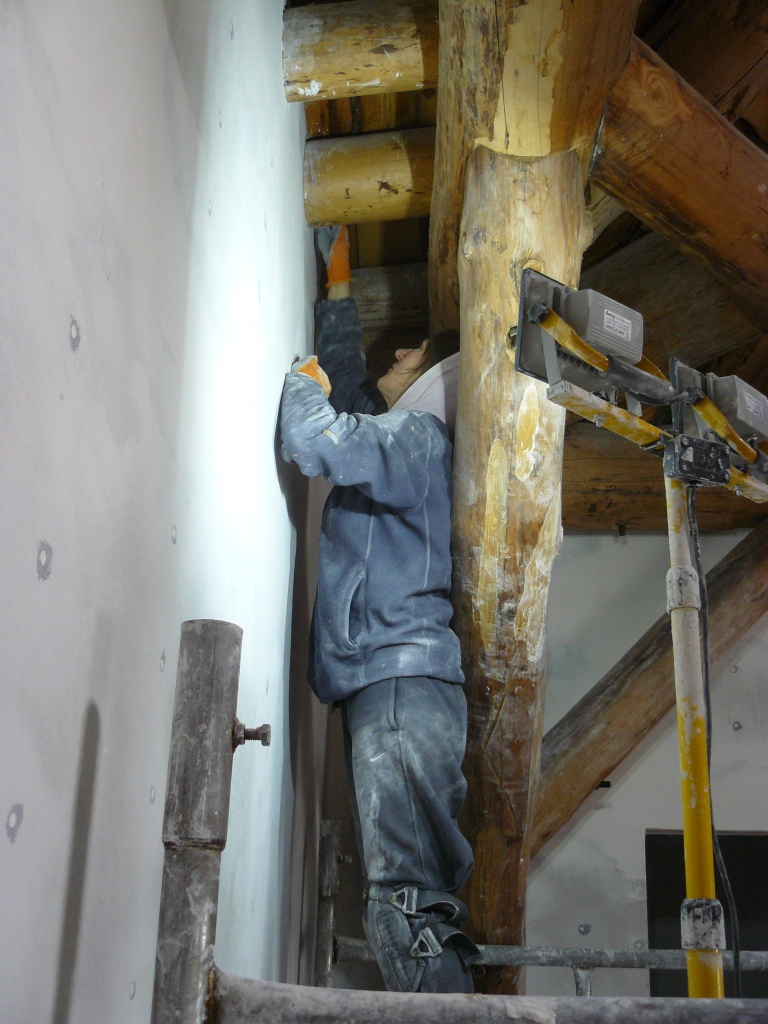
As with a lot of tasks on our build about 75% is relatively straightforward and the remaining 25% is awkward and challenging. To complete the dry-lining Maria had to cut lots of plasterboard to fit around rafters and braces. Plasterboard is not really manufactured for this purpose and can be quite brittle to work with when cut into irregular shapes. A major problem with this task was that a lot of the work was at height or difficult to access.

Plasterboard cut to fit rafters

Soundproof and insulate internal walls

We had several sheets of insulation and wood fibre board left over from previous jobs which we used to insulate and soundproof the internal walls. Maria completed this task following the first fix by our electrician. Wood fibre board is an excellent noise insulator and has a high heat attenuation value, as well as acting as a fire retardant. We are looking forward to experiencing really good acoustics in the finished house. As our main living room/kitchen is over 70 metres squared, with an above-average ceiling height we wanted to avoid the room having poor sound quality or an echo.

Soundproofing/insulation of internal studwork

Taping and Jointing of internal walls

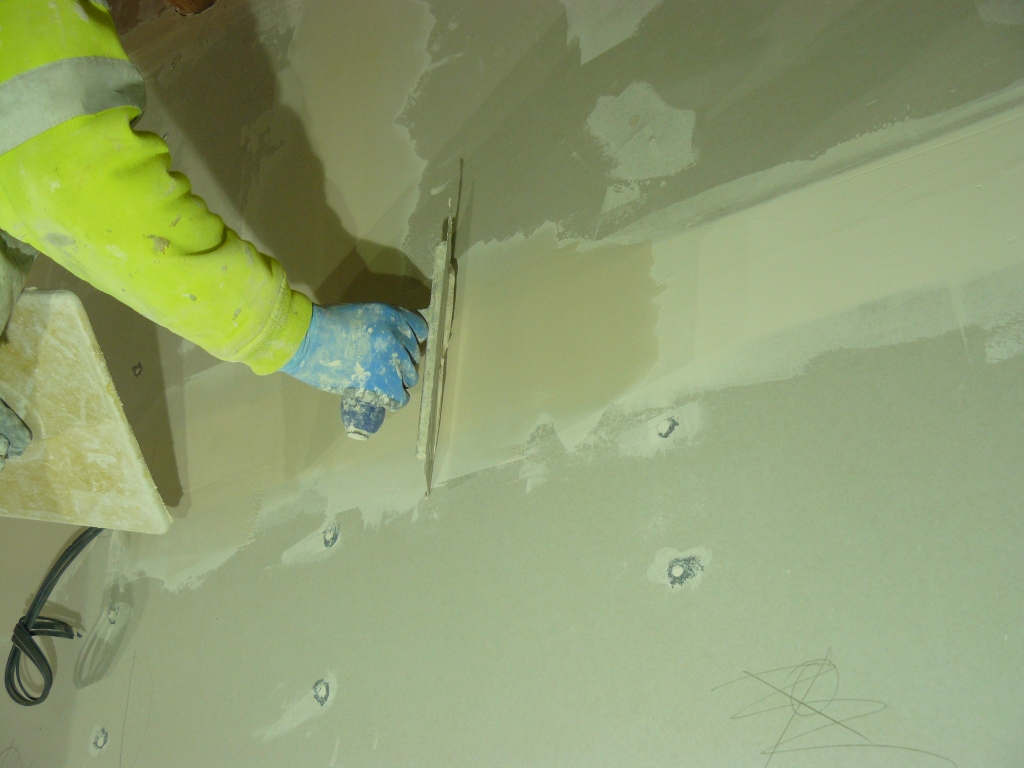
When we completed all the plasterboard work we decided to tape and joint the internal walls, rather than cover them with a skim of plaster, which is a more common choice in Ireland. Taping and jointing covers the joins in the plasterboard, thereby providing a smooth finish for painting. Plasterboards are tapered along their longest edges to allow for this. We used both paper and some mesh in combination with joint filler. Paper works better for internal corners, as it can be folded and placed easily. The whole process normally takes two passes and is then sanded when hard for a really smooth finish. It’s important to ‘feather’ out the edges either side of the join to keep the surface as smooth as possible.

Applying joint filler to the internal walls

For an amateur, taping and jointing works quite well. Once you get used to using a trowel, and setting times, it is relatively straightforward. This benefit of this approach is that is uses a lot less material than skimming, and it is much faster. As plasterboard is already a flat surface it makes sense to just focus on the joins, rather than on the entire surface of the wall, unless you can properly skim walls. As well as taping and jointing we had a lot of caulking to do, particularly around the rafters and where the plasterboard meets the ceiling.

Sanding the the joints

When we had completed the above tasks, the walls were ready for painting. We applied five coats of white emulsion, which works really well against all the exposed wood. We experimented with a few off-white colours but brilliant white was the most complimentary colour to the house’s interiors.

Painting internal walls complete

We then applied two coats of lime wash to the internal straw bale walls. Overall we were really happy with the finish on the internal walls. The house was still shrouded with tarpaulin on the outside (as the final coat of external plaster had yet to be applied) so we don’t really know how the rooms are going to be – in terms of light – but we are getting closer.

Internal walls after two coats of limewash

Laminate flooring

For our flooring cover we used the we used the same 7mm laminate flooring throughout the house, on top of a 3mm underlay, designed for underfloor heating systems. This is a quite an easy job to do, and, relatively quick too. The underlay has good sound proofing qualities and the combined 10mm of flooring provides a really good floor surface.

Leaving an adequate expansion gap is important here. We did have to reduce some of the laminate along the edges later on as we hadn’t left enough space in some places. It’s surprising how the floor can expand in a short space of time. It’s worth leaving a bit of time between laying the floor and installing doors and skirting boards, to allow the floor to expand.

Laying the laminate flooring

Second fix carpentry – doors, skirting and architrave

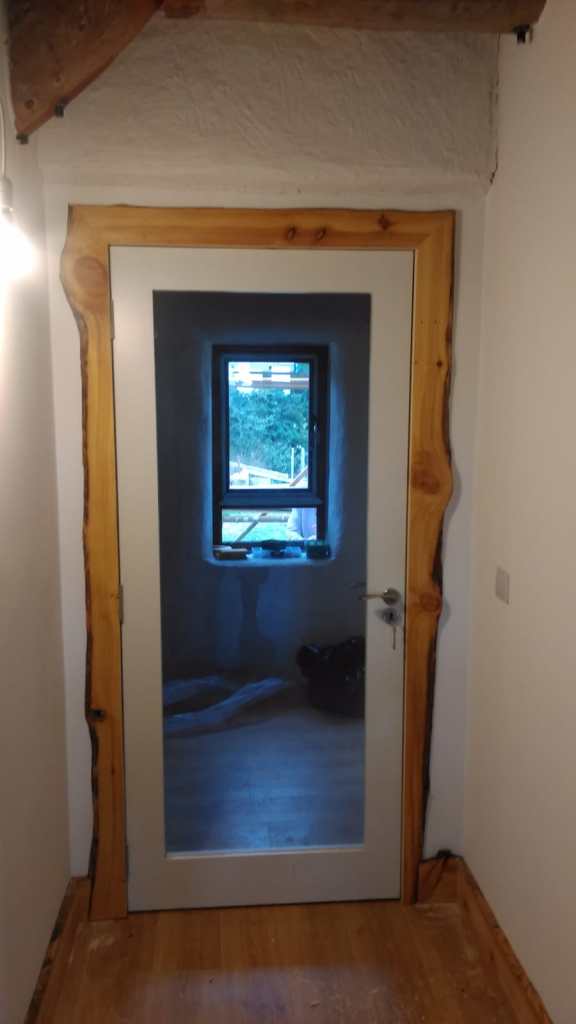
We decided to use natural or waney-edged architrave and shirting. Our local timber yard, Clonmore, supplied us with 3/4″ 16ft lengths of Spruce, which we air-dried for about 9 months. We ran each length through a neighbour’s thicknesser and belt-sander, which prepared them for oiling. We used boiled linseed oil and applied three coats, sanding each length after each coat had dried. The linseed oil really highlights the grain and other features of the wood, and transforms what is white knotty wood into something which is richer and more colourful. When all the lengths had dried they were moved inside to acclimatise to the house for a few months before being used.

Applying linseed oil to skirting and architrave boards

We experienced delays with our door order, which took about two months to be supplied. In construction global supply chains have been experiencing problems with many items and prices have also increased, as the global economy rebounds from the pandemic. We consider ourselves lucky that we are towards the end of our build a lot of building supplies have increased by 30% + over the last six months.

Cutting the architrave

For the skirting and architrave I cut the lengths down to about 150mm and 100mm respectively, this 2/3 proportionality seems to work quite well visually. When they were cut to size they often needed to be trimmed and planed further to make them align with the door frames. I quite enjoyed the challenge of this job. When hanging a door everything has to be correct or the door simply wont open and close correctly.

Hall Door

When all the architrave and skirting was finished, we were really happy with the finish. There was a sense of flow to these features of the house. The natural curves and shapes in the wood used here provides a unique and beautiful delineation of the doorways, and the intersection between the walls and floor.

Natural or Waney-edged skirting and architrave

Gabions

In late April we had some really nice sunny weather so we decided to complete some outside tasks. We had lots of galvanised mesh sheets which we made up into rectangular gabion boxes. We filled these with rocks and stones unearthed during the groundwork phase of the build. We assembled the gabions at the entrance to our site. Each gabion contains about 2/3 of a tonne of material and is a fairly simple way of utilising lots of surplus rocks and stone. It also acts as a retaining wall. We backfilled the gabions with clay and and planted some wildflower seeds.

Assembling gabion

We are getting closer to the finish line! In the final stage of the build achieving a quality finish is really important, and can make some jobs seem longer. However, the stage of the build we are at now is all about the quality of the finished work, so attention to detail and precision are vital.

I read a very useful summary about building projects from Sigi Koko, which is an excellent summation of the challenges of project management; “In any construction project, you can only have two of these working in your favour: cost, time, quality. That means if you are on a budget and you need to finish quickly, quality will suffer. If you are on a budget and everything is completed with quality, it will take longer to complete. And if you need your construction project completed quickly and with high quality, it will cost more. So choose the 2 that are most important to you for any construction project. This is true whether you are building naturally or conventionally”.

Lime Plastering (external)

Lime plastering is one of the most rewarding and hardest jobs we’ve undertaken so far on our build. The reward is the smooth organic finish which can be achieved by weatherproofing the exterior of the walls. However, this is only achieved with a lot of effort which arises from the very tough physical demands of plastering.

Our schedule for 2020 had already been affected by the time lost during the lockdown, imposed in the early part of the year. Unfortunately, it was further impacted by Maria sustaining a serious injury in early July; a broken and dislocated ankle. This meant that our regular workforce was reduced to one for plastering the entire house. Maria was unable to take part in building works for at least three months! Needless to say, this was one of the things we feared most when we started to build, and, unfortunately, it happened. This meant that our potential to be completed by the end of 2020 had vanished. As always with self building, you have to remain positive and embrace the challenges.
P1120005 (2)

Sadly, our wonderful Springer Spaniel companion, Jal, passed away in September. She was with us on every day of our build, but sadly her part in the story has ended.

Early summer was all about preparation for plastering. During this time, we met fellow straw bale builders Pat and Heidi. Luckily they had arranged for Miki, a plasterer, who was trained by Straw Works, to work on their house. I spent a day plastering their house and Miki spent a week on our site, getting us started. I would recommend to any straw bale builder starting plastering to get some experience beforehand. The job is quite daunting and not one you want to repeat.

Lime Plastering

Lime plaster is the proven protector of straw bale walls. Straw has a natural ability to allow moisture and air through it and lime is a breathable material. If cement was used, it would cause the straw to rot, as it is not breathable, which would lead to a build-up of moisture in the straw walls. Lime plaster also has greater flexibility and is more suitable for natural building methods. In its lifetime lime plaster will continually absorb C02 from the atmosphere as it returns to its original chemical composition (CaCO3/limestone) and is an excellent, sustainable building material.

Mixing the plaster

Due to the moderate exposure of our site, especially to prevailing south-westerly winds and rain, I used NHL3.5 with a 5mm down coarse aggregate for the exterior walls.

The quantity of silt in the aggregate is an important factor to consider. Too high a content and it will cause cracking in the plaster. Our aggregates came from Shiel Sand and Gravel and have a silt content of around 2%. For a very detailed understanding of plastering with natural materials, I found Weismann and Bryce’s book, Using Natural Finishes, a really useful reference. Our lime was supplied by the Traditional Lime Company who also offer advice and training.

a) First Coat (Scratch Coat)

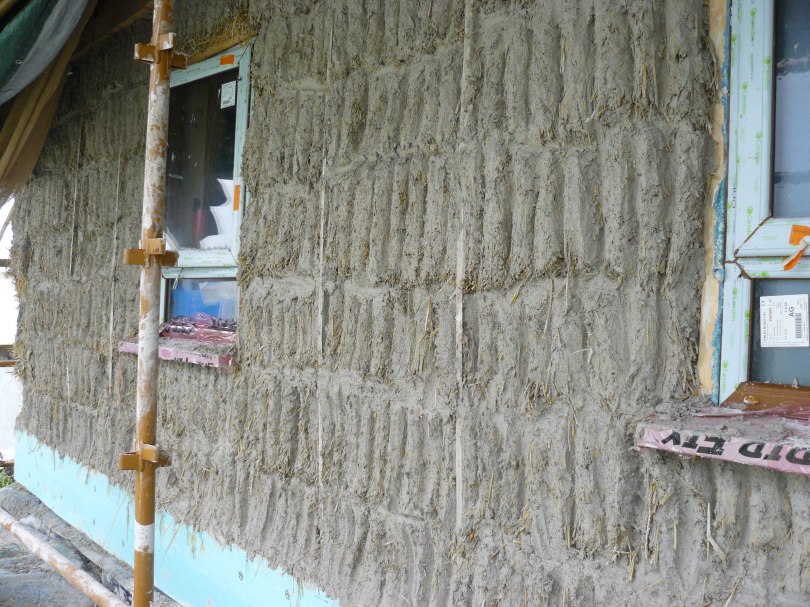
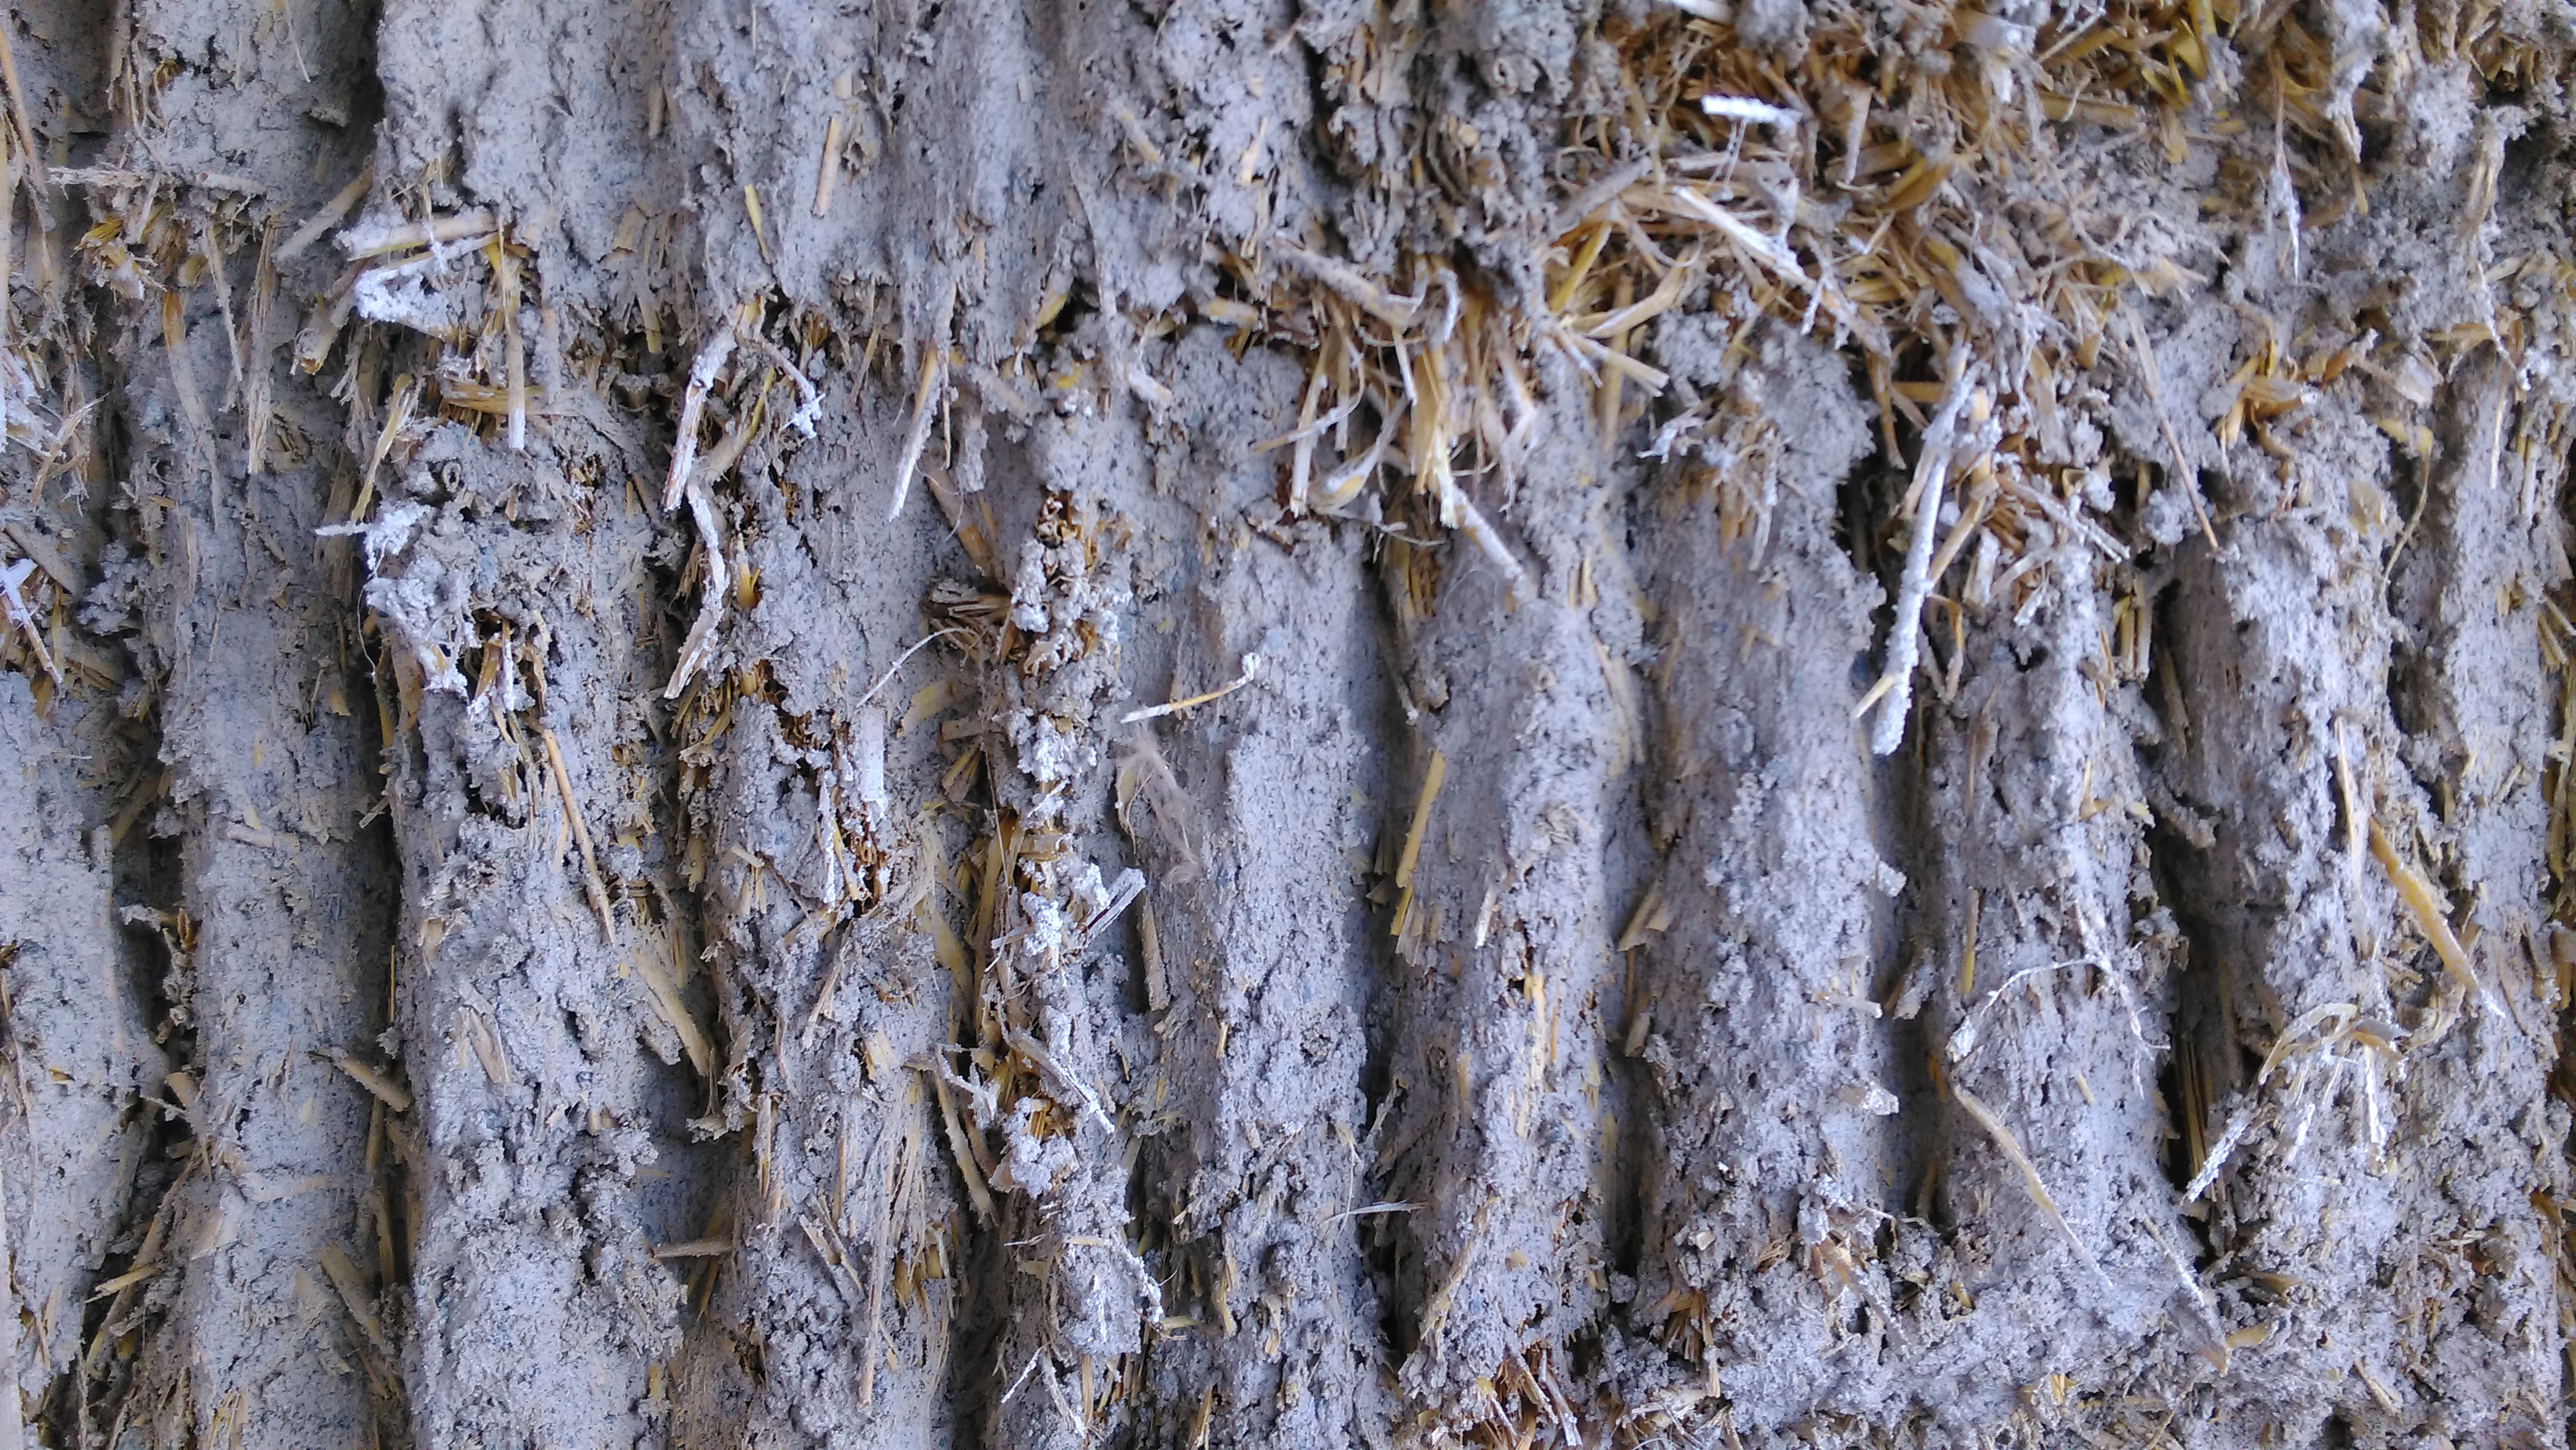
The plaster was mixed 2:1 (aggregate to lime) by volume. The aim of the first coat is to get the edges of the bales well covered and provide a suitable substrate for the second coat. The plaster is worked deeply into the bales by hand. The straw on the edge of a bale is alternately chopped or folded. The chopped edge is much easier to work the plaster into (photo below shows the first coat).

IMAG0142

Plastering is a very physical task, involving a considerable amount of heavy lifting. Each tonne is lifted three times; firstly into the mixer, then into buckets and finally onto the wall. Plastering by hand is quite tough, as it uses different muscles than usual. It takes a while for the strength to build up in your hands and fingers. It also takes a while for your hands to get used to the feel of the plaster.

IMG-20200728-WA0001

For plaster to dry (cure) properly, it is important to control the atmospheric conditions of the wall. I protected the walls from the elements (mainly wind and sun) by hanging tarpaulin from behind the fascia. In addition, I hung hessian between the wall and the tarpaulin, which was dampened periodically to aid the curing process.  Luckily, the very humid, calm summer of 2020 provided the ideal weather conditions for plastering.

P1130027

The plaster changes to an off-white colour as it cures (see photo above). When it becomes solid to the touch, it’s time to add a second coat.

b) Second Coat (Straightening Coat)

The mix is also a 2:1 ratio, but chopped straw is added to give additional strength. The purpose of this coat is to fill in the grooves and any other holes in the first coat. This coat is then ‘keyed’ using fingertips to provide a suitable substrate for the top or finish coat (see photo below).

IMAG0148

As NHL3.5 cures quite quickly, I aimed to apply the first coat for about a week and then add a second coat. The second coat is easier to apply as the more difficult task of getting the plaster to stick to the straw isn’t a factor, as it is in the first coat. The plaster sticks better with this coat but still has to be worked into the bales, albeit with slightly less force.

P1130022

During the application of the second coat I also applied mesh to areas where two or more different materials provide the substrate (e.g. where wood fibre board meets the straw on the top of our walls). Mesh also needs to be applied around openings as this is a ‘break’ in the plaster where cracking is more likely. Initially I used hessian, but because our aggregate is 5mm down, it was hard for it to penetrate through the hessian. This reduced the contact between the plaster and the straw. Instead I used fibreglass mesh, which has holes about 10mm square, and was a lot easier to apply. 


c) Top Coat (Finish Coat)

Due to Maria’s injury, it wasn’t possible to complete all three coats in the time available. I was lucky to have help on several days, but as I was mainly working on my own, it was only realistic to complete the first and second coat by mid-September. I set this as the cut-off date as the colder, frosty winter weather from mid-November onwards can arrest the curing process. We will complete the exterior top coat in late April/early May next year.

By mid-September, practically all of the first and second coat had been completed. It was a considerable task as the total exterior wall space is around 200 square metres and each week I added between 1 and 1.5 tonnes of plaster.
When I worked with Miki, we completed a small portion of top coat. Some of this coat was worked in using a float and, where this was not possible, we used our hands. The mix was slightly weaker 2.5:1 with fibres added (see photo below).

IMAG0149

Other jobs:

a) Underfloor Heating System

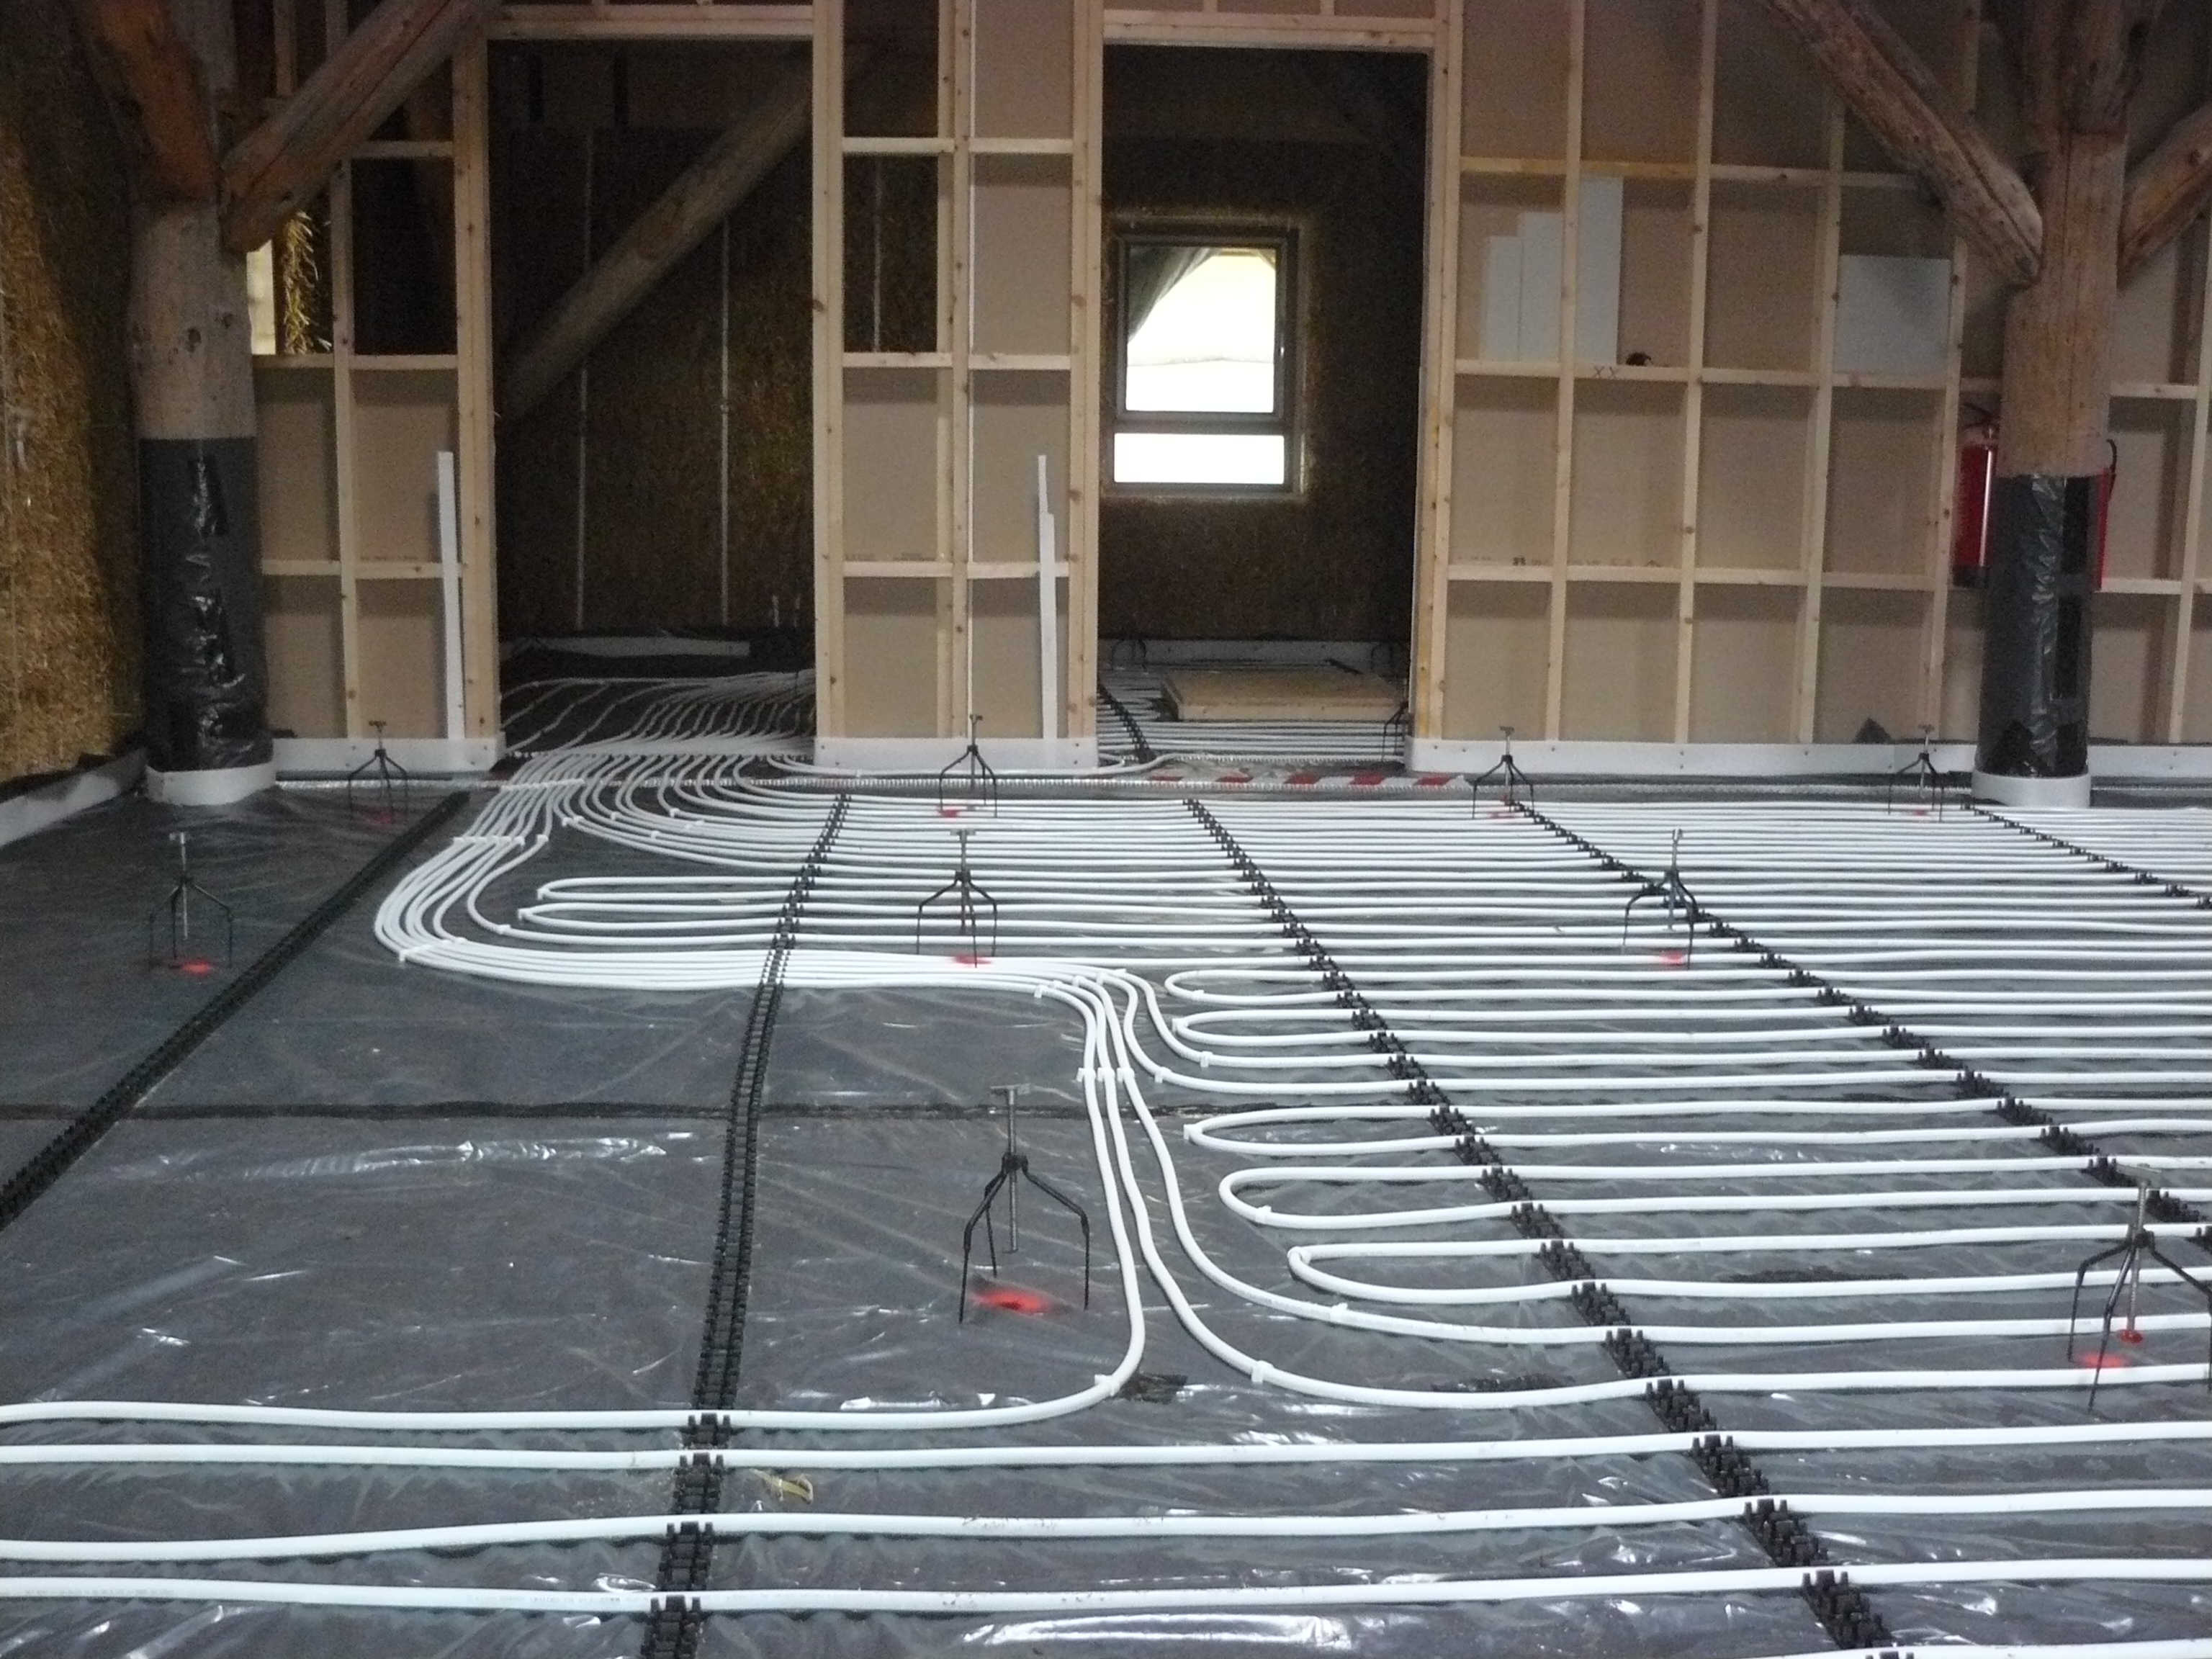
In early July, our plumber, Pauric, completed the installation of the pipes for the underfloor heating system. We will be installing an air-to-water heat pump for hot water and heating. This type of heat pump is practically standard on new builds and will satisfy some of the requirements of Part L of the Building Regulations.

P1120997

P1120985

Prior to the pipes being laid (see photos above) we covered the OSB floor with polythene and also added an expansion gap around the exterior walls, and the posts to accommodate any expansion in the floor.

b) Floor Screed

The floor screed is a vital part of our heating system as it forms our main thermal mass. It needs to cover the pipes and set properly without cracking (which would obviously damage the pipes). We were recommended Cemfloor and got in touch with a local contractor – Bracken and Mulligan – who poured the floor in about half a day. It has a relatively quick set, however as we didn’t need to work indoors, the screed was left for over a week before we walked on it.

Read More »

Building a raised wooden floor

At the conceptual part of our design process, we decided that we would aim to build with as little cement as possible. This was an environmental choice. Cement is an extraordinarily useful substance in construction but it also carries a heavy environmental price. We decided our floor would not be a monolithic slab of concrete but would be a raised wooden floor.

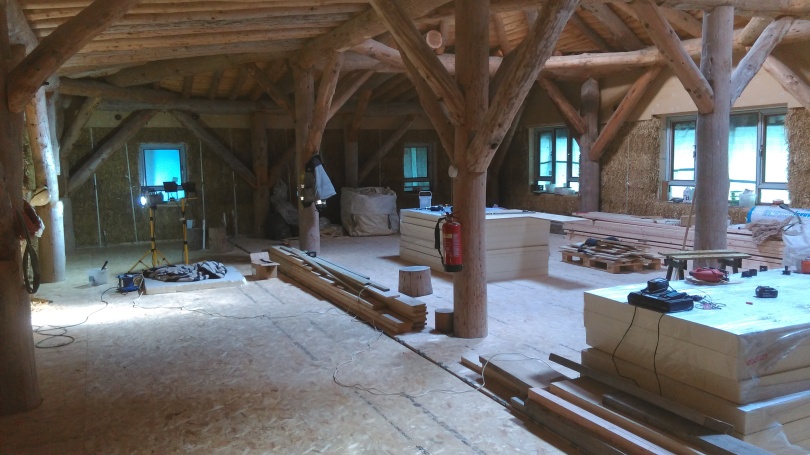
Putting this idea in practise meant that we had to build and insulate our floor. Our plan was to get as much interior work done until the weather was suitable to plaster the outside walls.

However, Covid19 has resulted in all supply lines to non-essential building ceasing. Currently, we are awaiting a change in the rules so that we can continue with our build. Until then, like everyone else, we wait in hope and observe the constraints that have been put in place for the good of public health.

We did manage to complete our floor and some other work before the lock-down was instigated. Below is the story of building our floor.

Stage 1: Setting out

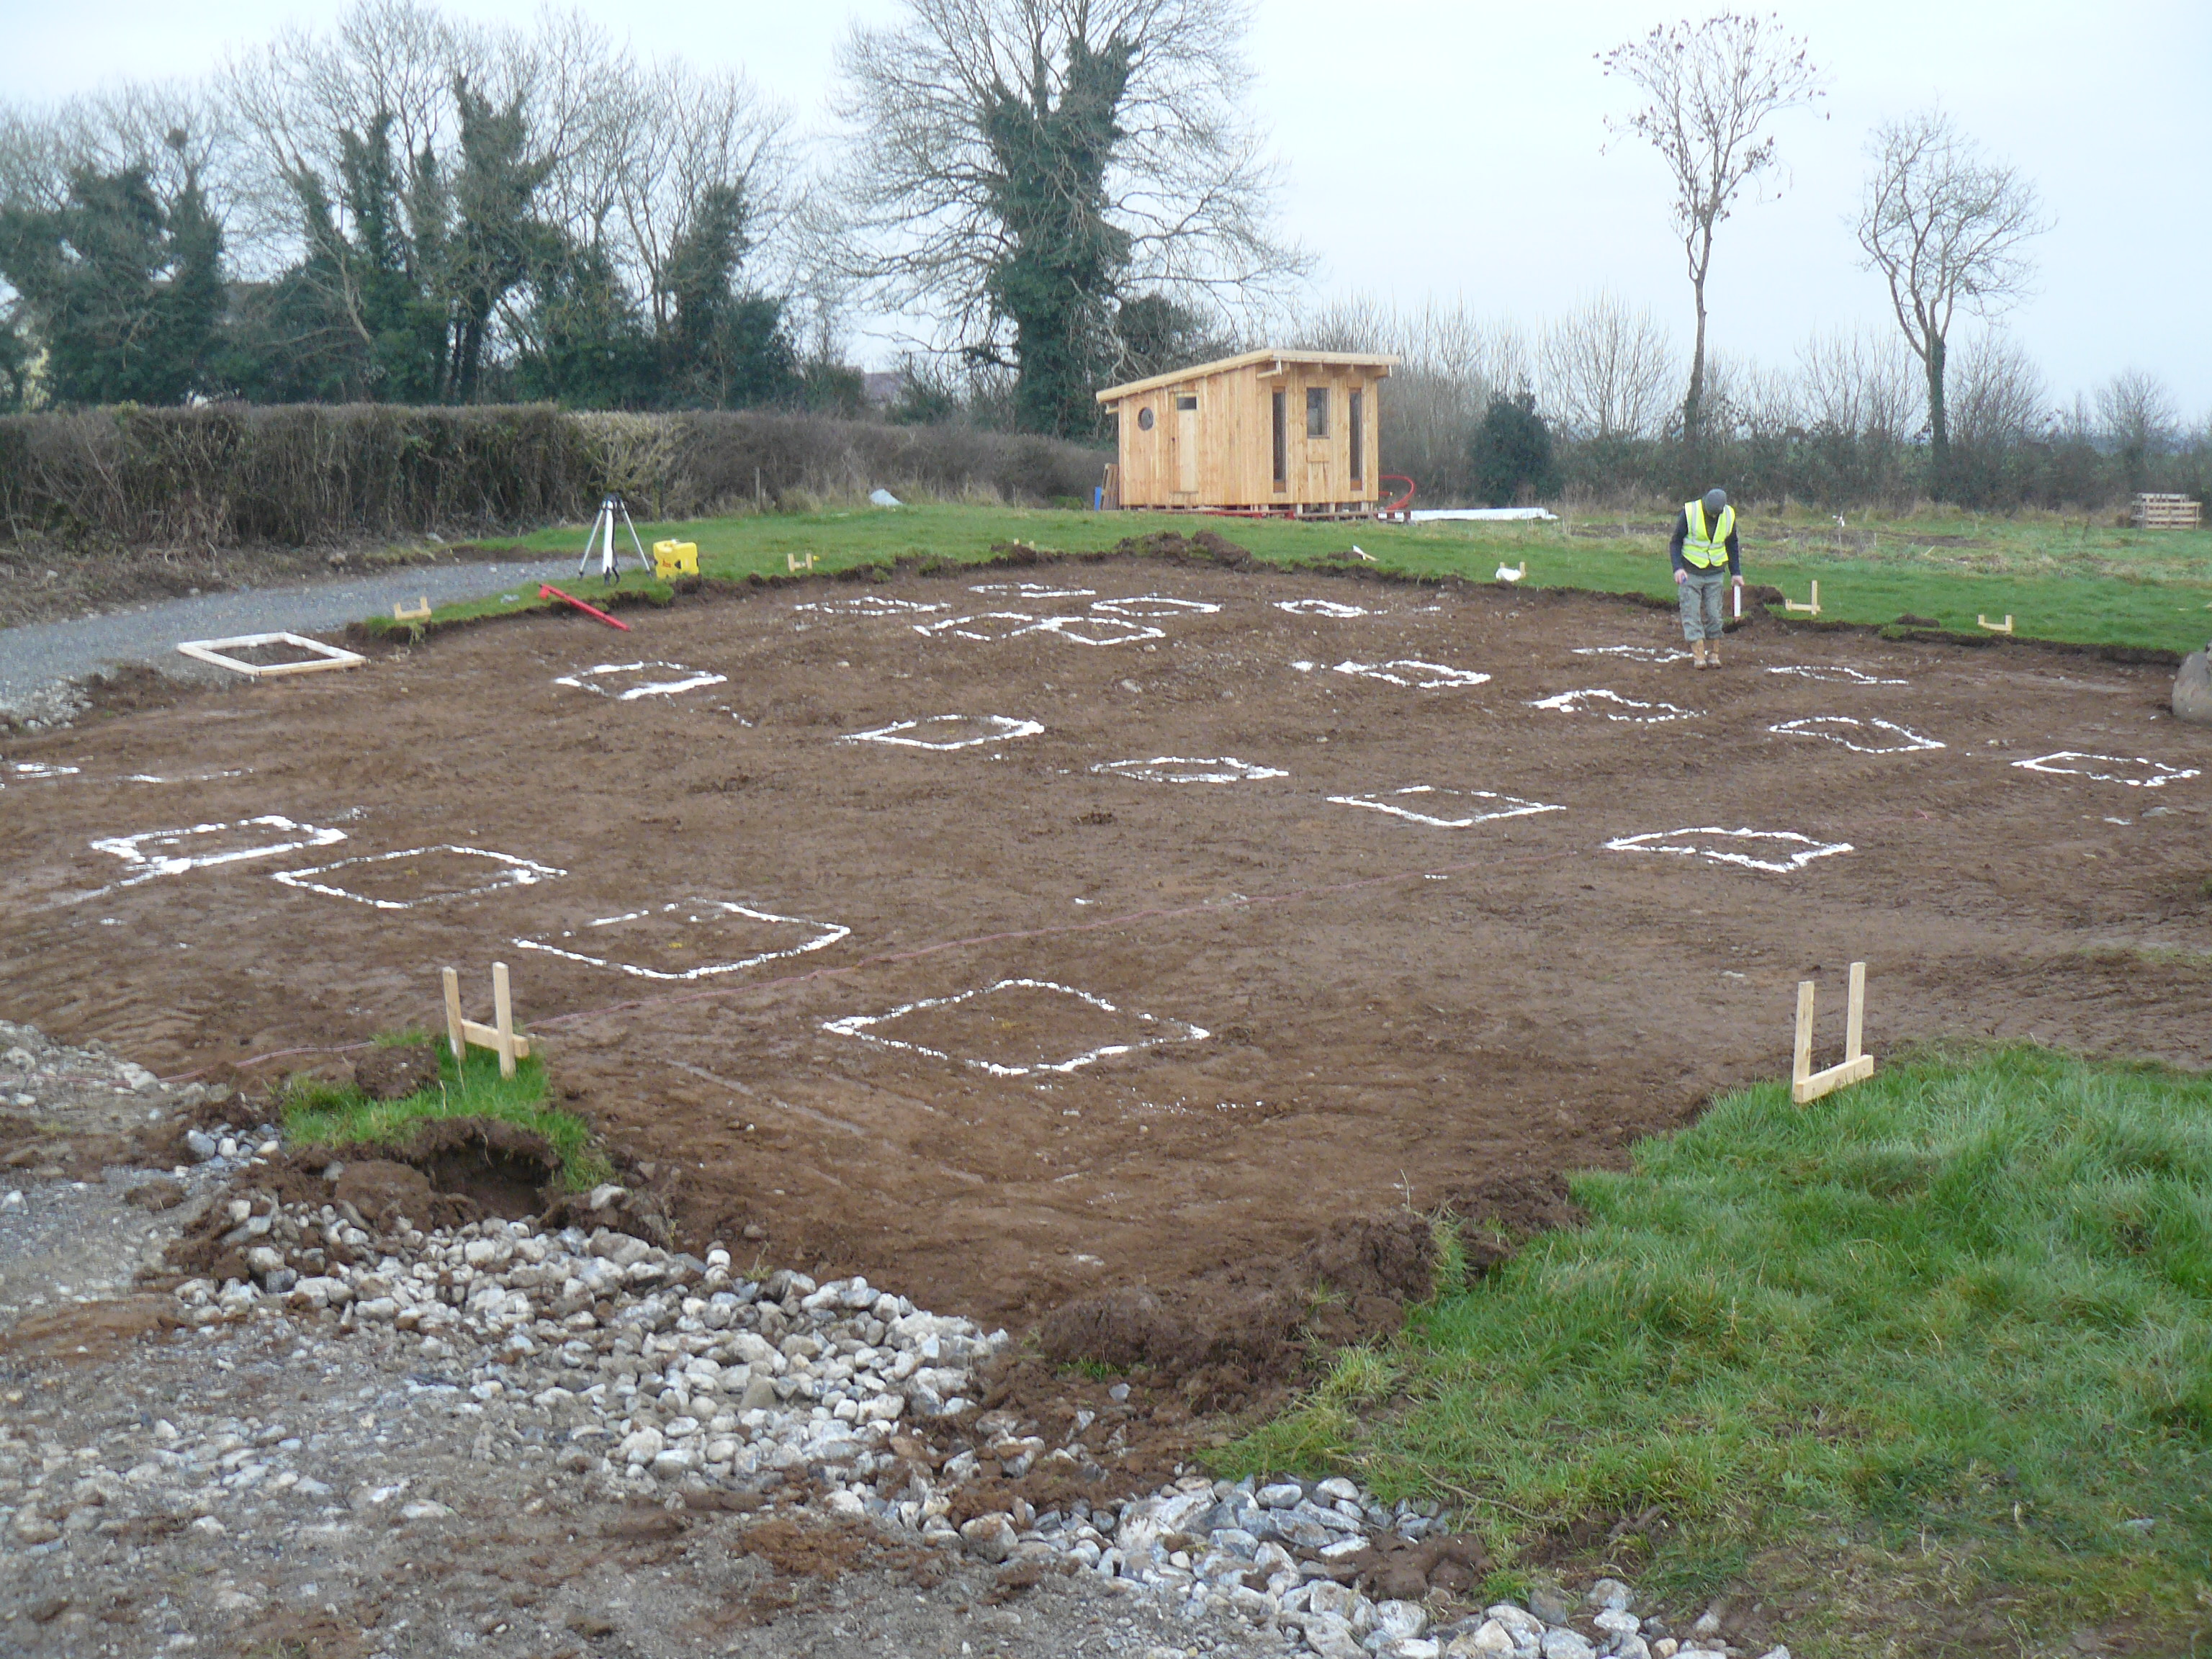
We worked with our engineer, David, to check the levels on our wooden ring beam (which is the wooden plinth that supports the straw bale walls) in order to mark the correct positioning for the wooden flooring joists. The flooring joists have to span  about 10m (north to south) which means that additional supports were required. This span is too great for a single length of wooden joist. We put the supports in place when we were building the car-tyre foundation by placing two sleeper rows of car tyres (running east to west) inside the outer ring of car tyres.

Stage 2: Installing the joists

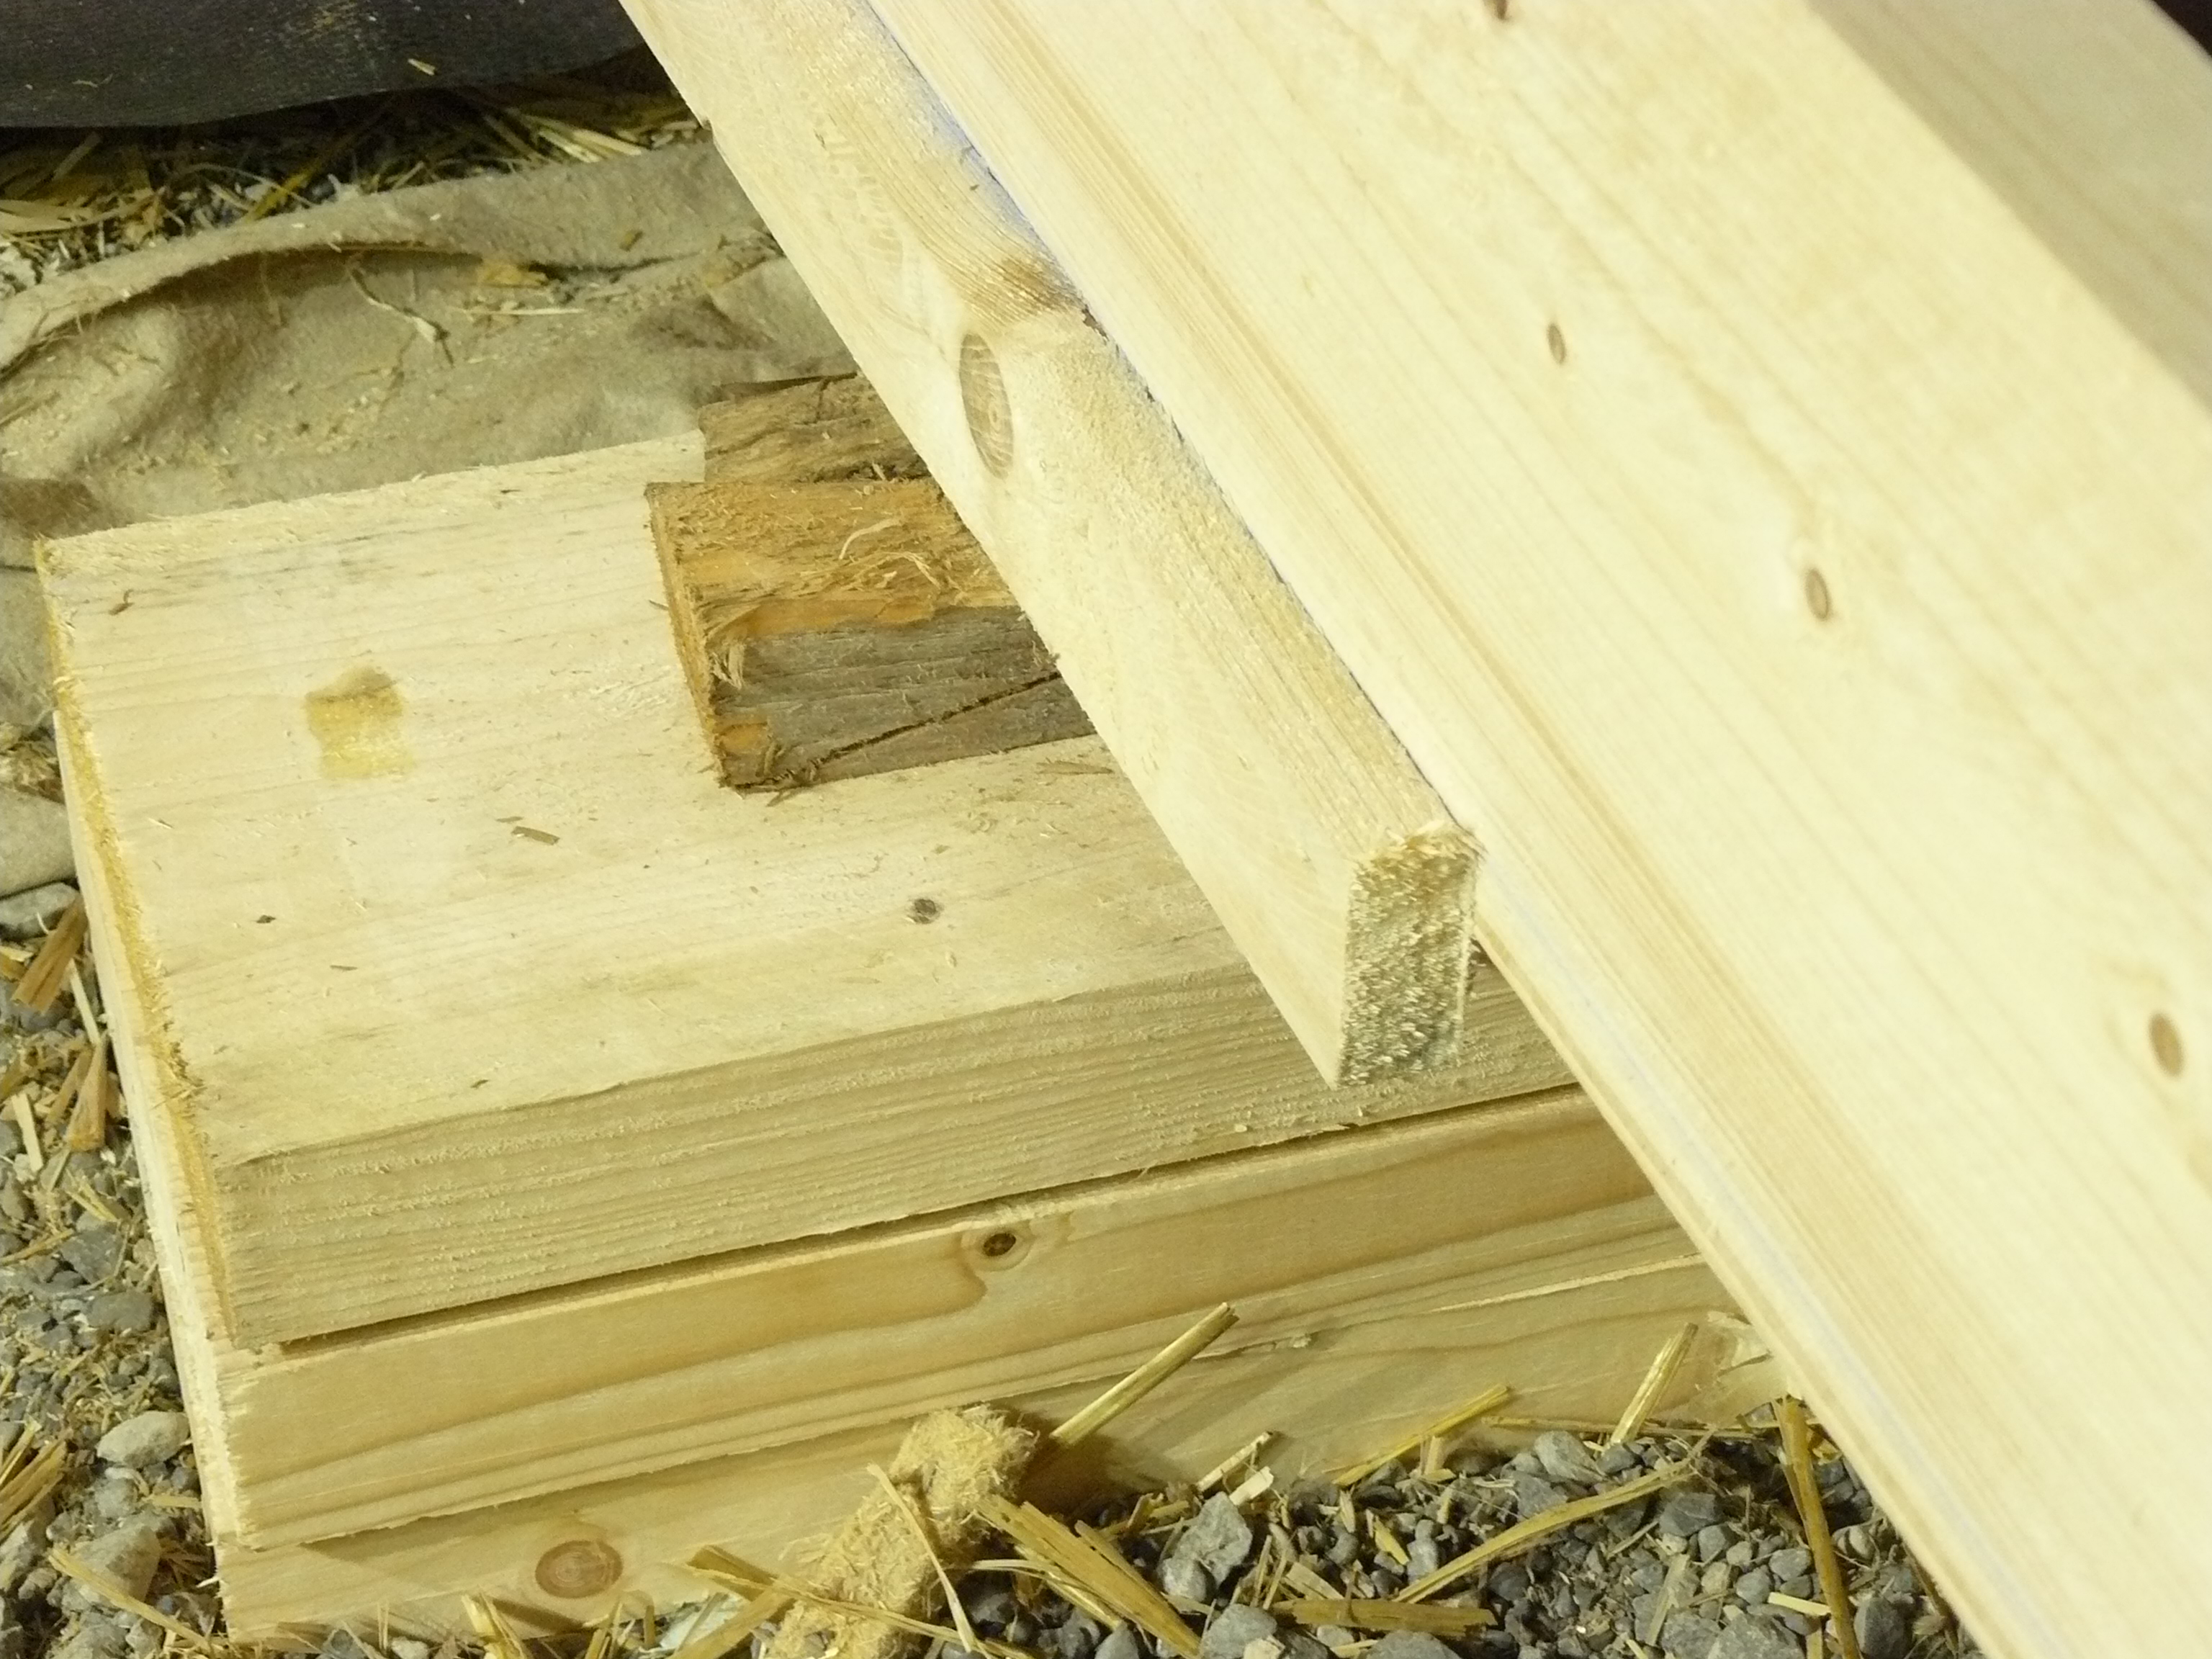
Our floor used 110 joists which were 3.6m (12ft) long and 225mm x 44mm (9″ x 2″) at 400mm (16″) centres. The joists were secured to the timber ring beam by timber-to-timber joist hangers. Rather than using timber noggins between joists, we used metal herringbone straps, all fastened with twisted shank nails. The advantages of the straps include; they are ready-made; will help to reduce thermal bridging and allow for more insulation in the floor. The main disadvantage is that the insulation will have to be cut around them and that they have to be nailed to the top and the underside of the joists.

There was a considerable amount of nailing in this stage. Before fastening the joists we used folding wedges to help us achieve level and plumb joists. This is an ancient woodworking technique and still really useful when you are trying to achieve good work. We dedicated a lot of time to ensure that we achieved a high level of accuracy with the joists – lots of measuring, levelling and checking.


P1120870
Joists in place. Note support at mid point where joists are joined together and battens to support insulation at the bottom of the joists


P1120868
Folding wedges used to keep joists level and plumb


On each joist we nailed short lengths of 44mm (2″) by 19mm (1″) at a 200mm (8″) chalk line to support the two layers of rigid insulation. We worked out the spacing of these in advance to accommodate the herringbone straps and insulation, as this would reduce wastage.


Stage 3: Insulating the floor

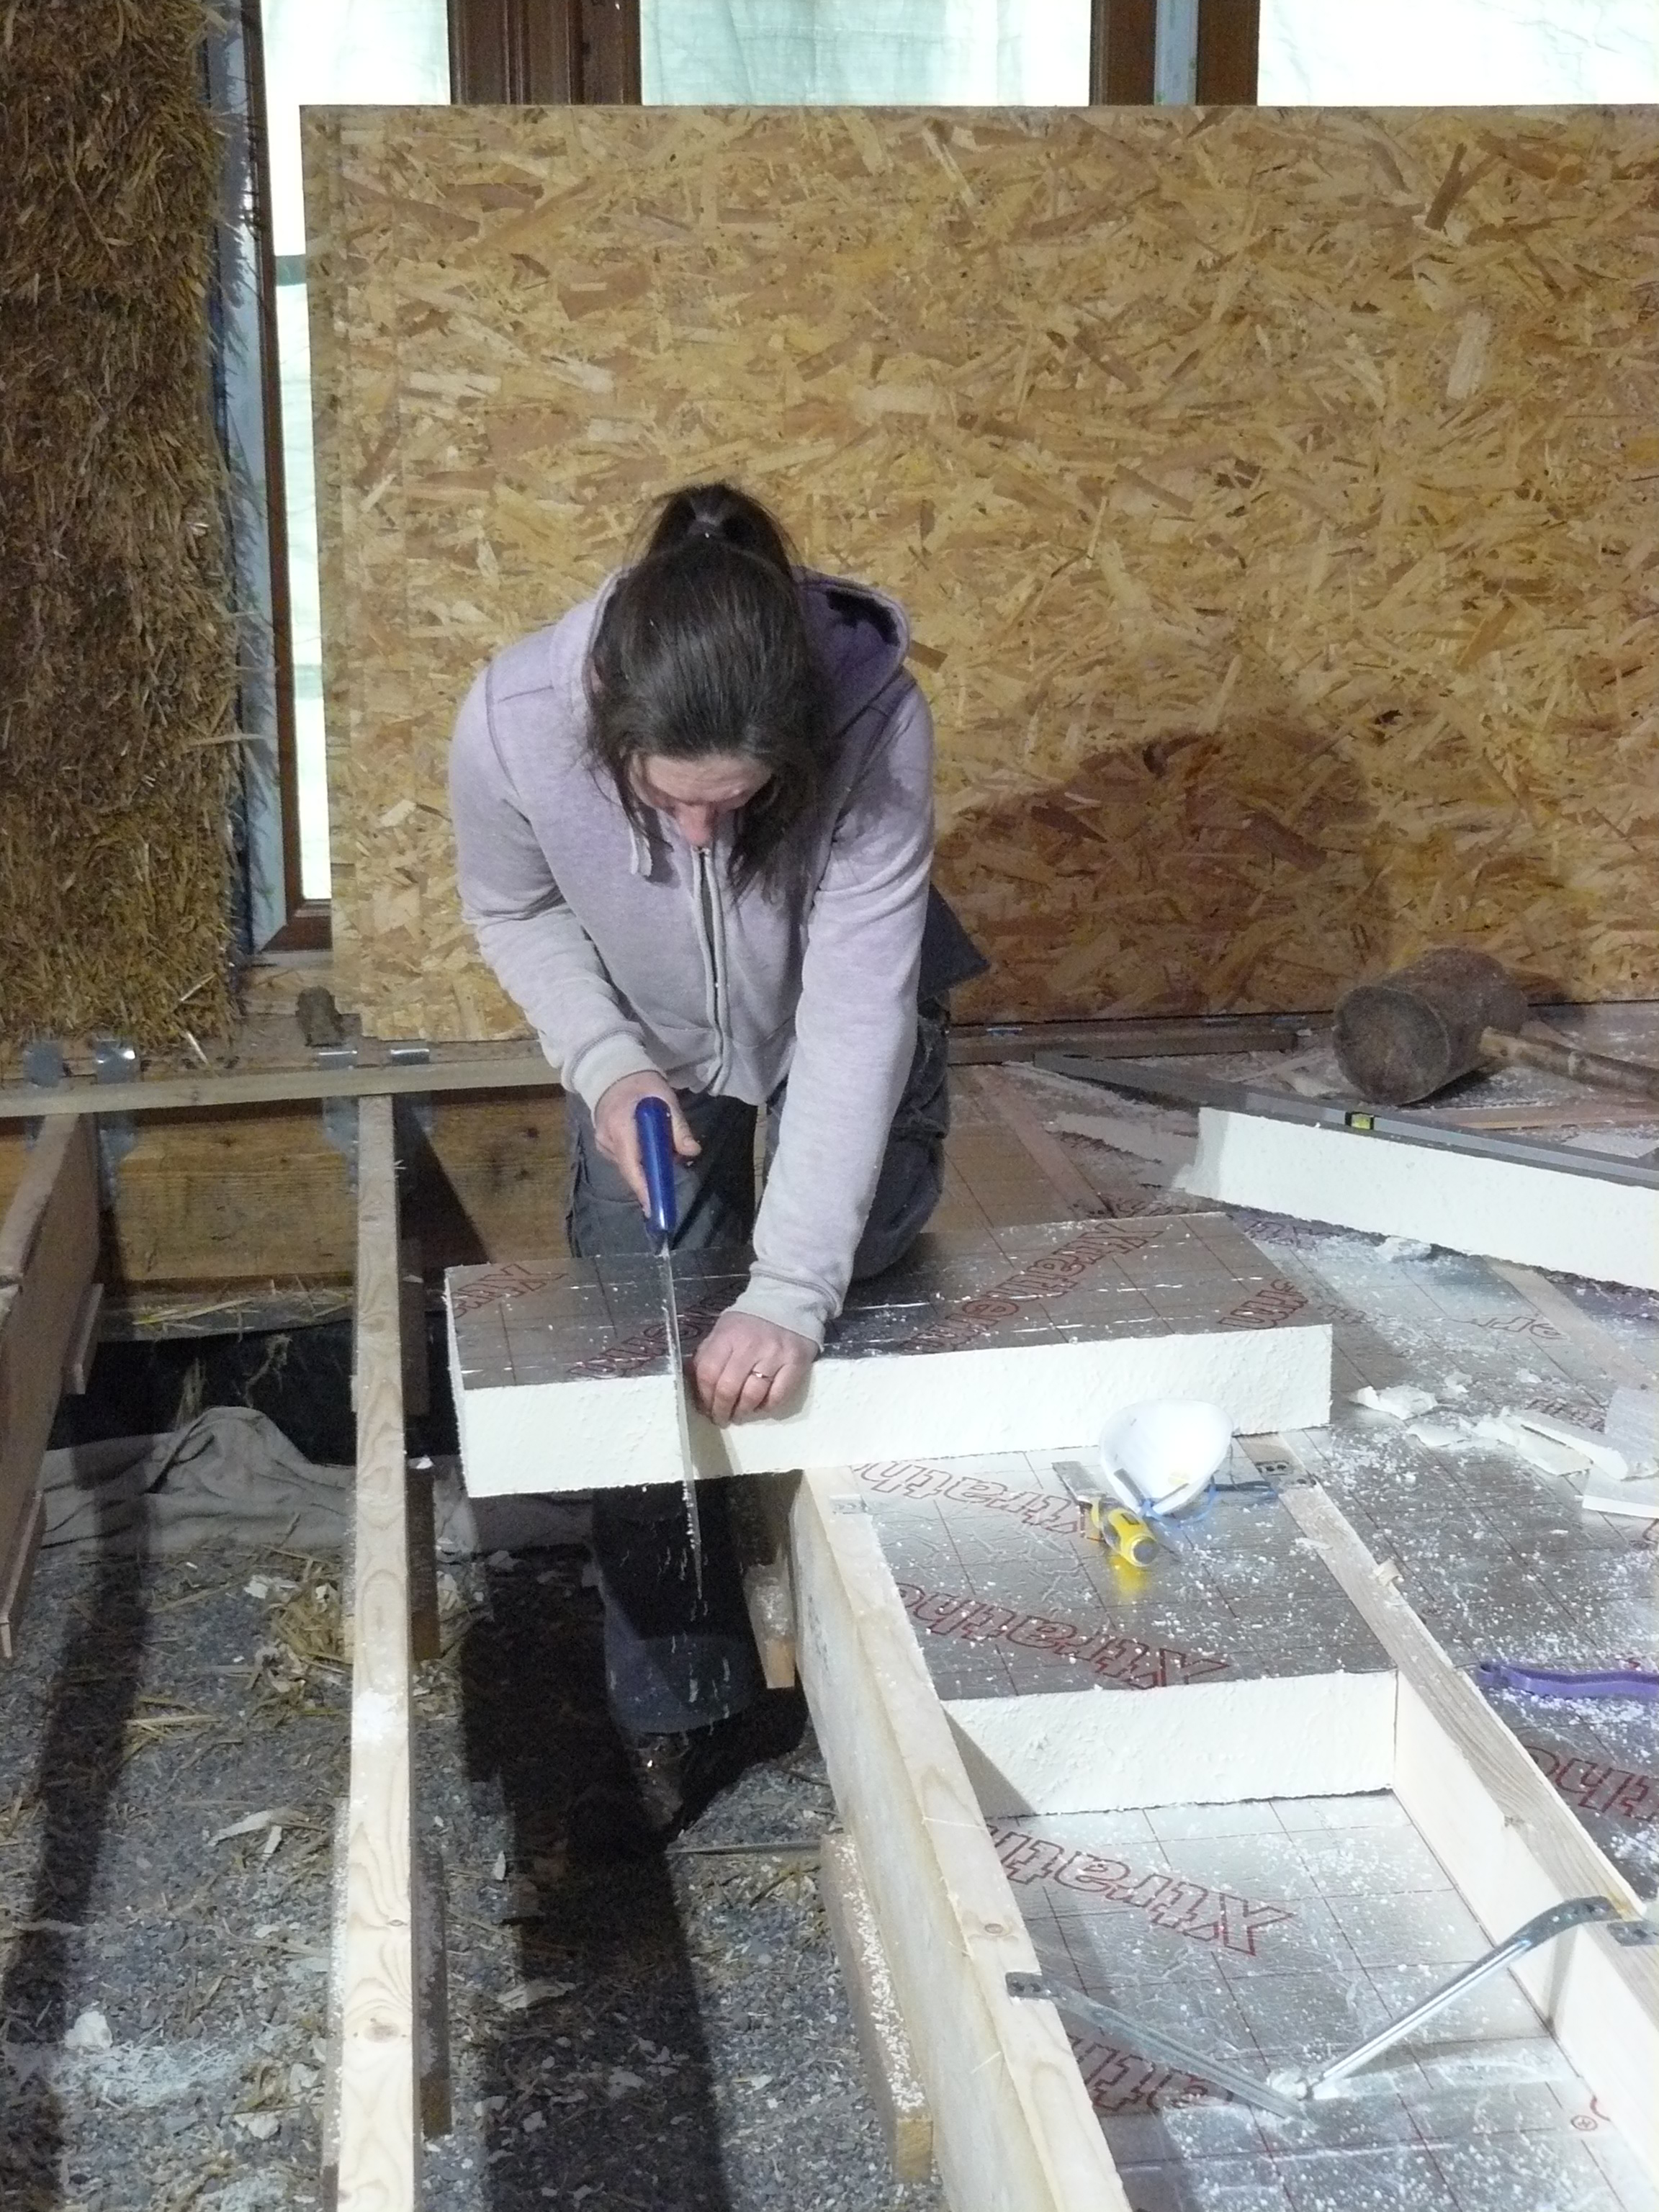
We used PIR insulation from Xtratherm for the floor. Their product – PIR XT/UF – is specifically for raised floors with under floor heating systems. The sheets of insulation are 2.4m (8ft) by 1.2m (4ft) and 100mm (4″) in thickness. We cut each sheet in three to make smaller 800mm (32″) x 1.2 (m) 4 (ft) sheets. This then gave us a spacing for the herringbone straps at 800mm (32″) centres. This simple calculation minimised the wastage on each sheet.

P1120895
Floor insulation arrives!

P1120905
Installing the layers of insulation. Note metal straps rather than wooden noggins


This job was quite time-consuming as we had to install two layers of 100mm (4″) insulation, so as to avoid any thermal bridging. We installed the herringbone straps with the insulation so there was a lot of cutting around the straps, nailing to the underside of joists and dust…lots of dust.

P1120909
Fitting the insulation

IMAG0041
Installing floor joists


The temperature over the winter inside the house (without the floor being insulated) was usually around  8 to 10°C, even on the frostiest morning with sub-floor natural air vents circulating cool air. After we finished the insulation we noted temperature of 14 to 16°C, which is partially the result of the onset of Spring, but also shows the impact of insulation. We also noted that on really cold mornings, the house feels warmer than outside and on sunny, warmer days it is slightly cooler inside, which is exactly what a well insulated house should be. Obviously when the house is fully finished we will know much more about its thermal capacities.


Stage 4: Sheeting with OSB

The floor was completely covered with a layer of 18mm (3/4″)  OSB. This was a fairly simple task. As we had maintained 400mm centres with our joists there was relatively little cutting and waste.

The important thing here is to make sure the first sheet of OSB is affixed perfectly square and plan the sheets so that they are laid like bricks. This gives additional strength and solidity to the flooring joists.

IMAG0059
Beginning to look like a house inside.

What we noticed was that different manufacturers produce OSB to slightly different measurements. It’s worth checking the measurements of OSB sheets before beginning to lay them as they may not fit exactly if they’re from different manufacturers.

All boards were glued and nailed on to the joist.

The end result was really transformative…at last we had a proper, level floor to work on. Unfortunately soon after this the Covid19 pandemic interrupted our building work as all supply lines were closed.

The next stage for the floor will be to put in the underfloor heating system and screed.

Other Jobs:

a) Studded partition:

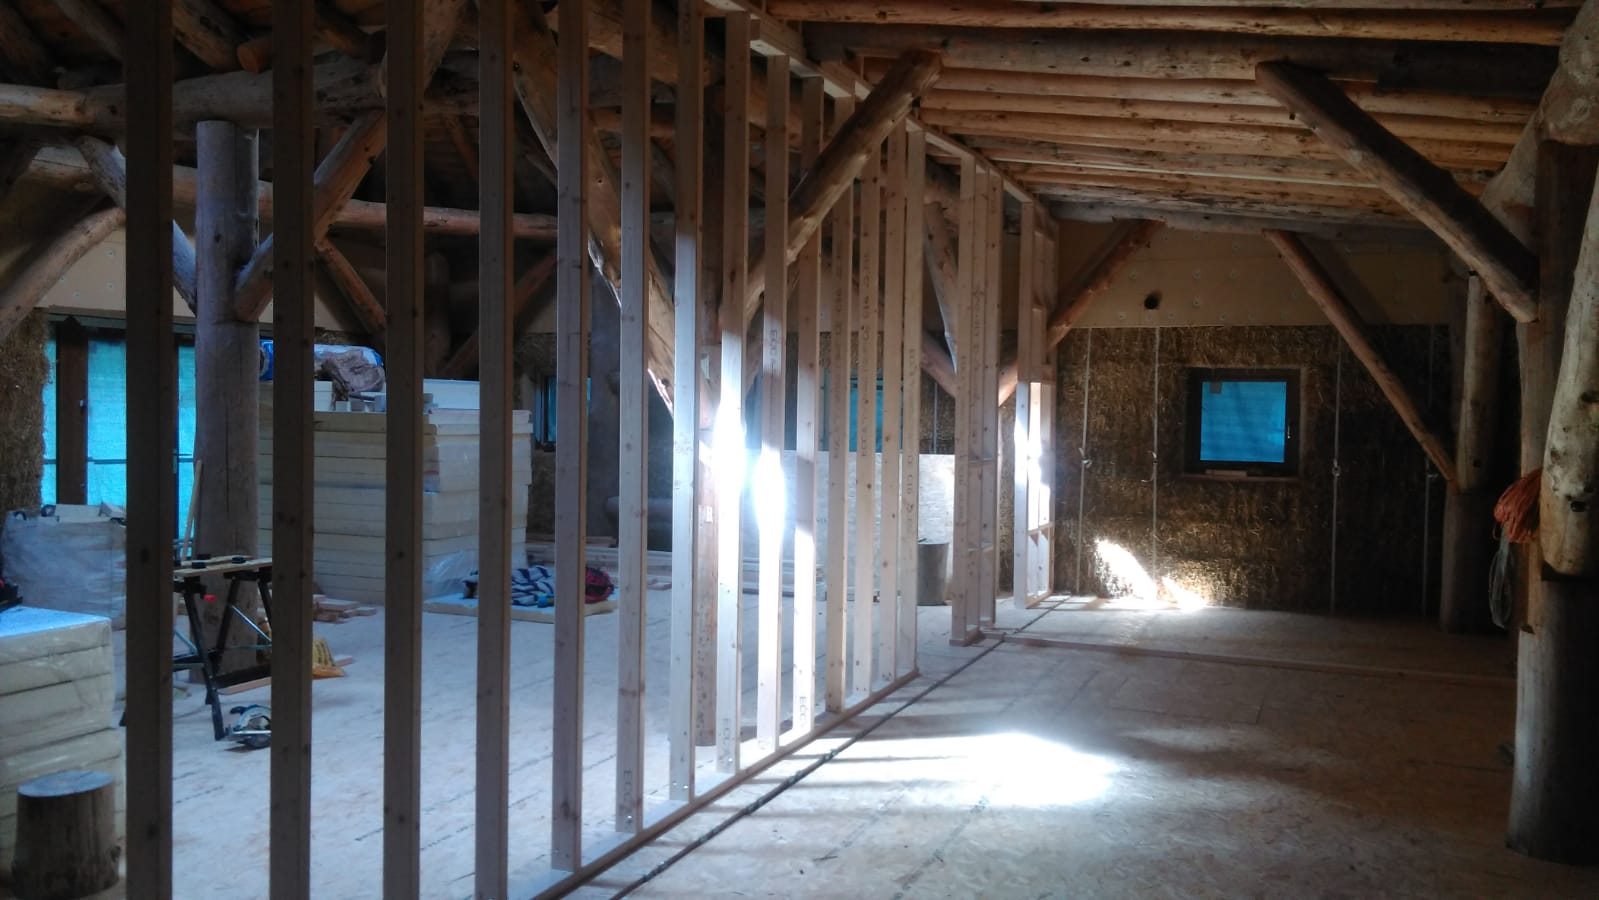
We began work on the internal walls in the house after we completed the floor. The timber used was 100mm x 44 (4″ x 2″). We used a simple Fukuda laser level to set out our walls. There were some challenges here as we were marrying round to square wood in some  places. The stud work was more complicated toward the ceiling where we had to accommodate the roundwood rafters and the slight slope of the roof. The laser level was very useful in this situation.

IMG-20200414-WA0003
Partially finished internal studded partitions

Even with this job being only partially complete, the stud work really changes the house internally. It had been completely open-plan until this point. Now, not only is there a clear indication where the rooms will be but there is a greater sense of how circulation and light will work inside the house.

b) Fascia:

We took advantage of some of the early Spring weather to clad our fascia with some 18mm (3/4″) larch boards. The underlying fascia boards were horizontal and in a slightly zig-zag arrangement due to the shape of the roof. Affixing vertical fascia boards has ‘softened’ the appearance of the roof and given it extra protection.

IMG-20200305-WA0001
Waney-edged larch fascia boards

P1120859
Fixing the fascia boards


c) Plumbing

Our plumber, Pauric, installed some of the under-floor pipe work before we started to insulate. This included the kitchen and bathroom supplies and some of the pipes for the underfloor heating system.

d) Spring Planting

We planted around 30 native broad leaved trees and some shrubs on the large pile of top soil which was removed at the beginning of our build. Initially we considered using this soil in our garden but we’ve decided to plant trees as a shelter belt protecting us from south-westerly winds (our prevailing wind direction).


Building the Roof (111)

During late August and September, we finally managed to insulate and waterproof our roof. We worked with our roofing contractor, Ed Sullivan, to complete the job. He reckoned that it was probably one of the most awkward roofs he’s worked on! Due to the roof’s myriad planes and slopes, both insulating and waterproofing were time consuming, difficult tasks.

Our roofing system is a warm deck (i.e. the insulation is above the OSB deck) and this brings it inside the building’s insulation envelope. This should eliminate condensation as there should not be any cold surface on which condensation could form. It also eliminates the problem of thermal bridging which would occur on a cold deck, as the insulation would be between the joists (see video for comparison between warm and cold decks).

The roofing system we used was Resitrix Full Bond, an EPDM covering which was supplied by Laydex. This layer was bonded to the polyisocyanurate rigid foam insulation (PIR) which was mechanically fixed to the deck. PIR is normally used for living roof structures as  it provides much greater thermal efficiency than wool-based insulation, and its rigidity allows the EPDM layer to be bonded to it fully. We were unable to find a suitable ‘natural’ alternative to PIR and had to observe the specifications of the roofing system we opted for.

For our roof, we were required to achieve a U-value of 0.16 W/m²K – to do this we needed a minimum of 150mm insulation. We decided to install 160mm, as retro-fitting insulation to the roof would be almost impossible and the extra depth will help to achieve our overall A3 rating.

P1120670
The roof insulation arrives!

Insulating the Roof:

Working with Ed Sullivan and his crew, we decided that we would insulate and cover the flatter, more gently sloping parts of the roof first. Then Maria and I would insulate the reciprocal roofs before Ed and his crew returned to complete the bonding of the EPDM covering.

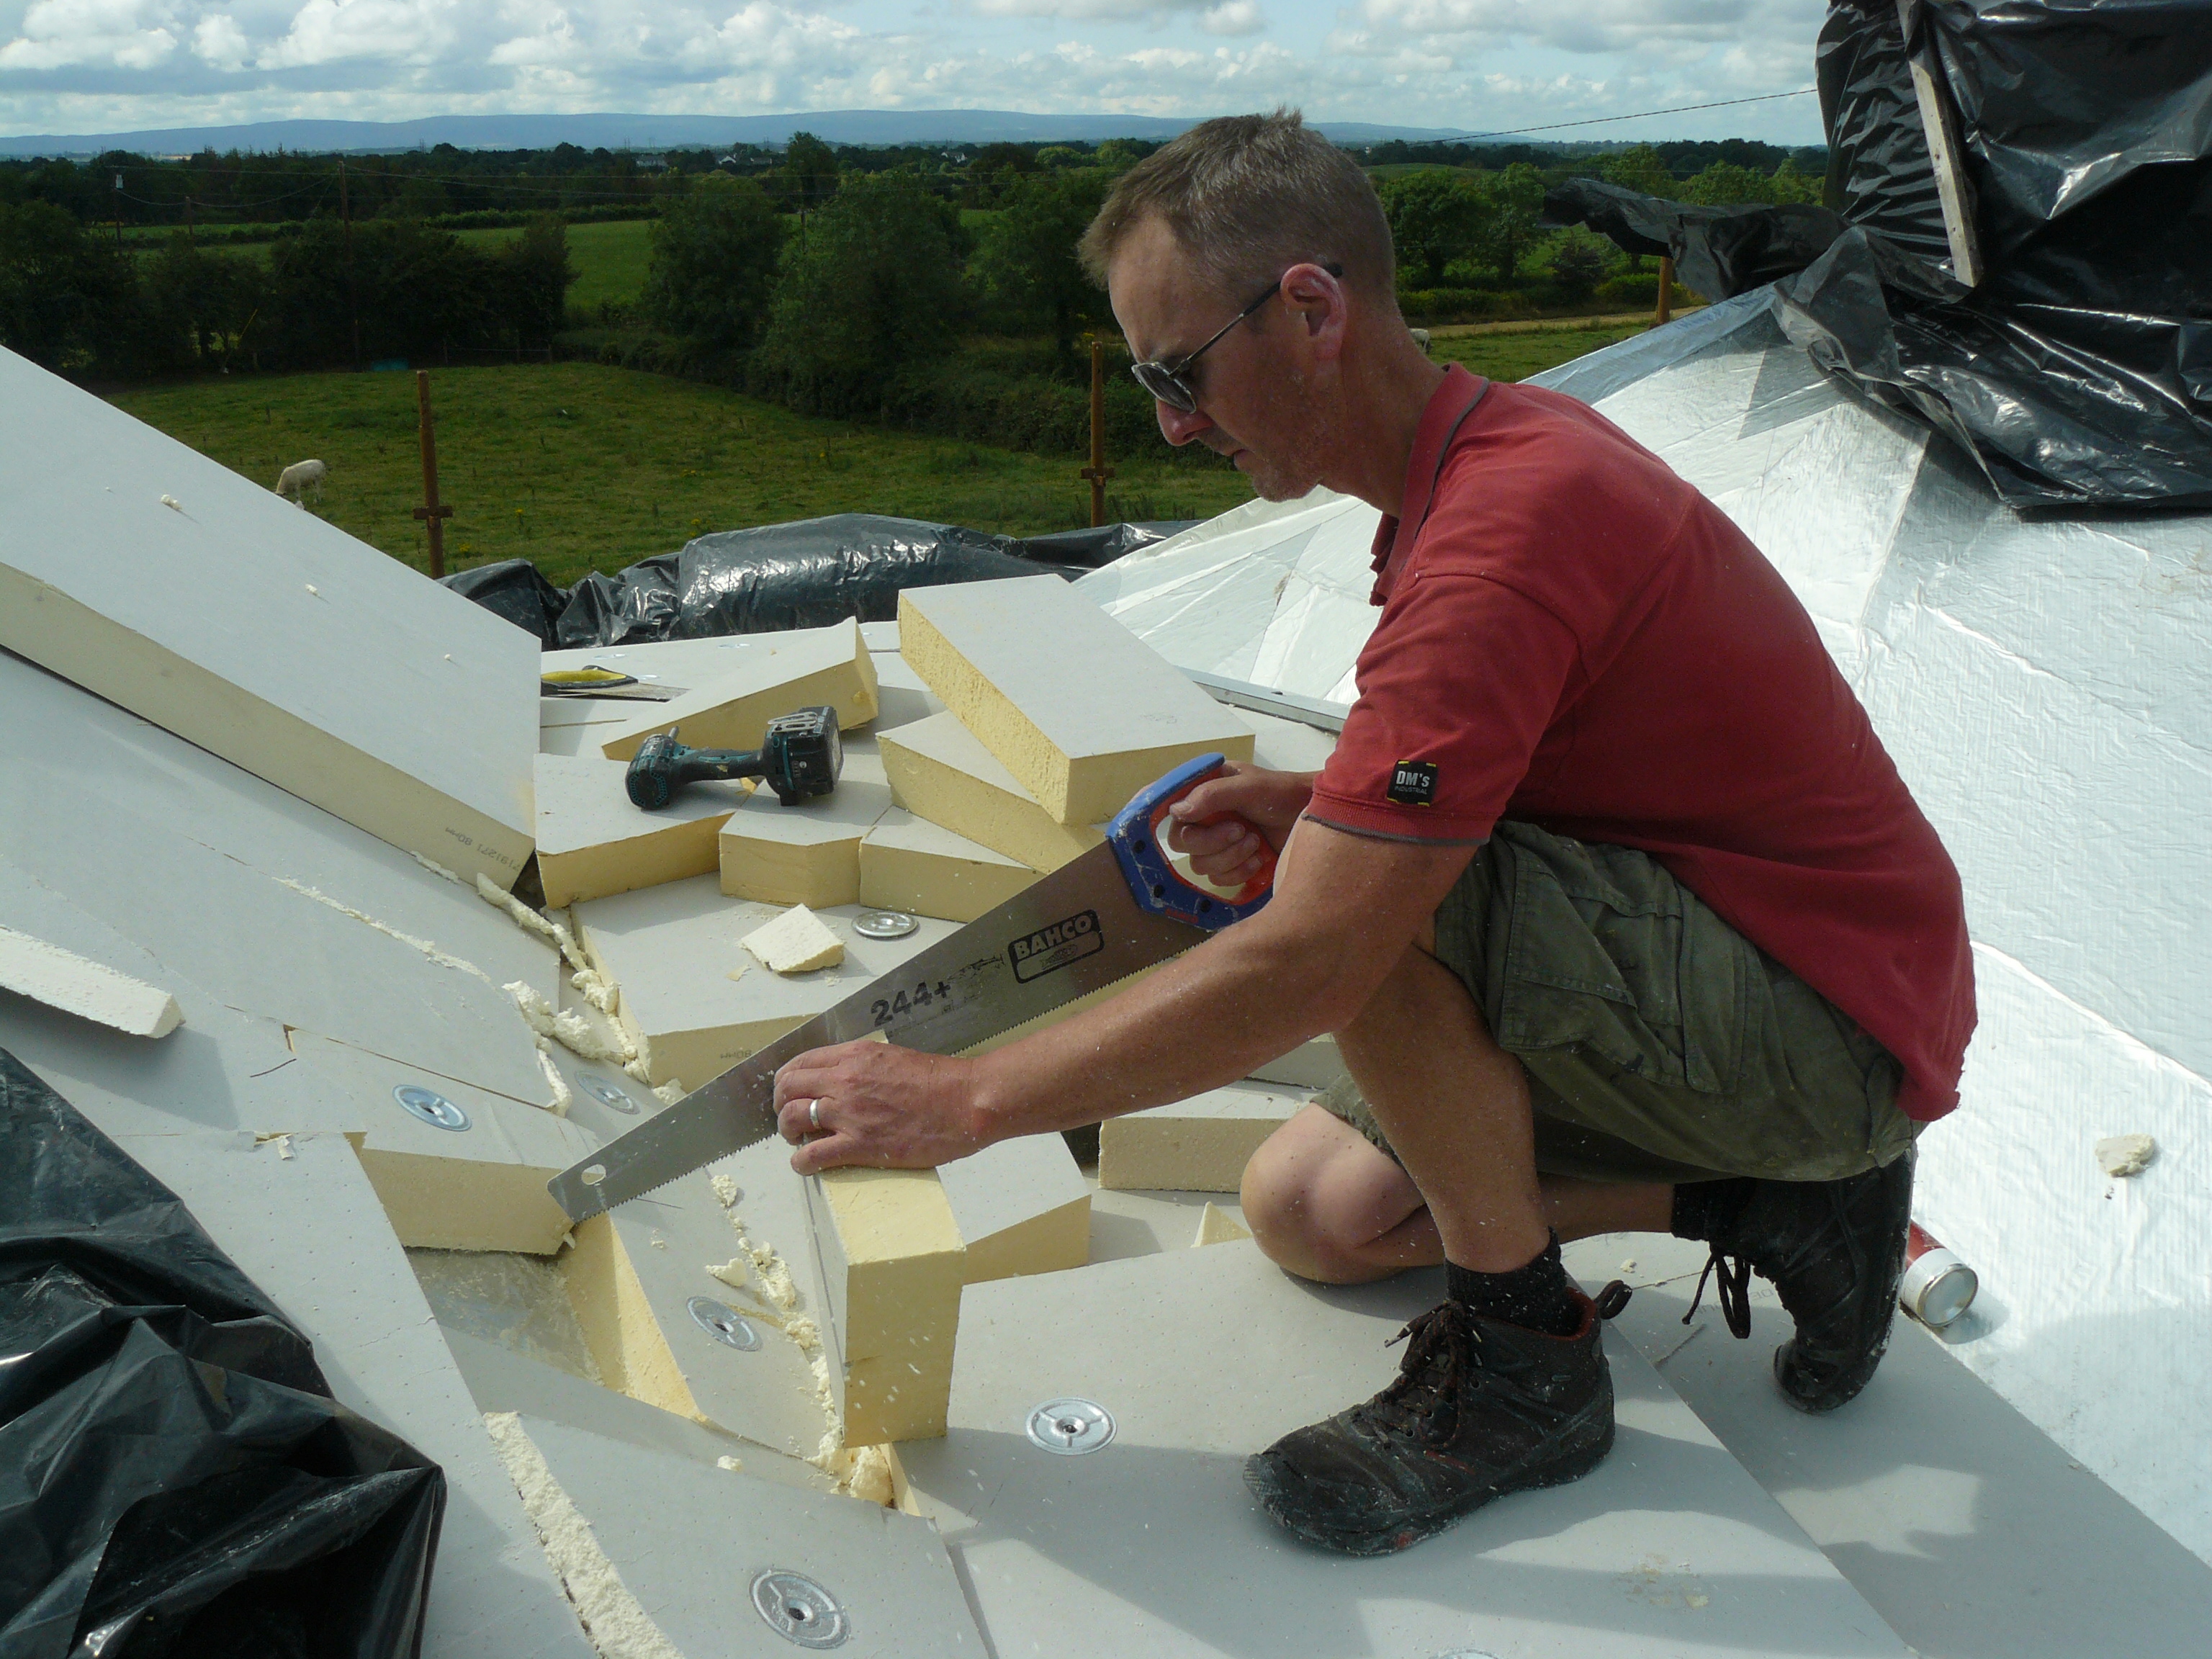
We purchased enough insulation for two layers of 80mm (160mm of insulation) to cover the whole roof. As the insulation is rigid, we needed two layers of 80mm sheets as we were able to ‘bend’ them into the contours of the roof. This would not be possible with 160mm sheets. This did entail a lot of repetitive work as each layer was quite similar but we had to ensure that we bridged the joints in the insulation, where possible, to make the insulation effective. The insulation was affixed to the deck with metal fasteners and was then coated with a primer which was fully bonded to the EPDM cover.


P1120694.JPG
Bonding the EPDM to the insulation

P1120690
PIR insulation affixed to the deck


Once the flatter lean-to roof was insulated and covered we began to work on the reciprocal roof. This was towards the end of July and luckily the weather remained mainly dry. It took about two weeks to complete the insulation of the reciprocal roofs as there was a lot of cutting, fixing and offering-up. The day after we finished insulating the roof the summer rains began falling!

P1120704.JPG
Lots and lots of cutting…

P1120722.JPG
Completing the insulation jig-saw puzzle


When the insulation was completed, we had a delay due to weather and contractor commitments. However, by mid-September the weather had improved and we were able to complete the EPDM layer…at last.


P1120783
Welding the EPDM layers

P1120774
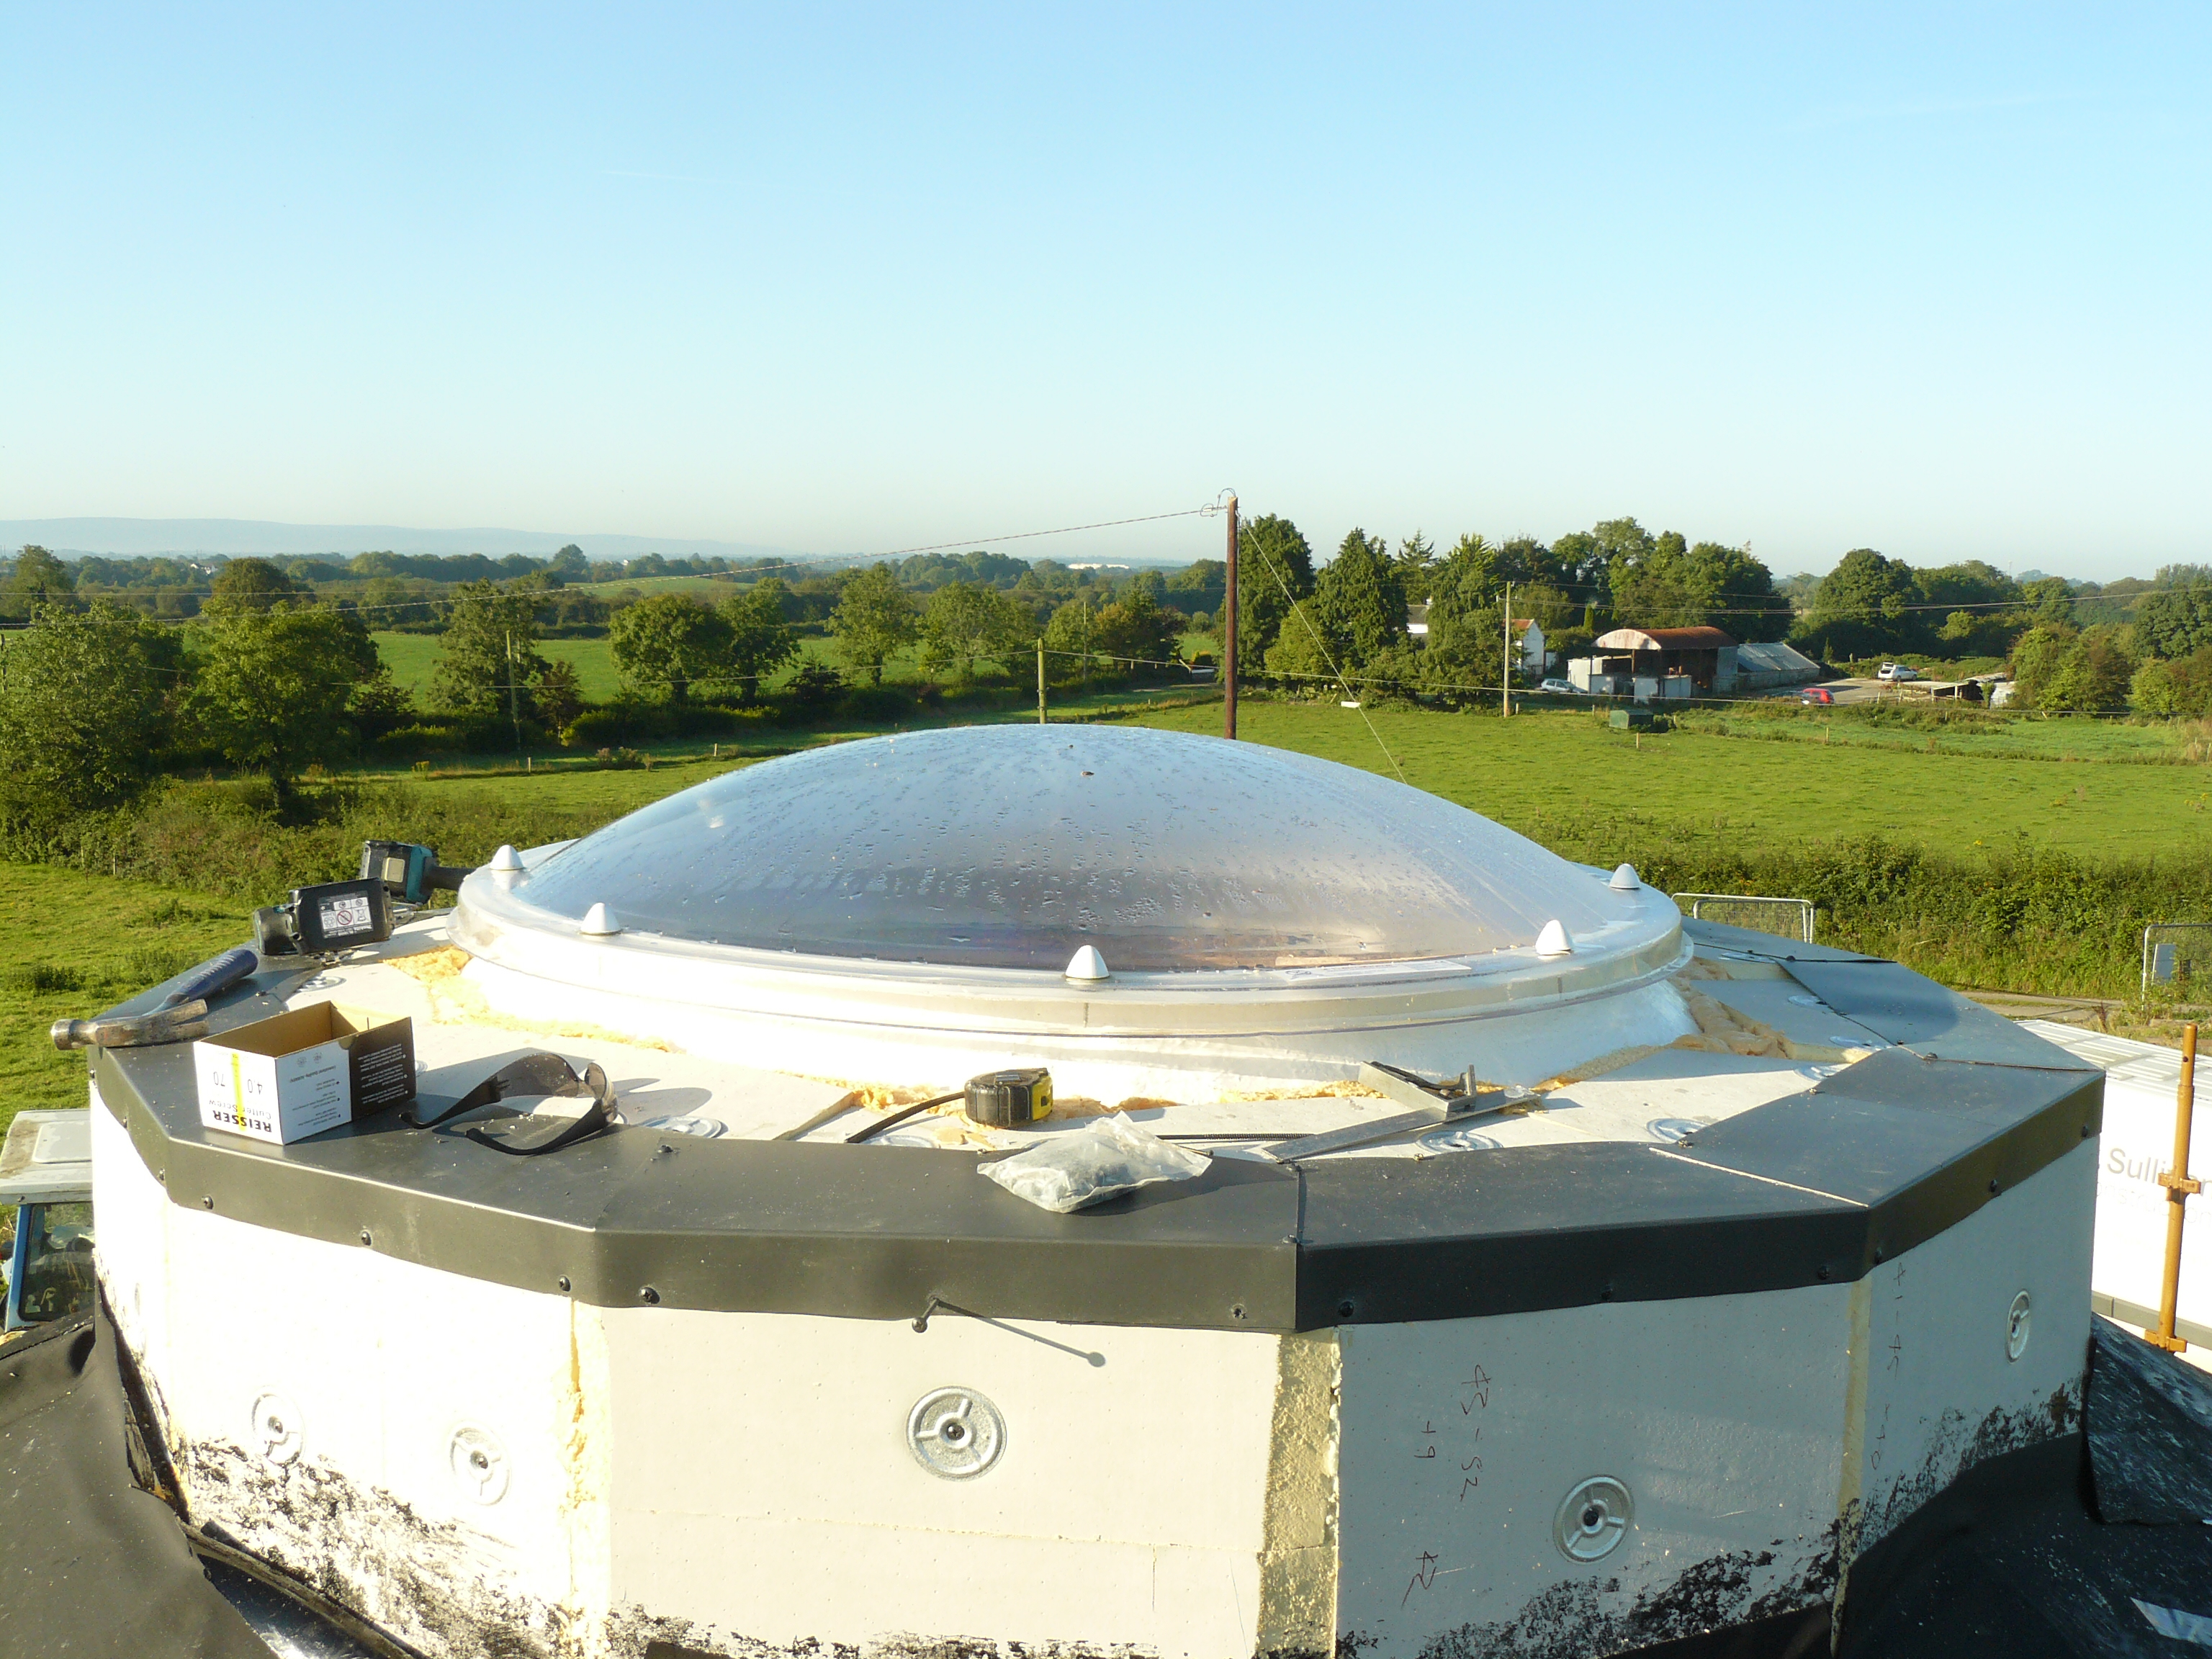
Detail of roof light upstand


After the roof was waterproofed we were really exhausted and decided to take a short break – our first holiday in several years. A welcome rest.


Other jobs:

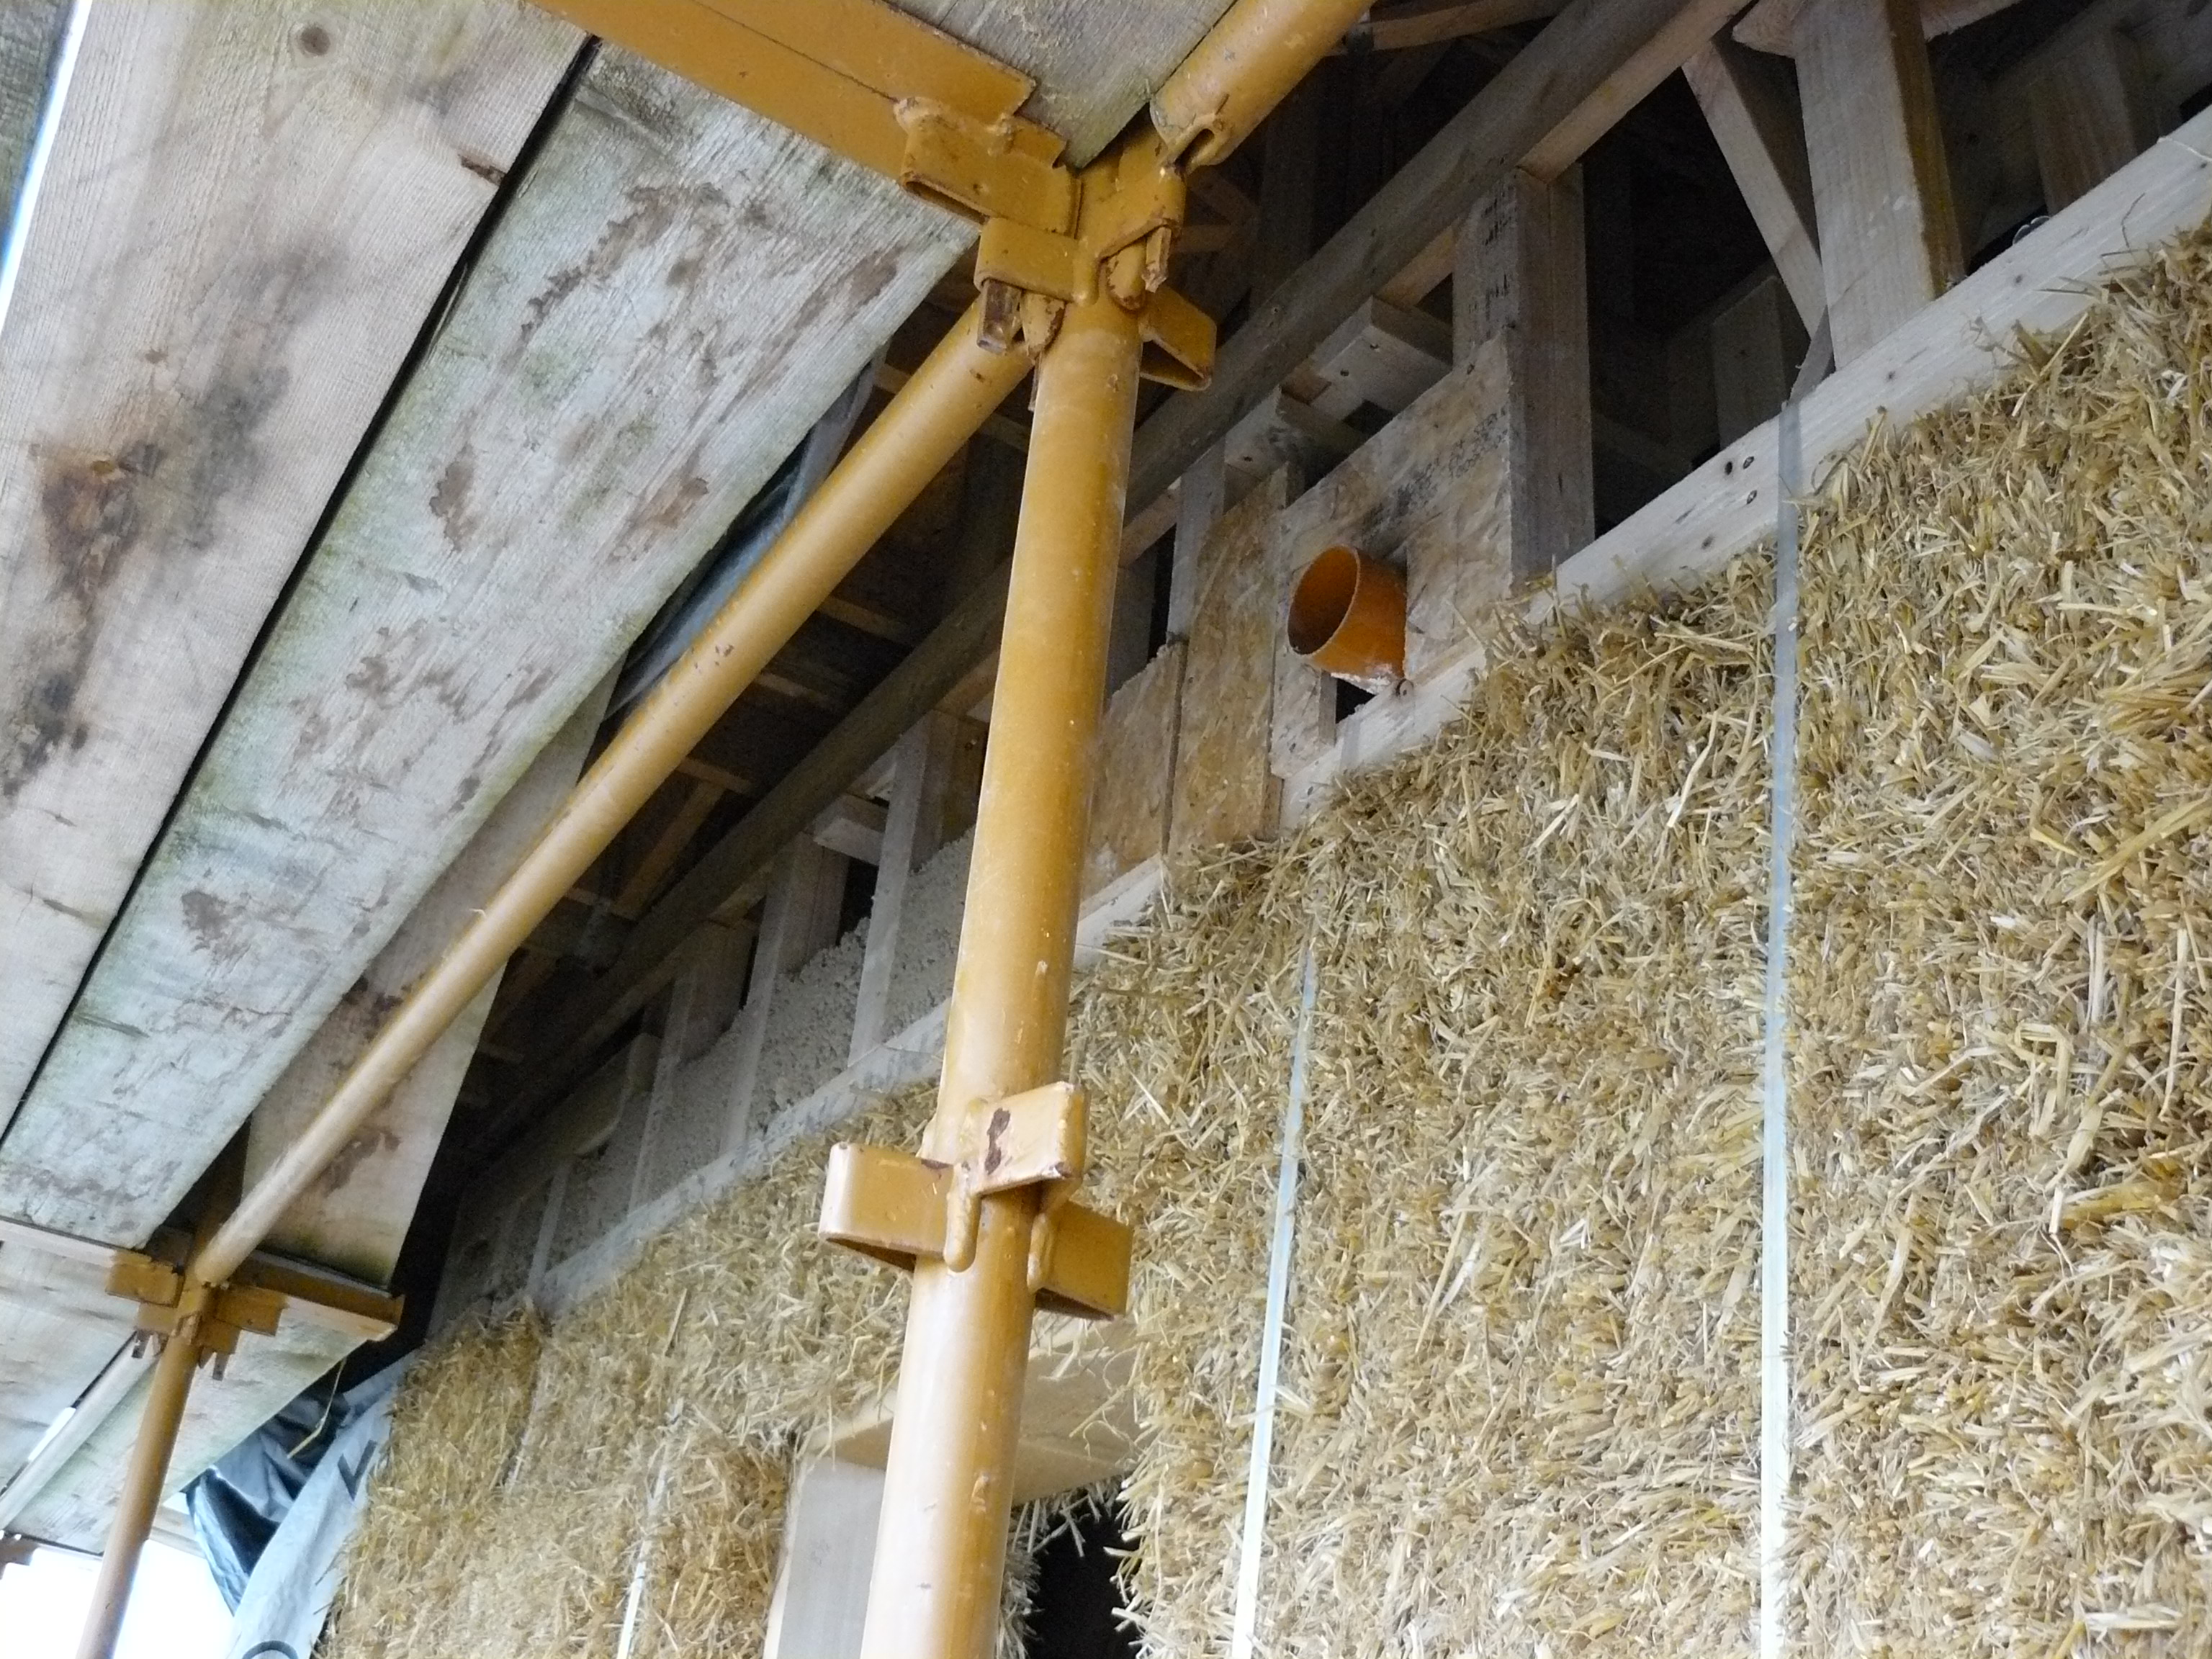
a) Insulating the Void: The void between the top of our straw bale walls and the underside of the roof was insulated and covered with wood fibre board.

For the insulation we used both hemp lime and wood insulation. We purchased the hemp lime from Marcus at Hempire Ltd. We were aiming to fully insulate with hemp lime, but as it needs to be shuttered into place, it was really difficult and impractical to try to insulate right up to the underside of the roof with it. We decided to insulate the lower part of the void with hemp and complete the rest with wood insulation.

This was quite laborious, about 4 tonnes bucket-by-bucket, working under the roof overhang. Ideally this could be sprayed into the shutters if there is equipment or a contractor available to do it.  


P1120666
A ton bag of hemp lime insulation

P1120671
Hemp lime insulation in the void


b) Installing Wood Fibre Boards

When we finished adding hemp to the void we bought some external and internal Pavatex wood fibre boards (40mm) from Acara Concepts. This product is a very ecologically sound one, as it is made without any bonding chemicals or deleterious practises. It also performs very well as an insulating material, and it allows for breath-ability and acts as a thermal mass.

The external boards are slightly smaller but much more densely packed than the internal ones. The were affixed to the wooden framework we built on top of the bales at 400mm centres. This job involved a lot of cutting as the fibre boards had to be shaped around the roundwood rafters. It was also slow moving as it involved working from a  scaffolding deck.


IMAG0142
Fixing wood fibre boards internally

P1120787

Wood fibre boards in place


c) Windows and Doors

Openings in walls are very obvious places where water can ingress, and where heat can escape. For straw bale walls, dampness can lead to rotting straw which has to be replaced if it cannot be dried out, and it is a very difficult problem to correct. This is one of the most important details in our walls.

We began looking at windows and doors after we started building our walls. We visited several showrooms and searched for ideas. In order to satisfy building regulations, our windows need to achieve a U Value of  1.2, and our doors a U Value of 1.4 (or better) – these values could be achieved with double glazing.

Luckily my cousin Joe at Finlay Build is an agent for Camden Windows. As Finlay Build is a local firm Joe was able to spend a good bit of time discussing our requirements and providing us with excellent on-site advice. We decided on triple-glazed UPVC windows and doors which were installed in September, increasing from double to triple glaze added approximately 10% to the total cost, which we decided was worthwhile. This enabled us to achieved an improved U Values of 0.9 for the windows, and 1.2 for the door.

P1120733
Finlay Build installing windows and board

As well as installing windows we had to decide on our window sills. Wooden sills, whilst appealing, are rarely installed locally. Concrete sills weren’t desirable and would have been too heavy to work into the straw, so this left aluminium sills. We worked out some of the detailing with Joe who installed the windows and then we contacted David Gorry at Gorry Stainless Steel who manufactured our sills.

We found it very useful to use locally based suppliers and manufacturers. One of the lessons we’ve learned on this build is if there is something that you require to be made bespoke, it is vital to be able to speak directly to the person who is making it, particularly when the tolerances are only a few millimetres. This relationship with the suppliers or manufacturers is more easily achieved when dealing with local, small-scale firms.

The windows and sills were installed in a day and a half. The roof was waterproof and we now began preparing for plastering!

d) Preparation for Plastering

P1120767
The Lime arrives…but…

We thought that we’d have time for plastering before the weather got colder. However some early frosty weather in October meant that we had to cancel plans for plastering this year and complete it in late Spring 2020 (lime plaster needs to avoid temperature below 6ºC or it may crack before drying).

Currently we are working on installing our raised wooden floor and ideally would like to have the floor completed (including the underfloor heating system) before we begin plastering next year.

We do hope to complete our house in 2020. It is impossible, at this stage, to suggest an approximate date as delays and difficulties will always play a part in any building timescale.

We do think it’s realistic to be finished some time next year…

P1120678.JPG
The swallows have kept us company during the summer with their beautiful singing and amazing flying. They nested inside in the roof and have had two clutches. These young chicks are learning to fly. They were untroubled with us working close by and regularly serenaded us singing from the scaffolding. We look forward to their return next summer.


IMG-20190624-WA0002
This is my favourite photo from 2019. I think it really encapsulates the essence of being a self-builder.

Building Straw Bale Walls

Building with straw bales is a relatively recent concept in Ireland. Most buildings were constructed within the last two decades, representing a tiny proportion of all homes, but, in many ways,  ideally suited to the novice self-builder.

There are many reasons to build with straw; low environmental impact, cheap and locally available, excellent insulation and breathable properties, providing a very healthy living environment (see a summary by Andrew Morrison at Strawbale.com). As  beginners we found Barbara Jones’ book indispensable. We also attended some courses run by Straw Works in the UK before returning to Ireland.

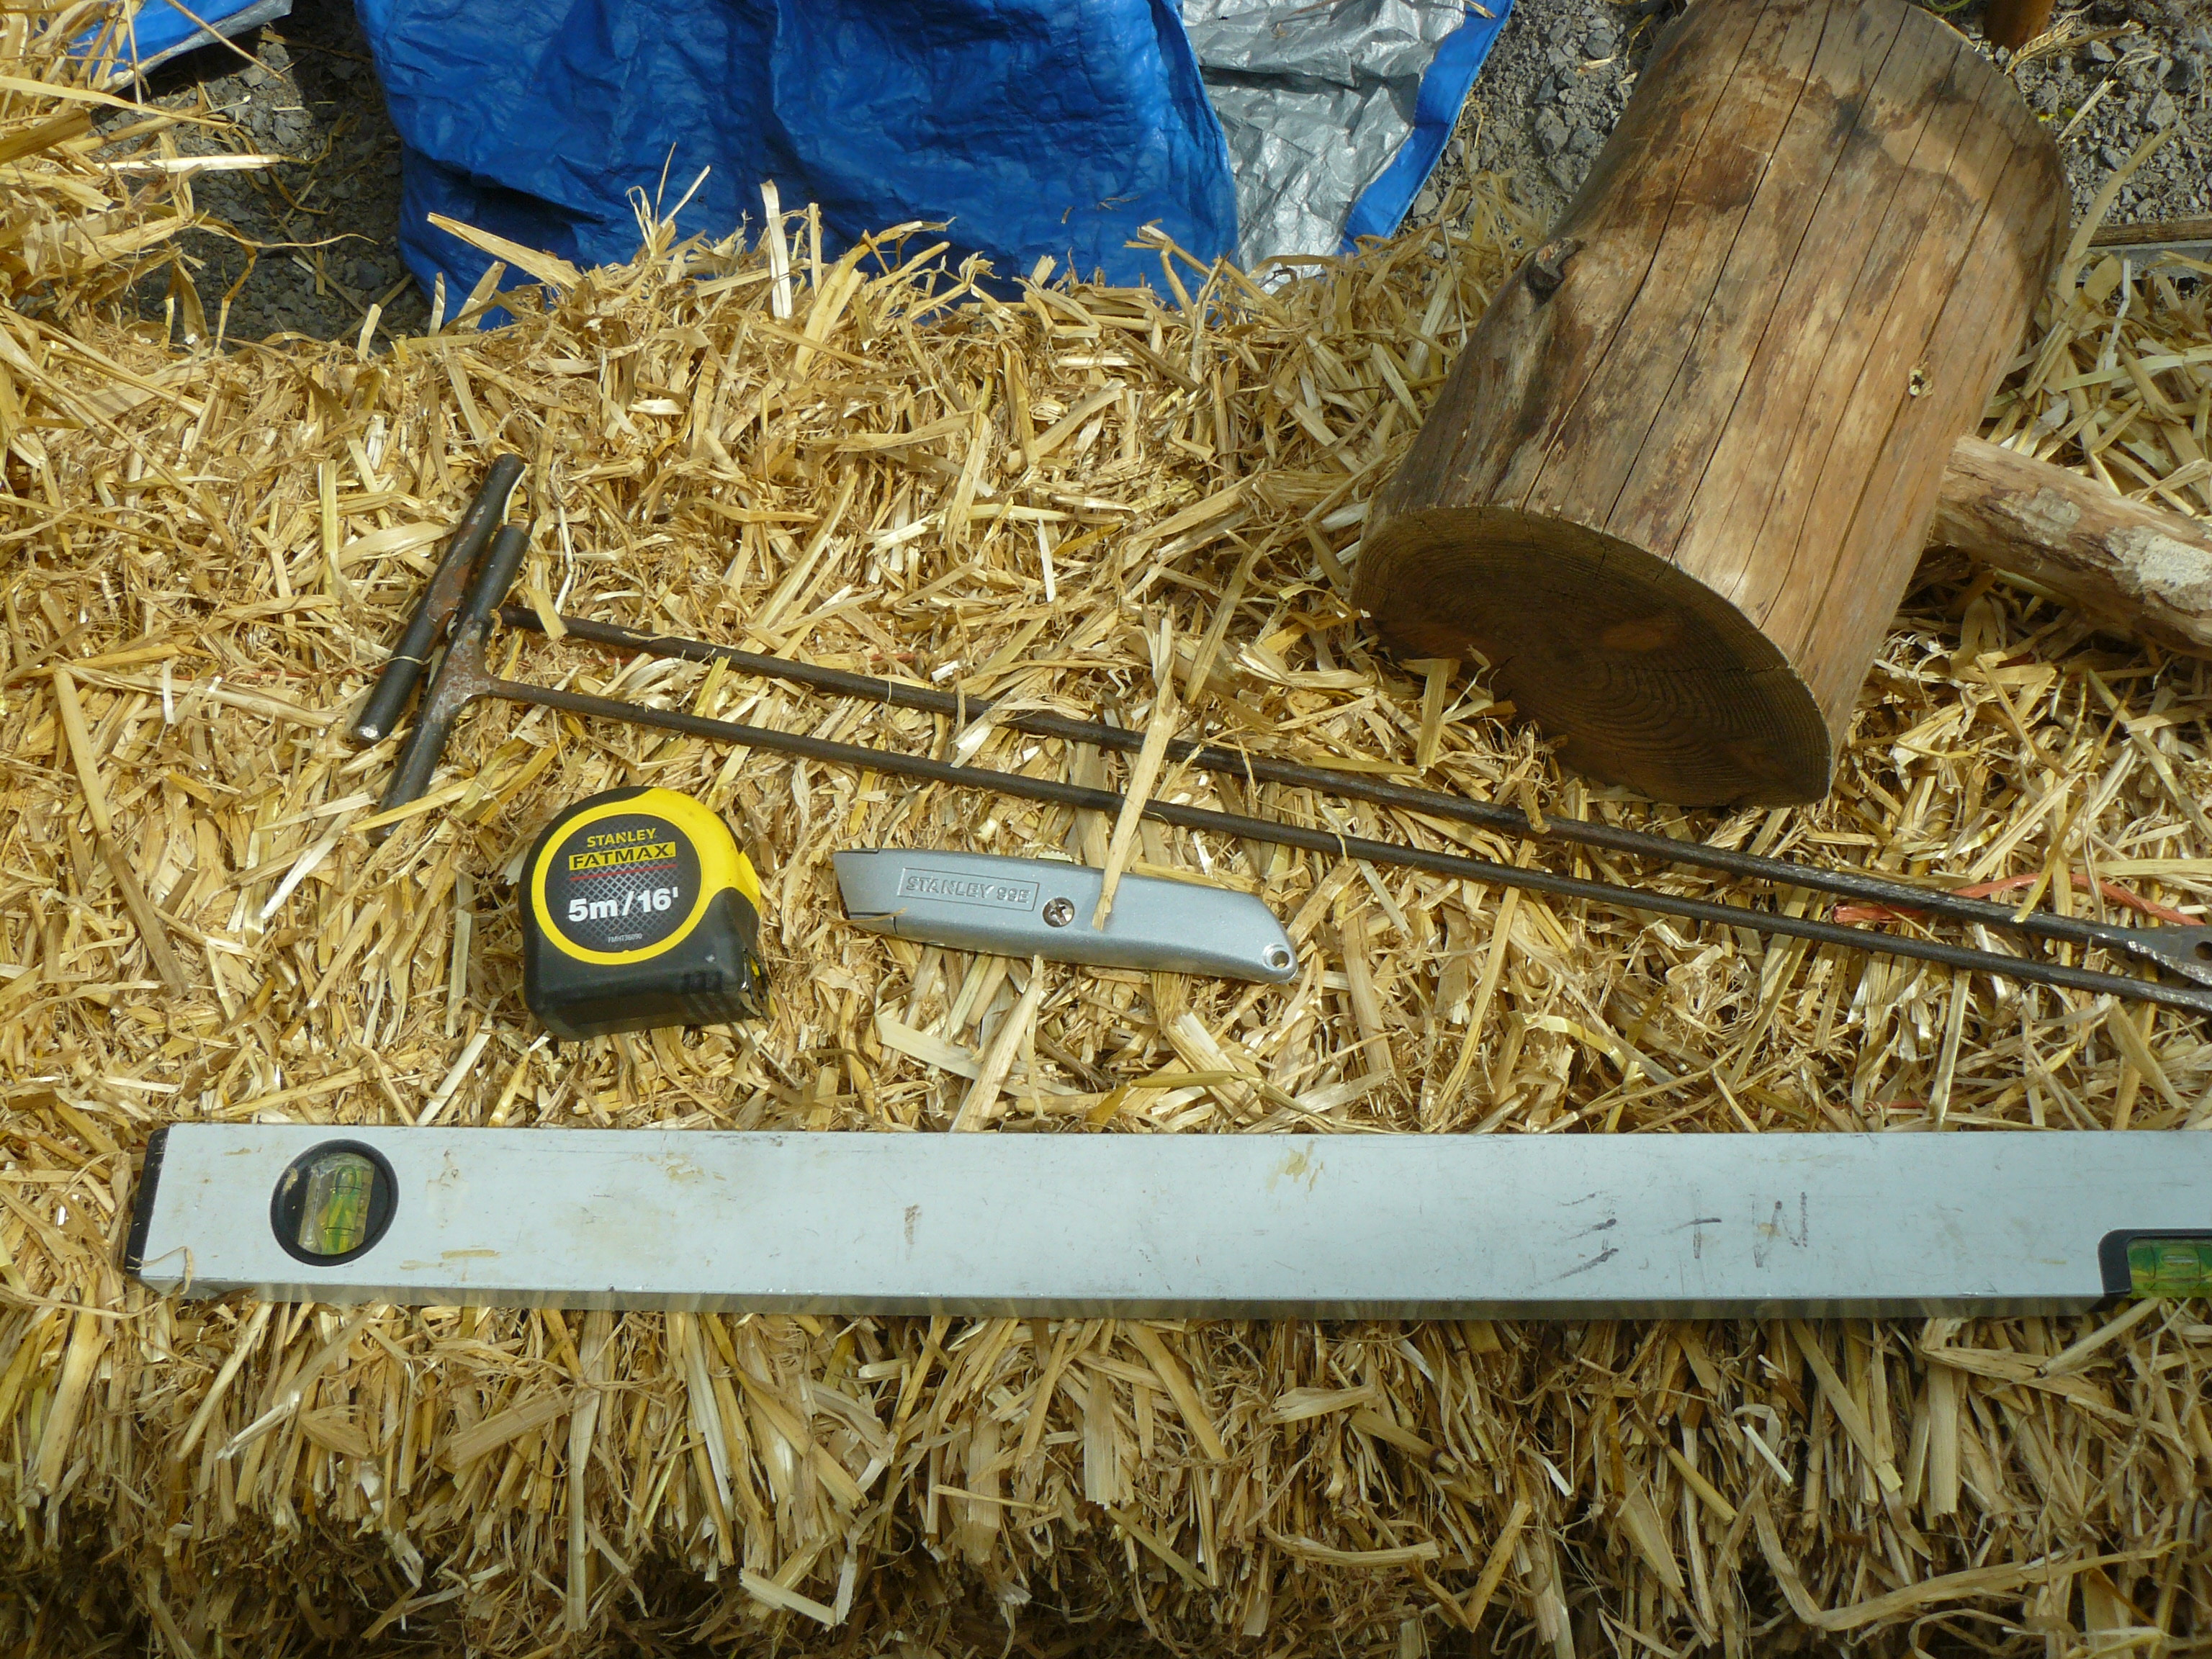
Construction of our non-load bearing walls was reasonably straightforward requiring a minimum of tools. However, there was preparation work to be completed before we began to build our wall. Similarly, when we had built our walls, we needed to work on the space between the top of the walls and the underside of the roof – the void – we called it!

1) Wooden ring beam/plinth: we built the ring beam in May 2017 after we finished debarking our roundwood. The beams consist of 300mm x 50mm (12″ x 2″) C24 timber with OSB (18mm) on the top and bottom. It’s important to use long lengths – as the ring beam will bear the weight of the bales, doors, windows and floors – so it needs to be very strong. The completed ring beam sits on top of the filled car tyres, we also placed damp proof course (DPC) and marine ply to meet regulations and to reduce the possibility of any water ingress.

The other main function of the ring beam is to provide a raised plinth to protect the straw bales from water splashing upwards during periods of rainfall. Externally, the ring beam will be covered with lime plaster.


P1100960
Wooden ring beams laid on top of the car-tyre foundation

The ring beams were stored until we began to install them in January ’19. We insulated the beams and covered them with OSB. We also added lengths of 100mm x 44mm (4″ x 2″) timber on top of the OSB to further strengthen the beam and to support the door and window openings and house the hazel stubs. The spaces between the timber were filled with Leca which acts as a moisture soak in the event of any water getting into the straw.

Fixing posts for windows and doors were added at this time. These posts consisted of 2 x (2 x 100mm x 44mm) (4″ x 2″) nailed together and fixed to the ring beam at the bottom and the wooden frame fixed to the roof rafters at the top. We needed to change some of our original window locations and sizes to accommodate the wooden braces in our main structure.

IMAG0172
Jal testing the warmth of our insulation

IMAG0175
Working on the ring beam


2) The First Bale

We began building our walls in mid-February. Our bale plan is based on an average bale size of 1m (40″). However, it is impossible to produce bales to a single length, so bales have to be re-sized and cut for window and door frames. It’s important in the early stages of building with straw to take things slowly and carefully.

The first course was secured in place by hazel stubs and as our walls rose to the fourth course we pinned them with longer (1m / 40″ hazel sticks at two per bale). We’re really grateful to our friend Nerina, who spent part of her summer holidays preparing countless hazel sticks. Before pinning we checked the walls for straightness.

IMAG0227
Pinning the first four courses beside a fixing post for a  windows.

P1120471
Hazel stubs in place for the first course of bales. LECA added as protection against moisture.


3) Compressing the walls

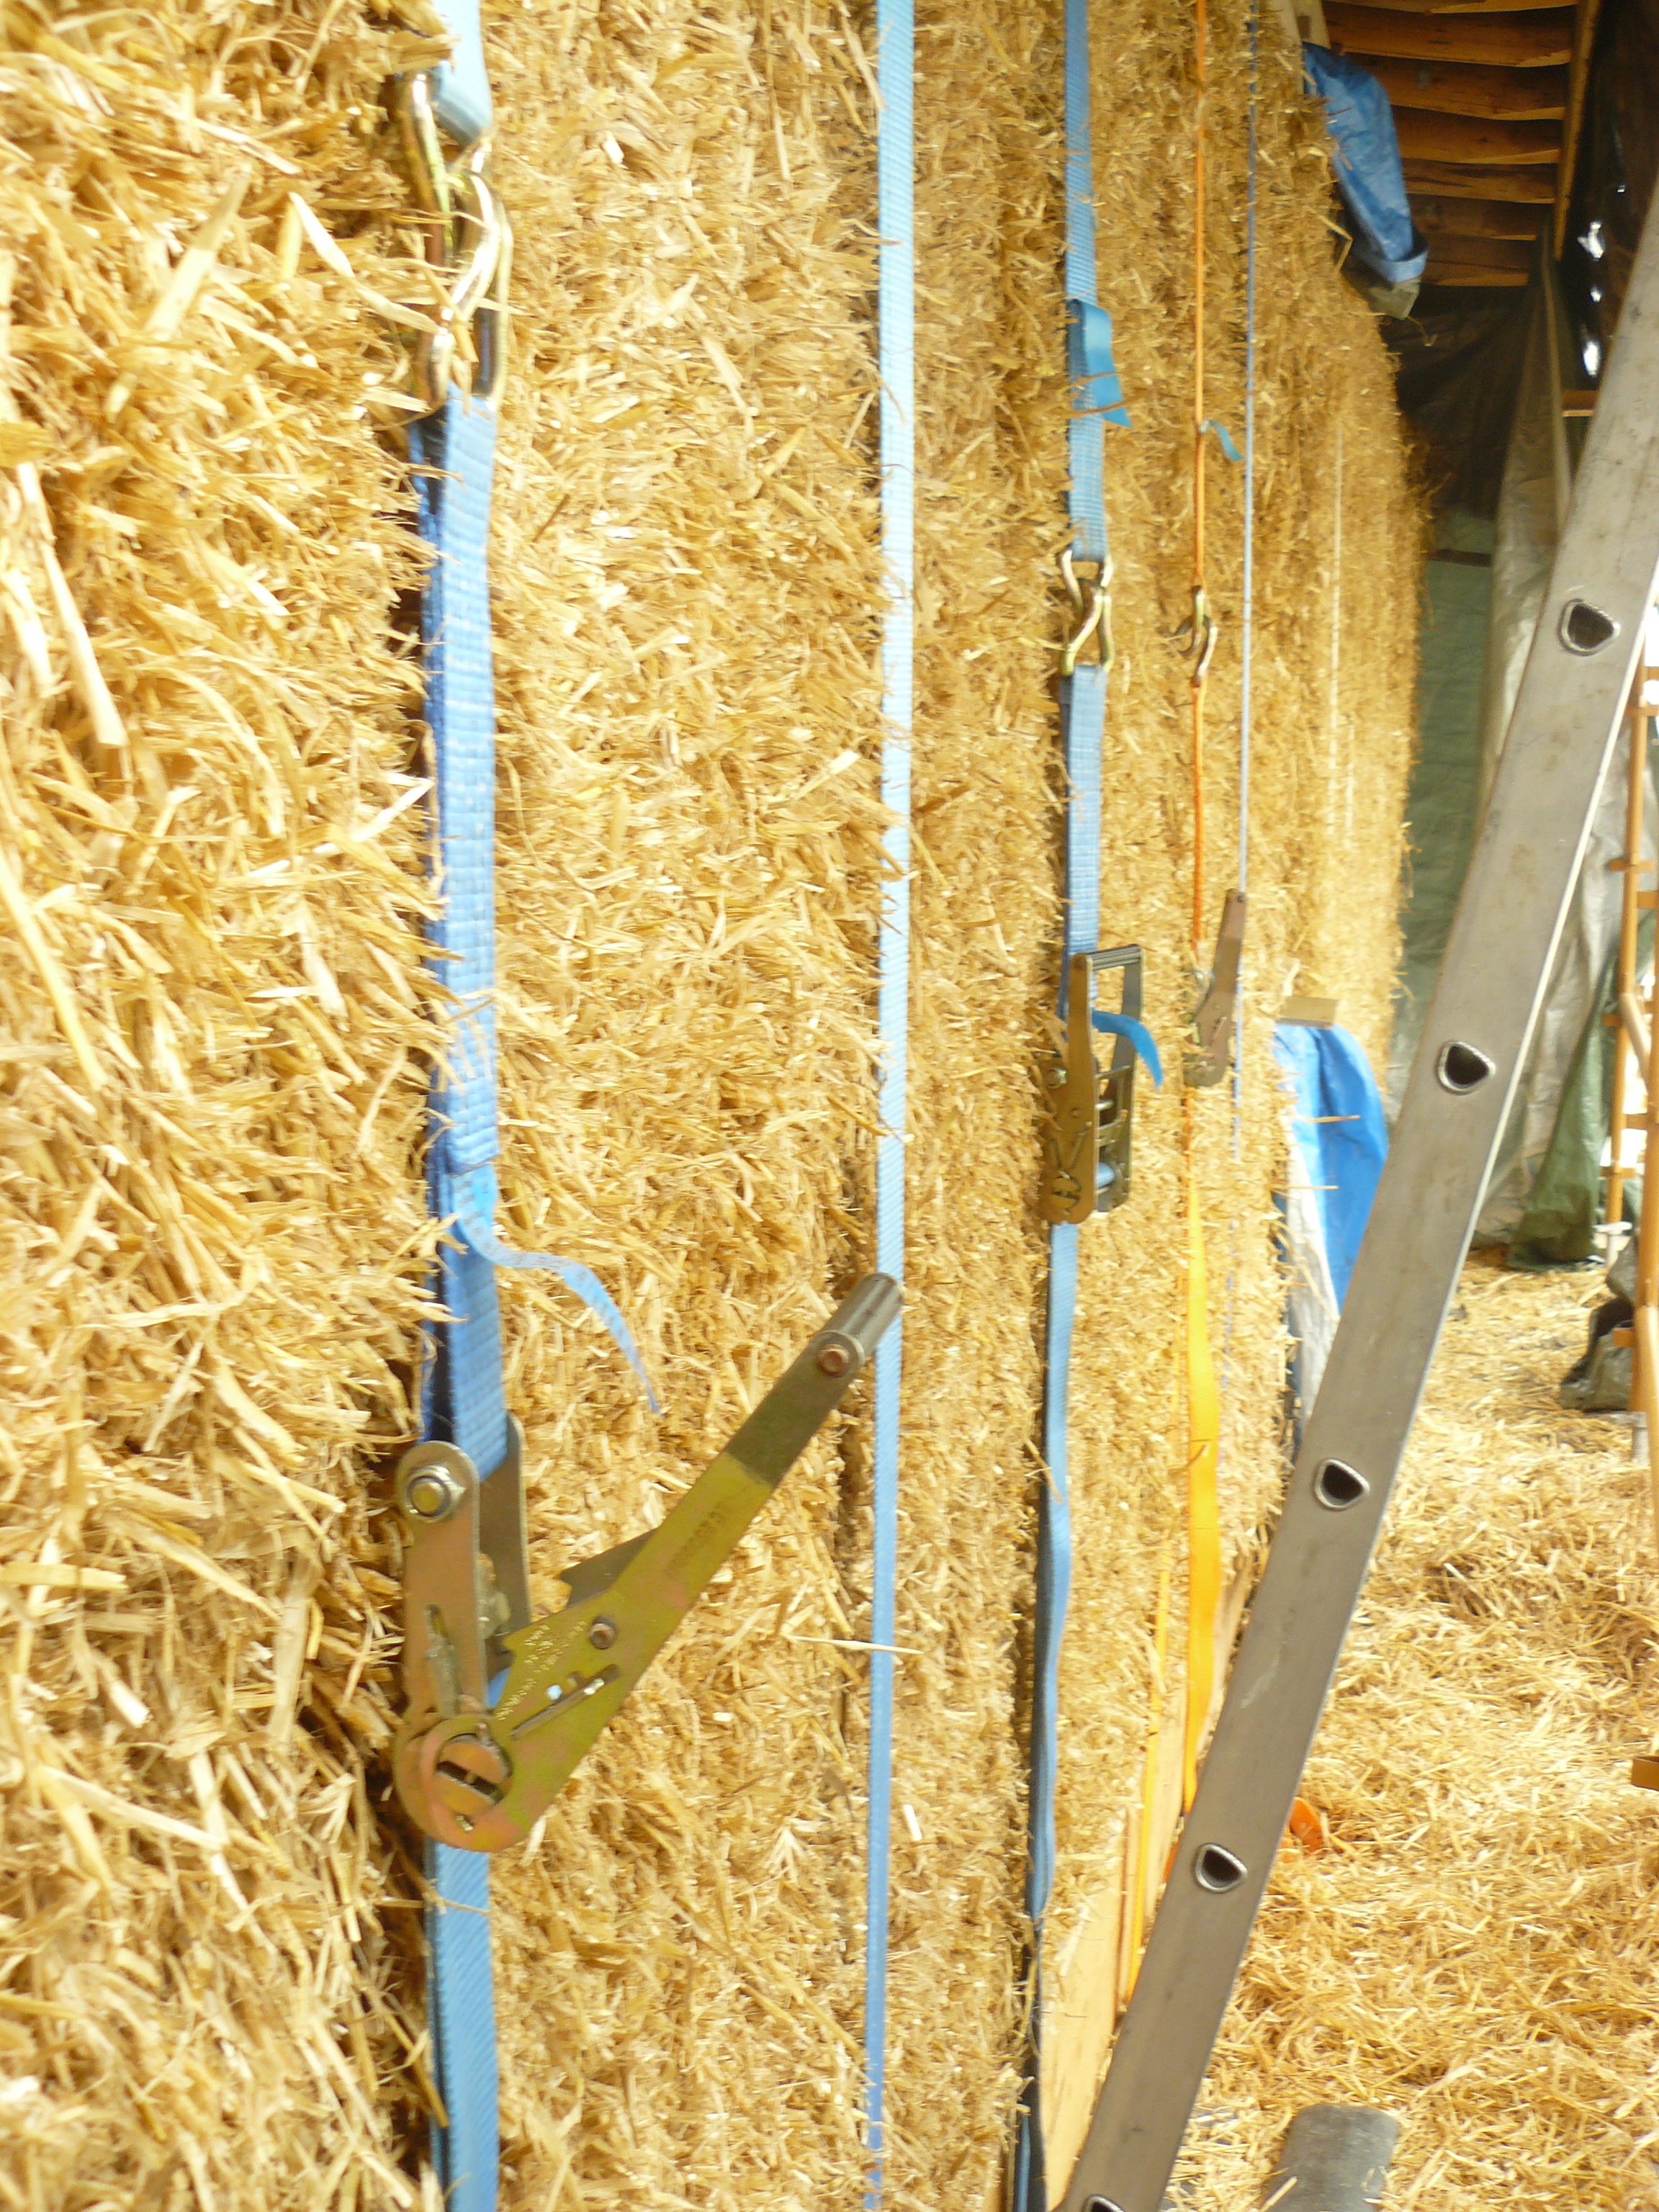
By mid April we were up to the sixth course of bales. As our walls are not load-bearing we had to come up with a solution to filling the space between the top of the wall and the ceiling. We did this by building a wallplate panel using  100mm x 44mm (4″ x 2″) timber and OSB. We suspended this from the roof rafters to allow for the seventh course to be put in place. We then compressed the walls with ratchet straps and sealed the compression with polystyrene straps (purchased from BM Packaging). The ratchet straps were placed under the ring beam and over the wallplate panel which meant that we were able to spread the compressive forces equally along the wall.

Compression  has a transformative effect on the walls, giving them much greater solidity and stability. We gained an average compression of 100mm (in seven bales). For windows and doors we did some test compression so that we could place lintels correctly. If they were too high or low they would affect the compression. When satisfied with the walls we gave them a hair cut to remove all the loose straw.

IMAG0039
Wallplate panel suspended above the walls before compression.

P1120597
Walls compressed using ratchet straps

IMAG0052.jpg
Trimming the loose straw before compressing the walls


Before we completed the work on the walls we had to build our porch, as it wasn’t part of the main roundwood structure and would be load-bearing. We had to wait for some dry weather as we reckoned it would take two weeks or so to build the porch and its roof.

Unfortunately, during the building of the porch we suffered a leak and had to rebuild part of the wall – one of the disadvantages of building without a roof overhead.

We completed the porch and roof  in mid-June and were now in a position to begin the focus on insulating and water-proofing the roof.


P1120608.JPG
Building the porch roof

P1120575
Straw bale walls can be built with simple tools


Additional jobs: Earth Anchors

We installed earth anchors so that our structure is correctly anchored into the ground. Despite our structures strength it could be susceptible to uplift in stormy weather, with wind acting on the 500 mm roof overhang which extends around the perimeter.

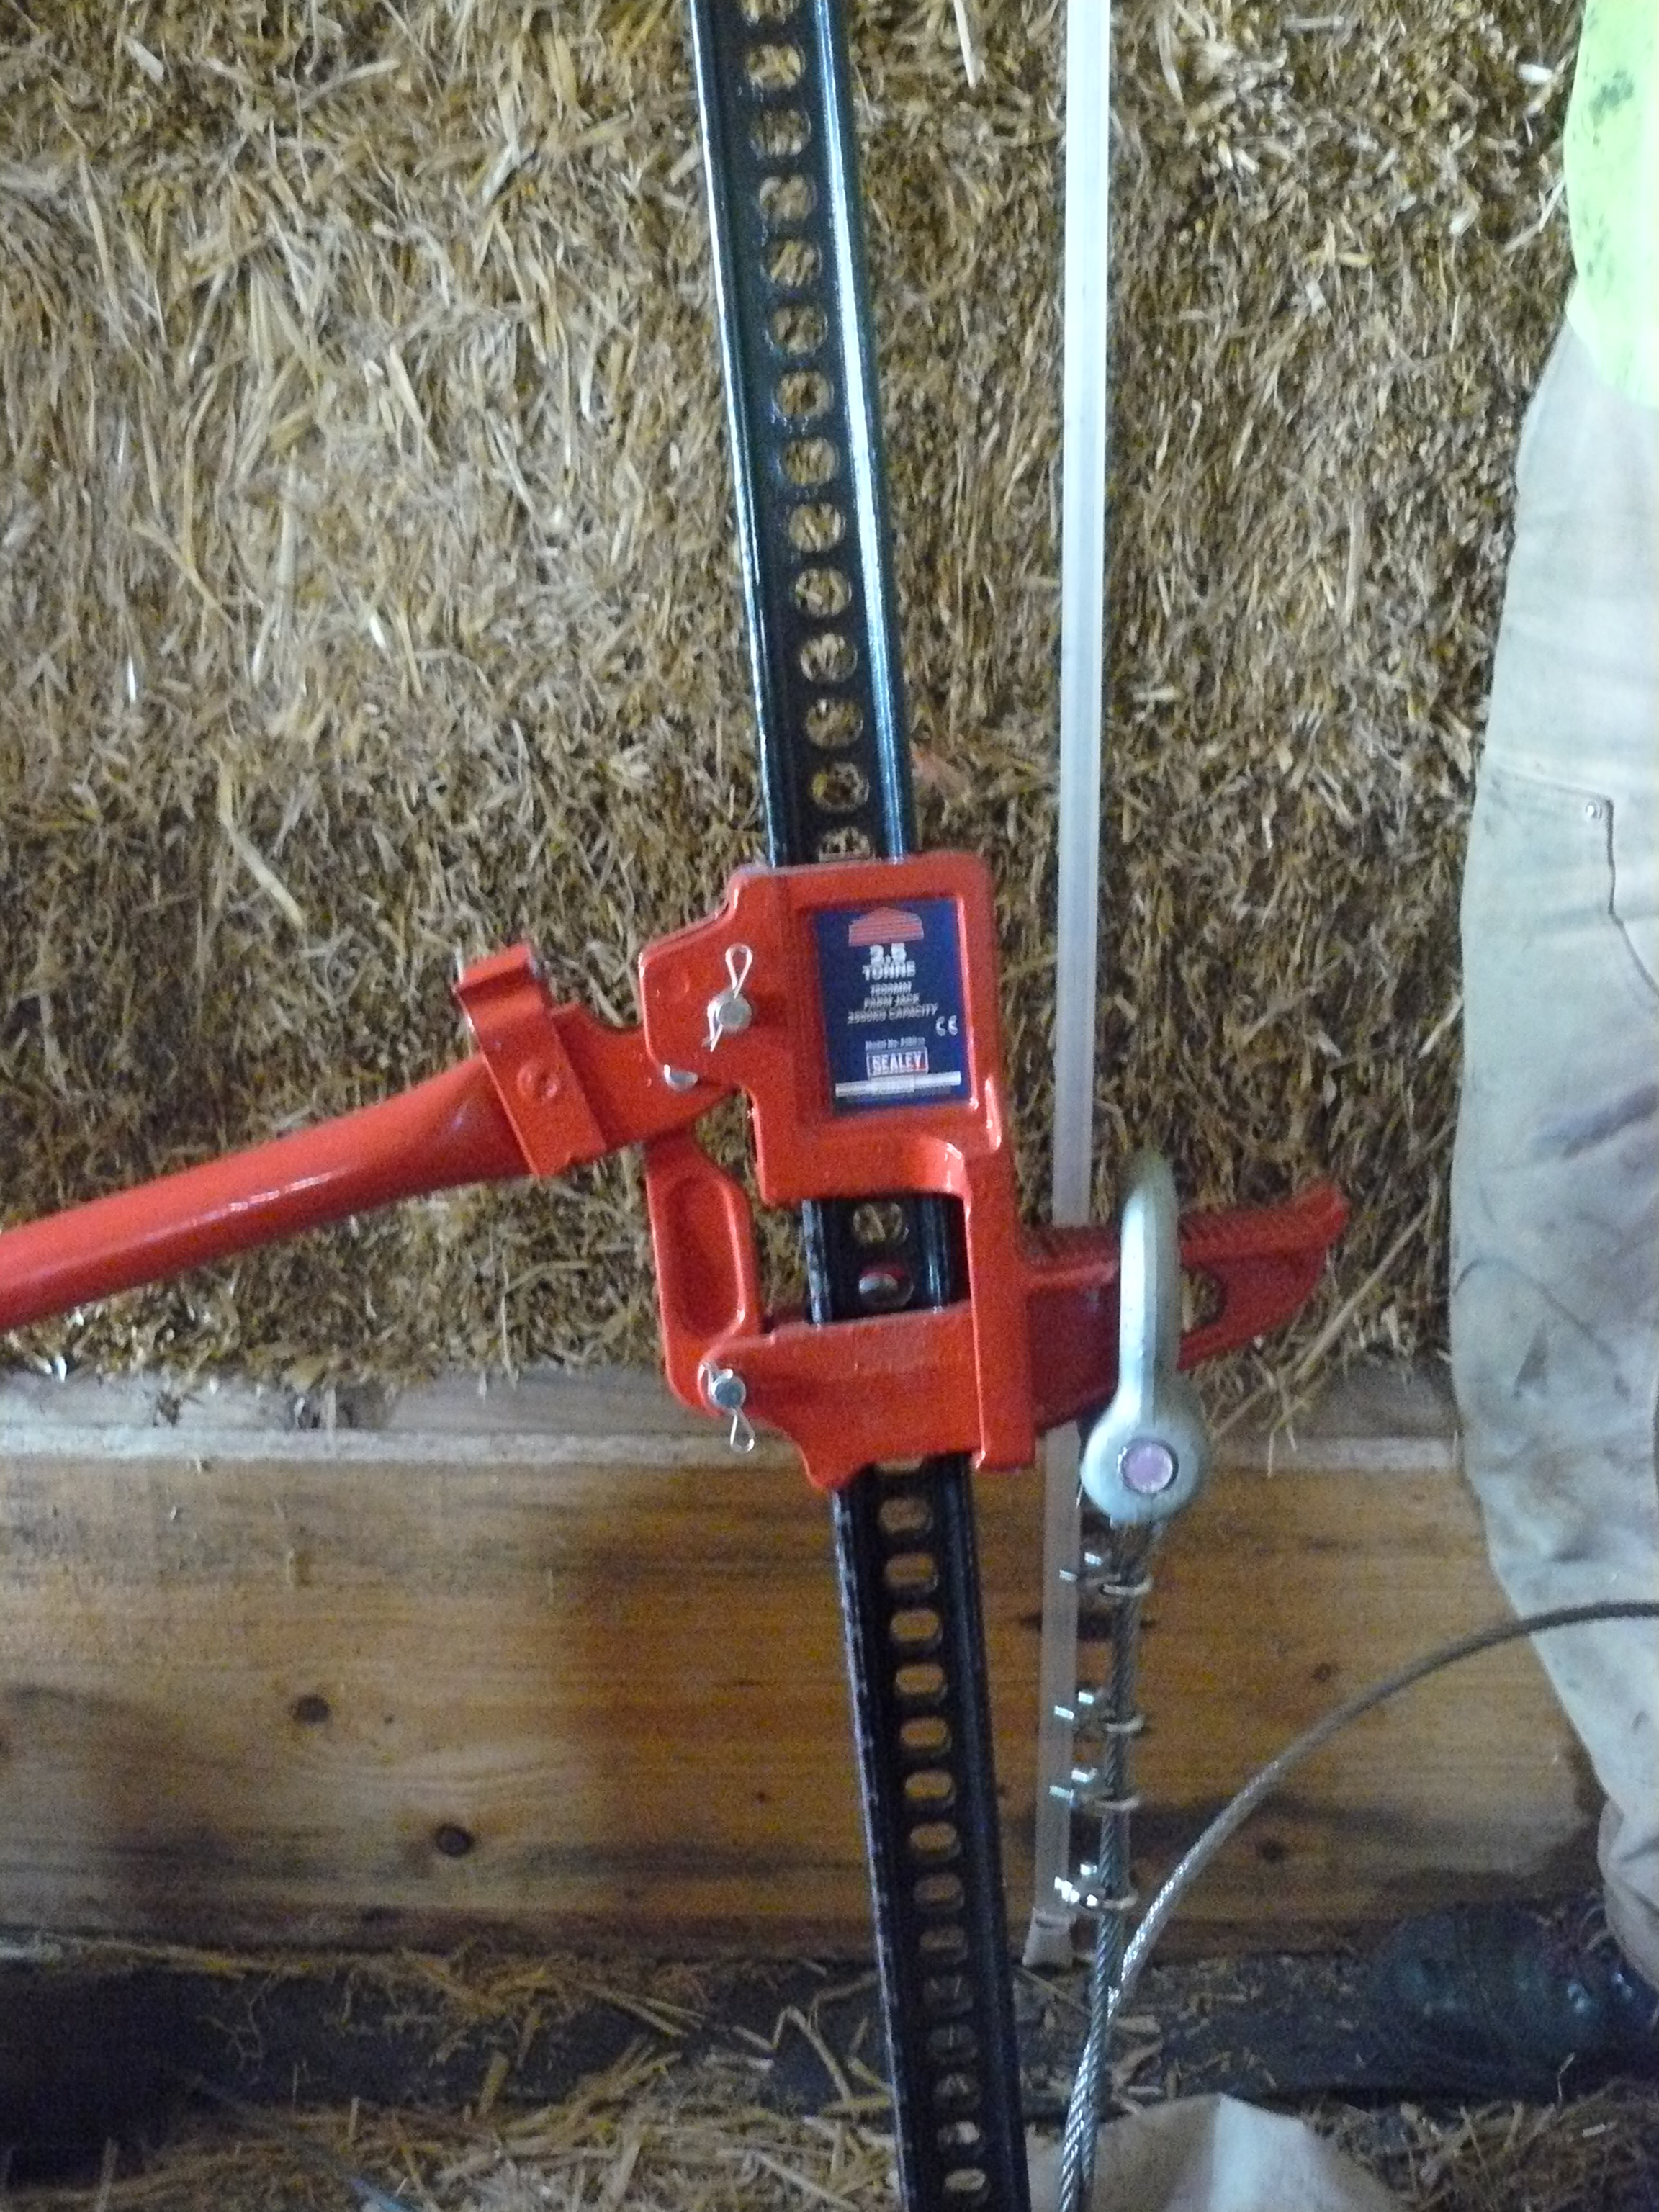
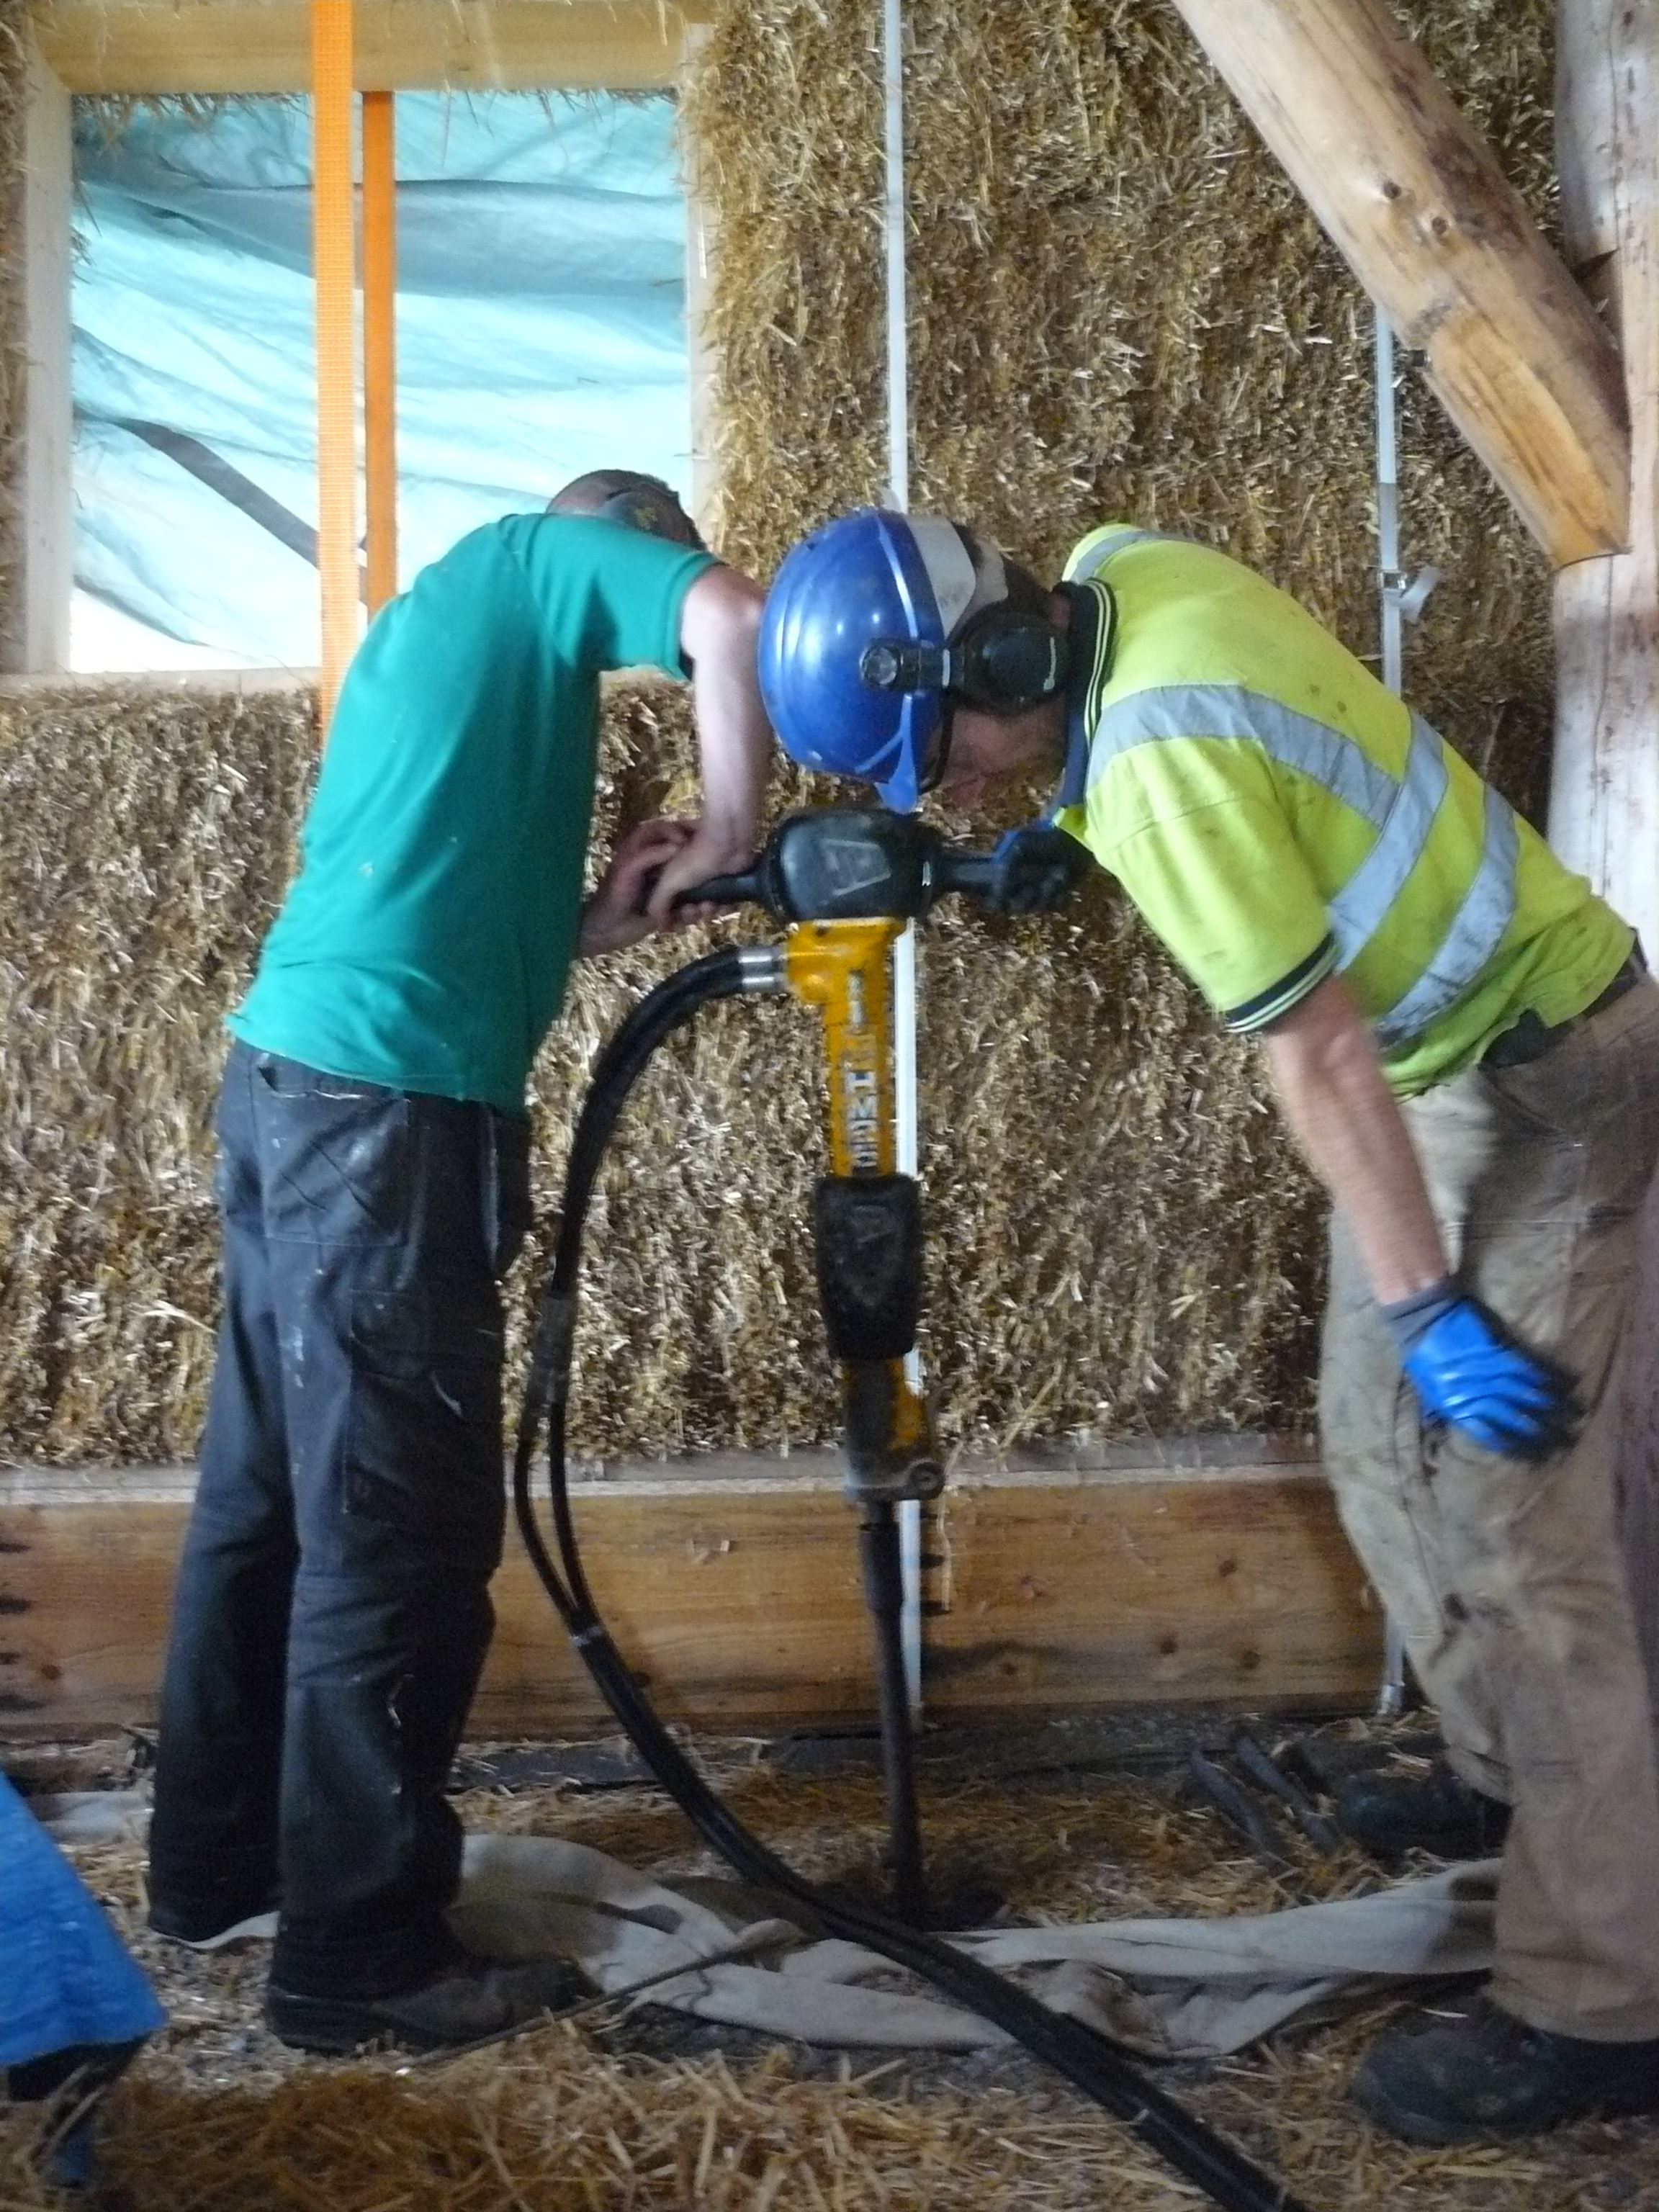
The anchors are driven about 2m (6ft) into the ground and the stainless steel lanyard is then jacked up with a tractor jack to apply the correct force and ensure that the anchor is properly employed. The lanyard will be eventually connected to the posts to prevent uplift. We were grateful to Osian for helping us install these and to Bobby Bazelgette from Solarwheel who advised and supplied the earth anchors.

P1120616
Using a tractor jack to apply 2.5 tonnes of pressure on the anchor to ensure it opens and is correctly installed

P1120611
Installing earth anchors with a jack hammer (with a special applicator tool)


The next task is to insulate and waterproof the roof and then begin preparing for plastering the exterior walls. We hope to be able to move inside in the winter months to begin work on the interior.

P1120636.JPG
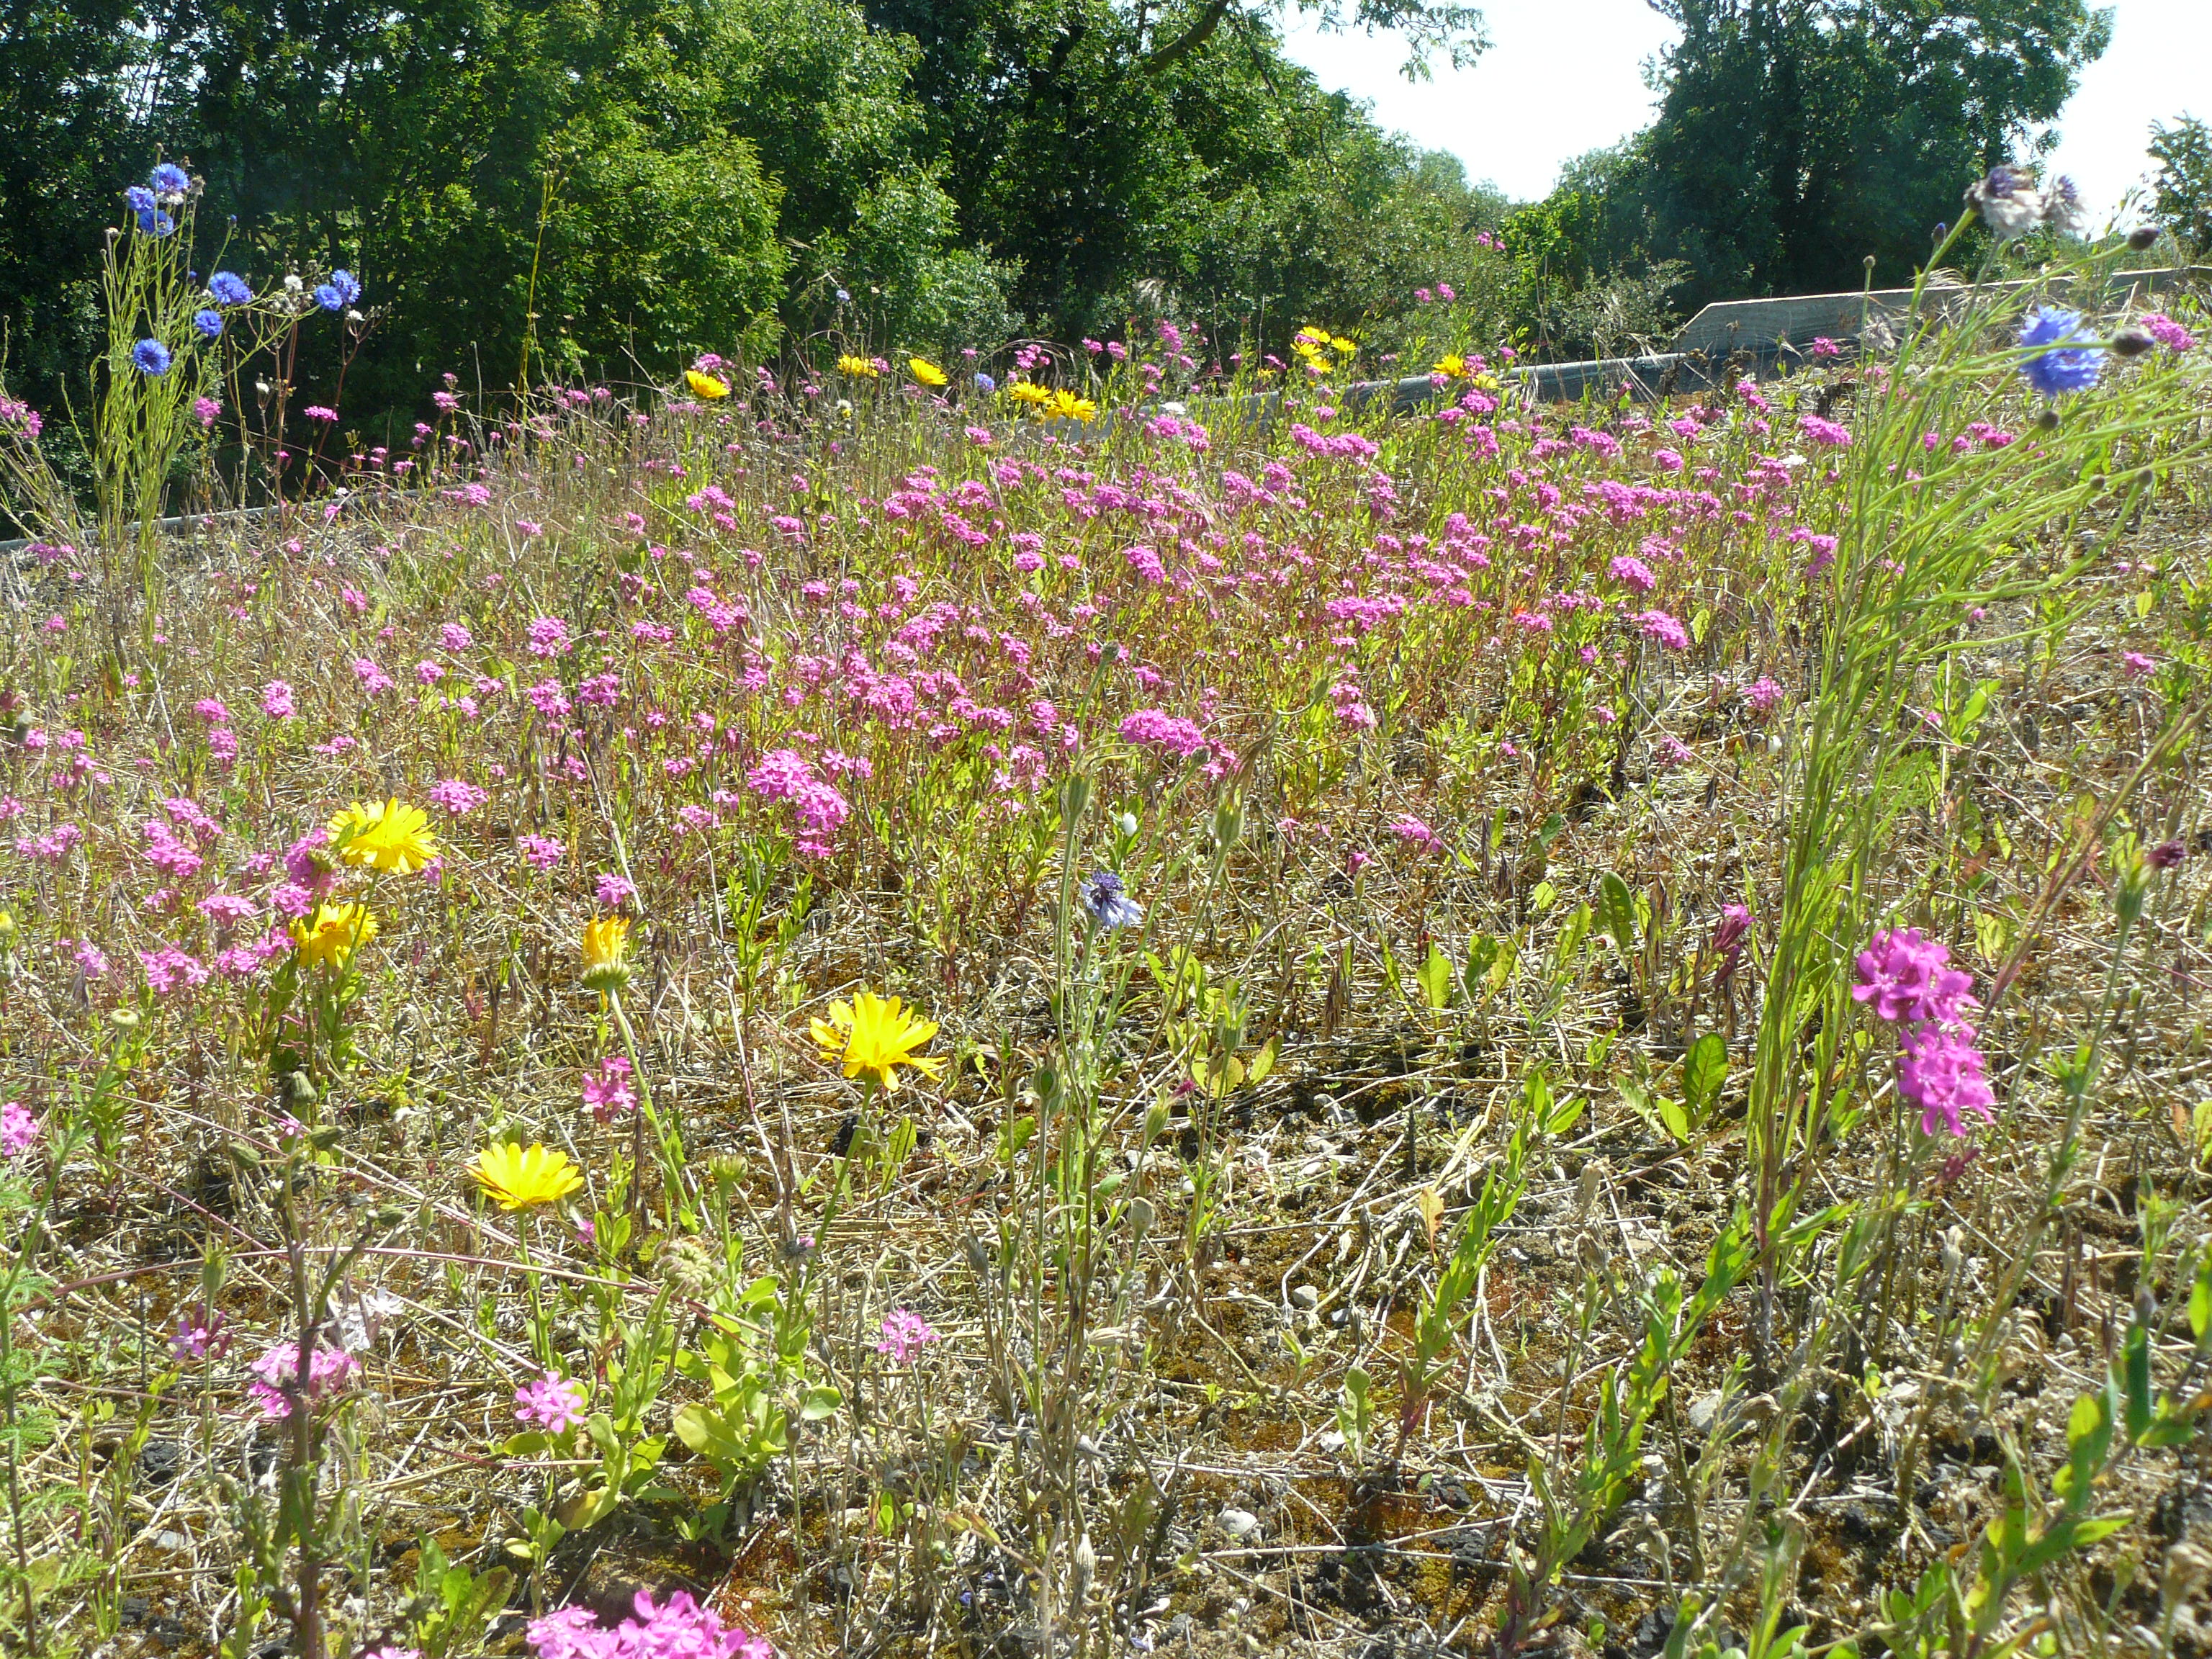
Living roof in bloom

P1120633
The wildflower roof on our workshop in Summer


Building the Roof (II)

Summer 2018 was a record-breaking season with the warmest and sunniest weather in over 40 years. Such exceptional weather was ideal for building a 200 sq m roof as we were working under the sky for the entire summer. The overhang (500 mm) adds a lot of extra area to the roof – the overhang being necessary to protect the walls from driving rain. We had already covered a lot of the roof with cladding and now needed to build the roof deck to support the insulation and the living roof.

Part 1: Roof deck

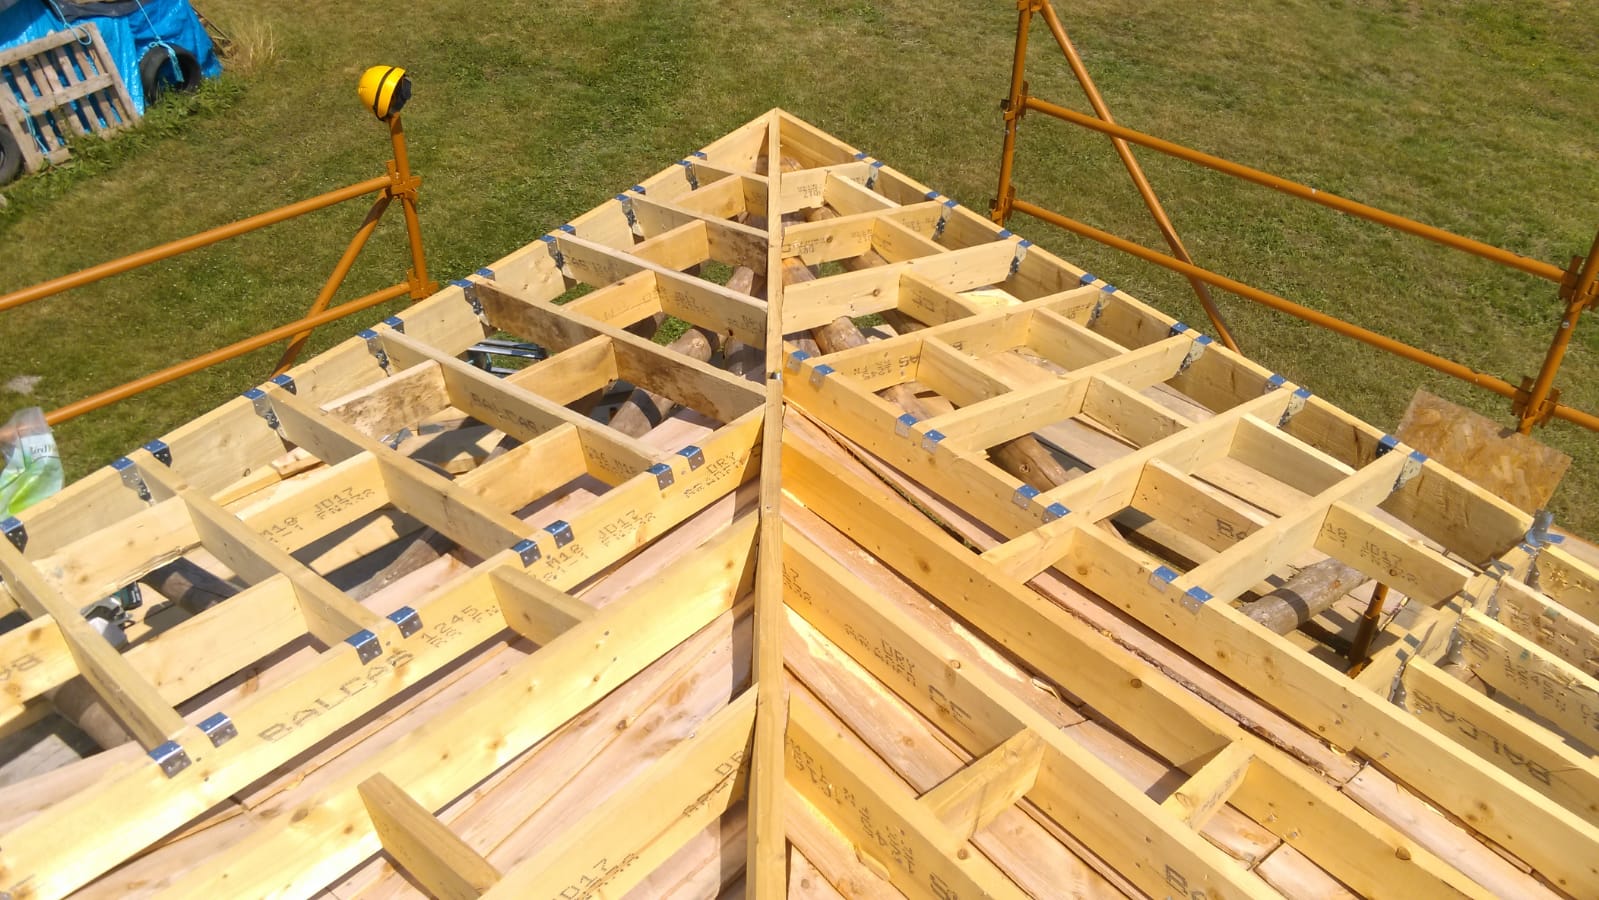
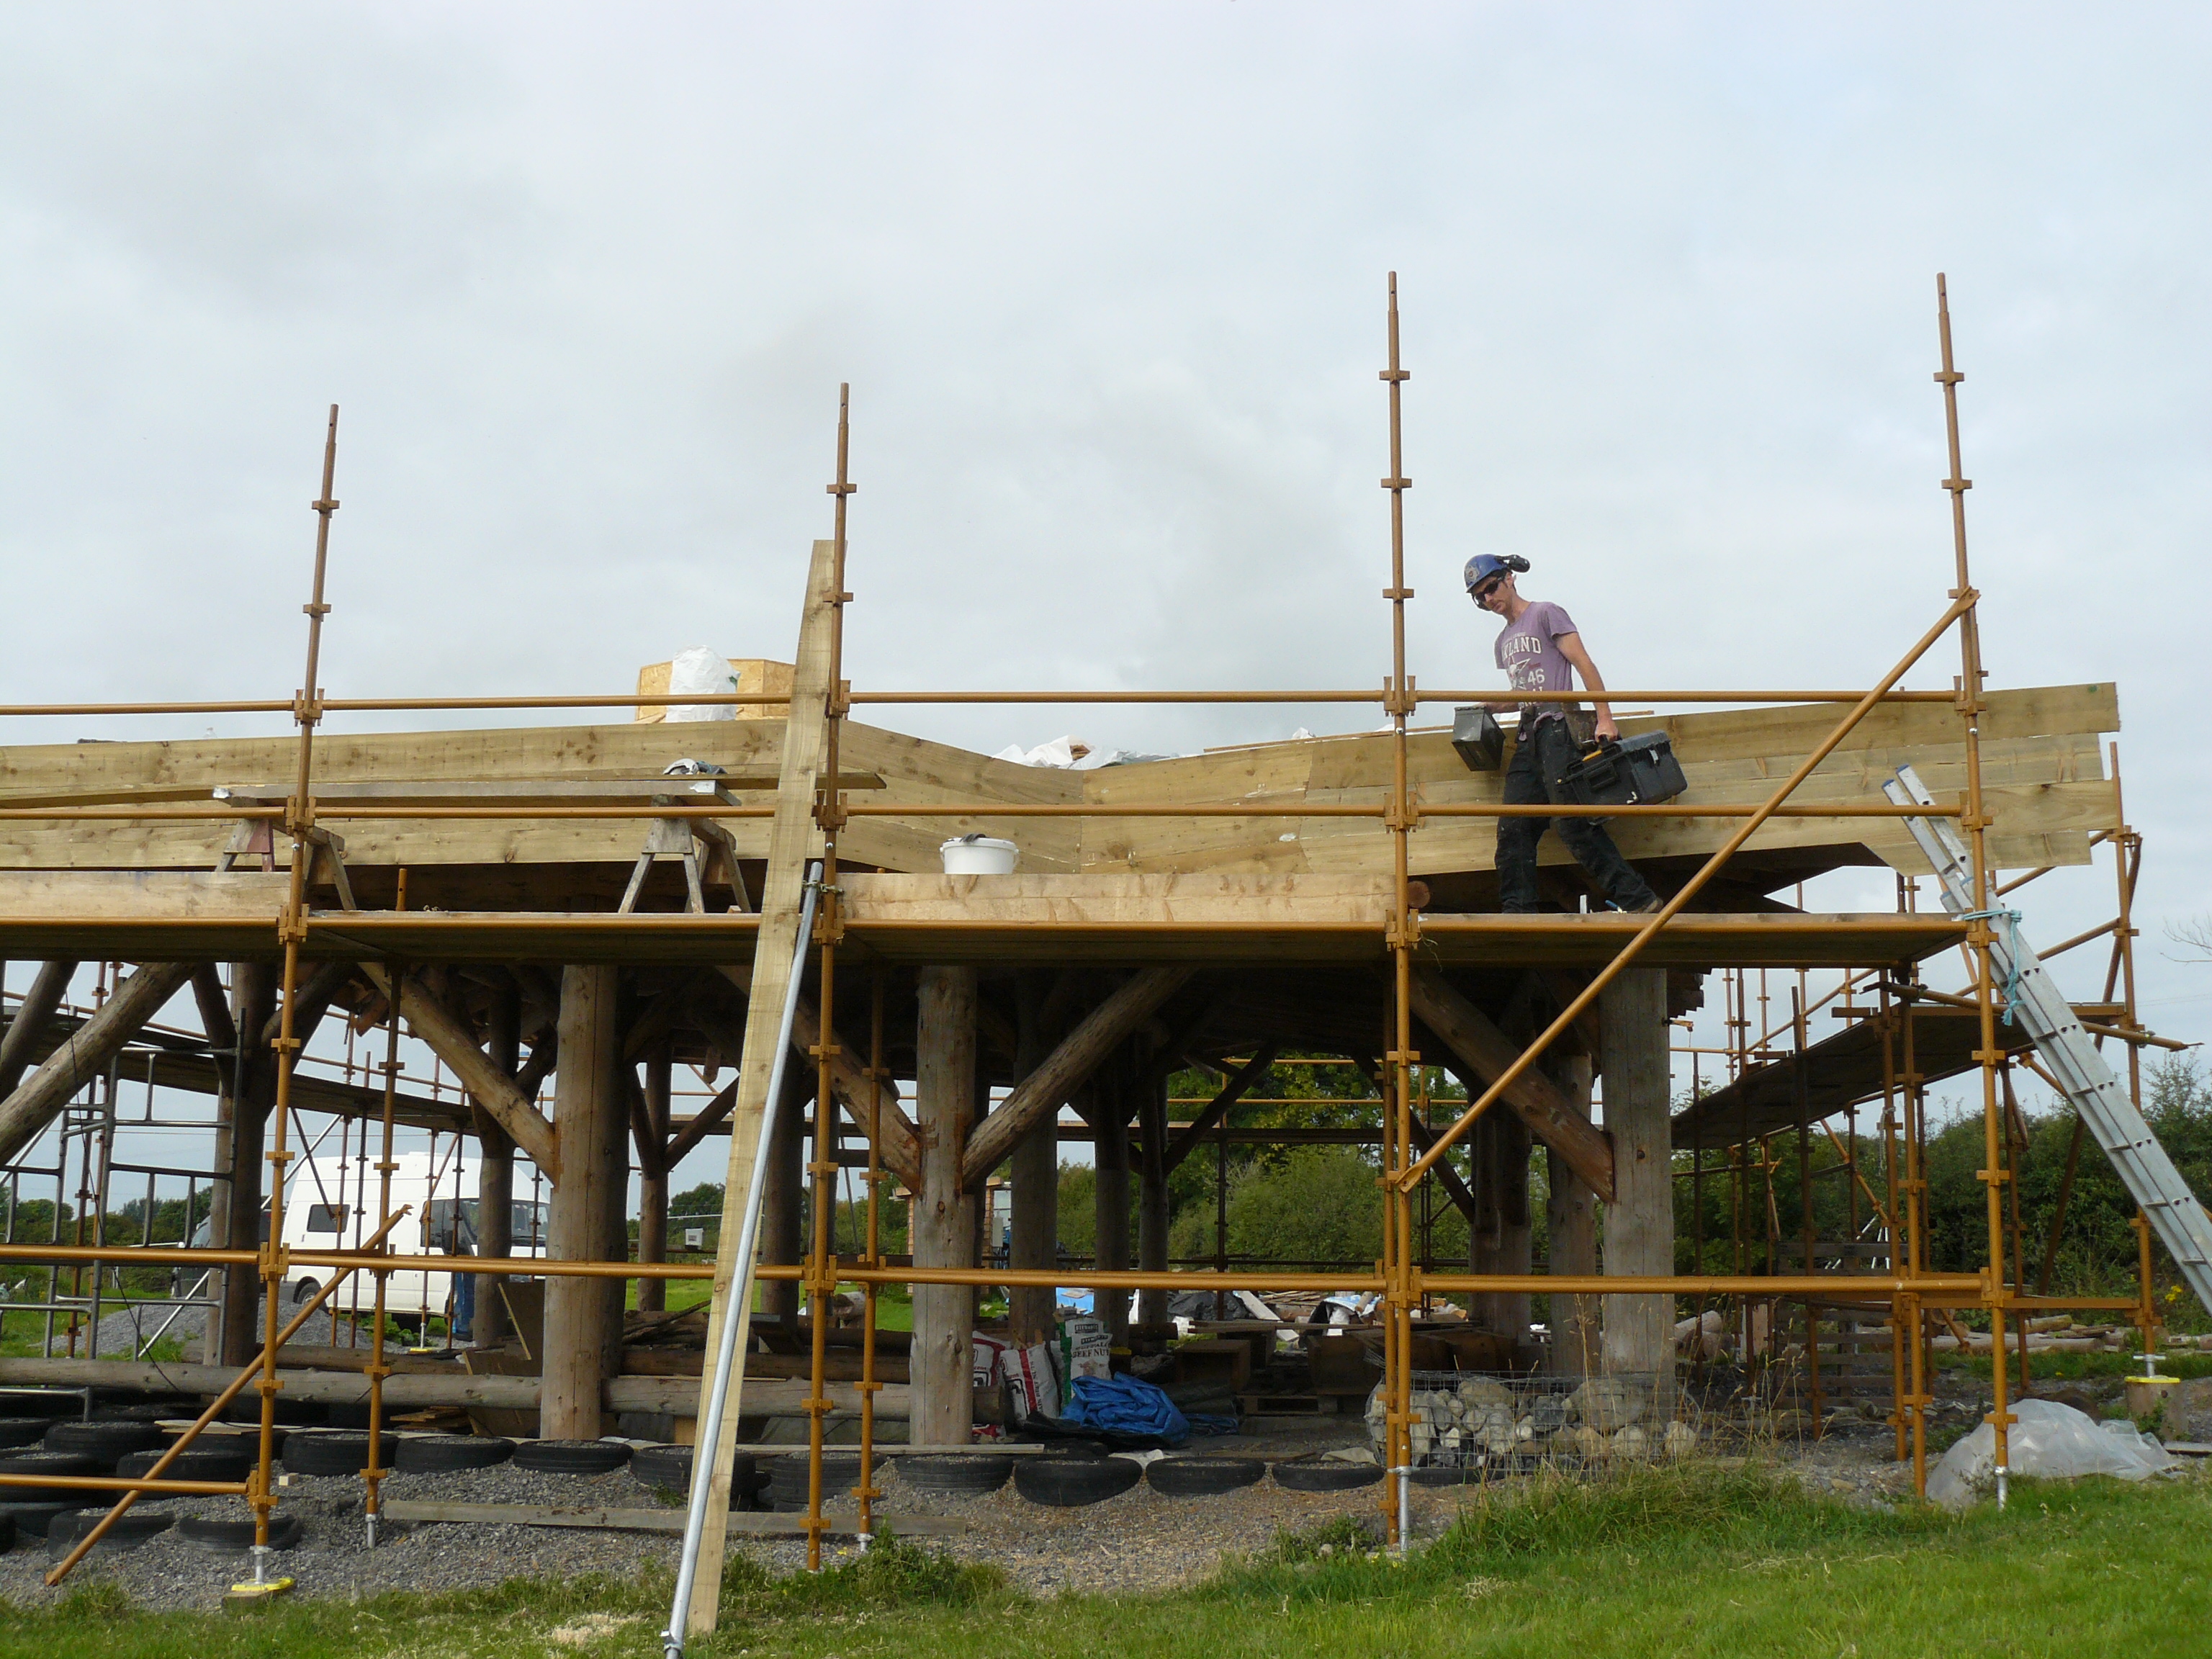
The roof deck involved fixing square timber to round timber, which added a level of complexity and difficulty to the task. The first layer of the deck consisted of 150 mm x 50 mm (6″x 2″) timber laid over, and in opposition to, the roundwood rafters at 400 mm centres, where possible (for greater span we used some 220 mm x 50 mm).

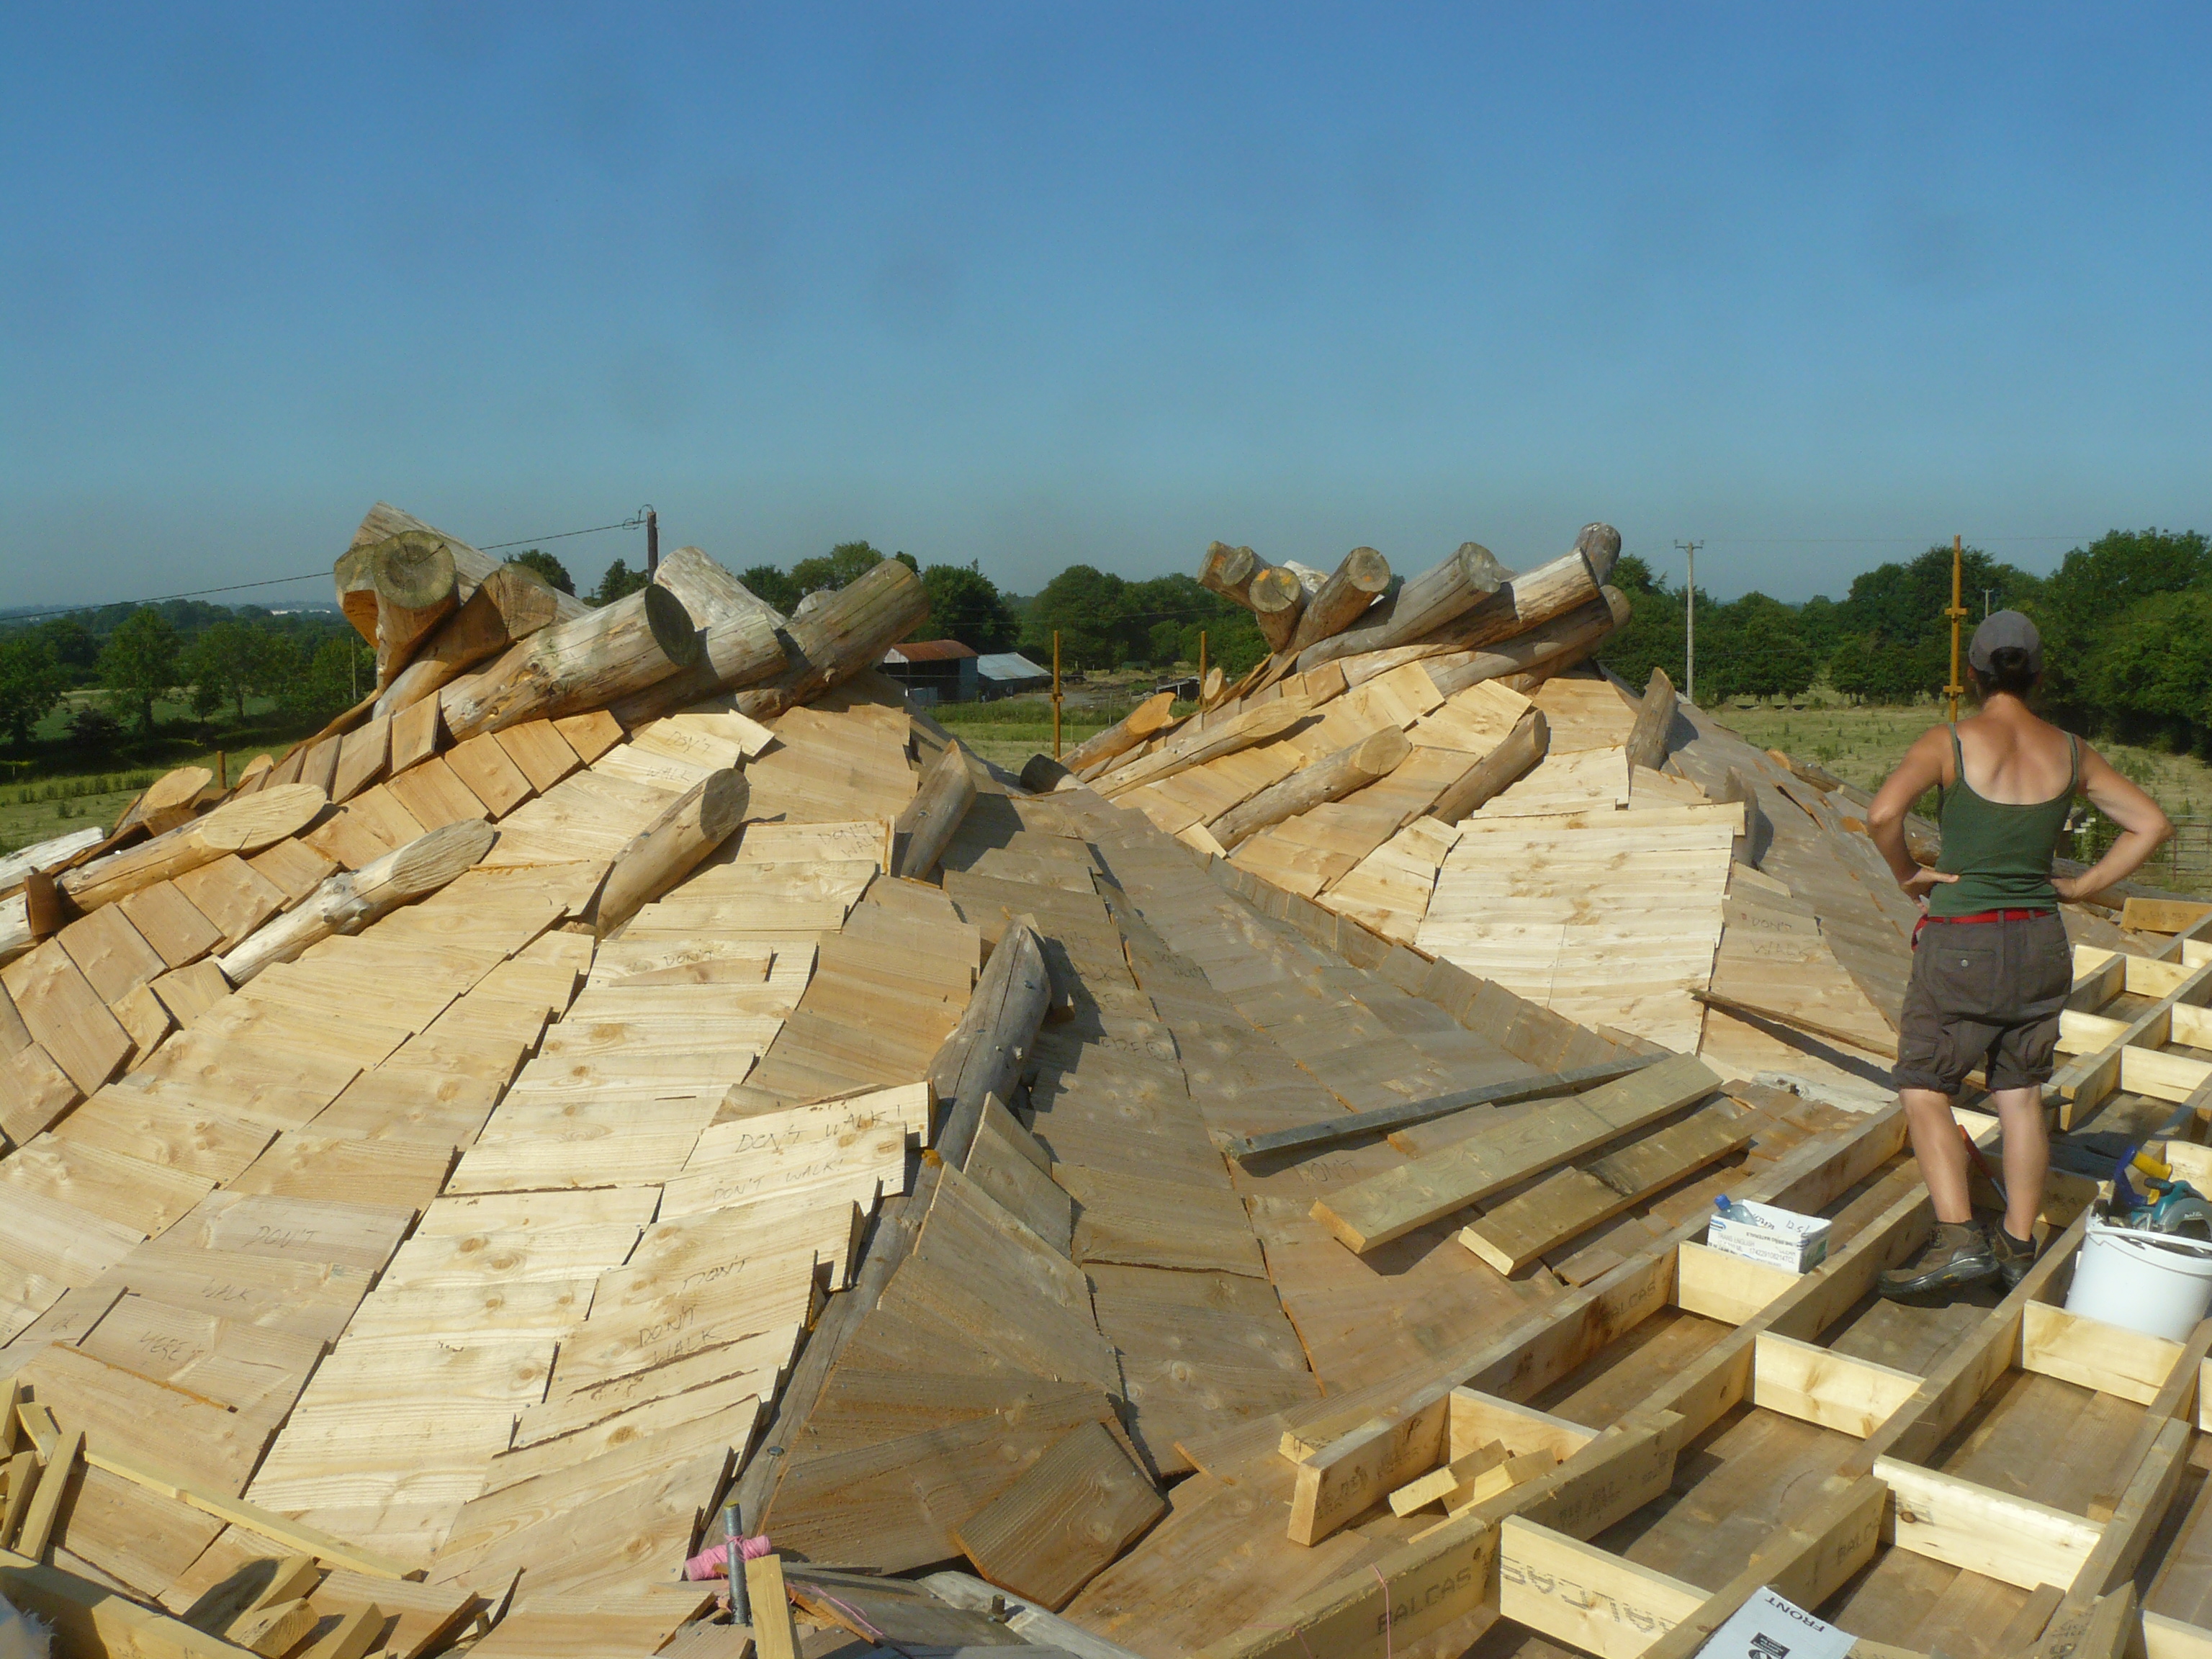
Building the deck on the L-shaped part of the roof (north and east side) was reasonably straightforward as the surfaces were quite even and only slightly sloping. However for the reciprocal roofs, it was a very difficult and time consuming task, as the roof surface is made up of many different planes which needed be connected and covered. The complexity of this task considerably lengthened the time budget for the roof. We once again engaged Osian to help us with the carpentry on the roof and to speed up the process. The roof deck took 16 weeks to complete.

IMG-20180627-WA0001
The north-east corner of the roof

P1120140
Larch cladding on the roof. This is also the internal finish on the ceiling.


Each reciprocal roof required over 100 separate and different pieces of OSB to cover it – like solving a big wooden jigsaw puzzle. Each piece had to be individually measured, cut, offered up, altered, glued and nailed.


P1120272
Detail of completed OSB deck on the south side of the roof.

P1120157
Detail of the 150 mm x 50 mm deck


Timber size and strength dictates the span it can be used for (see span tables). An alternative approach for our roof could have been to use larger timber e.g. 225 mm x 50 mm (9″ x 2″) to enable greater spans to be achieved, and would have used slightly less timber. However, the complexity of covering the reciprocal parts of the roof would remain. Another alternative would have been to make up grillages on the ground to cover this part of the roof and use a crane to lift them into place (a more expensive option).


P1120222
Lots and lots of measuring, cutting, nailing, gluing, offering up…at least it was sunny 🙂

P1120239
View of the east side of the house


Part 2: Fascia

The purpose of the fascia is to cover and protect the roof’s supporting timbers and insulation. Due to the size of our roof rafters and the deck we built, the height of the fascia in places is almost 1,000 mm. It also follows the contours of the roof, so that it is wavy in appearance.

For most of the roof, the fascia consists of 3 lengths of 225 mm x 20 mm fascia board which is biscuit-jointed, glued, and screwed together. It was then nailed on to the roof. The fascia was built in various sections, which were then fitted together onto the roof. This work took place at the beginning of September. The weather was still good for roofing and we were hoping to complete our roof covering before the weather changed.


P1120288
Fascia following the roofs shape

P1120283
Osian helping us out to build the fascia


Part 3: Vapour Barrier

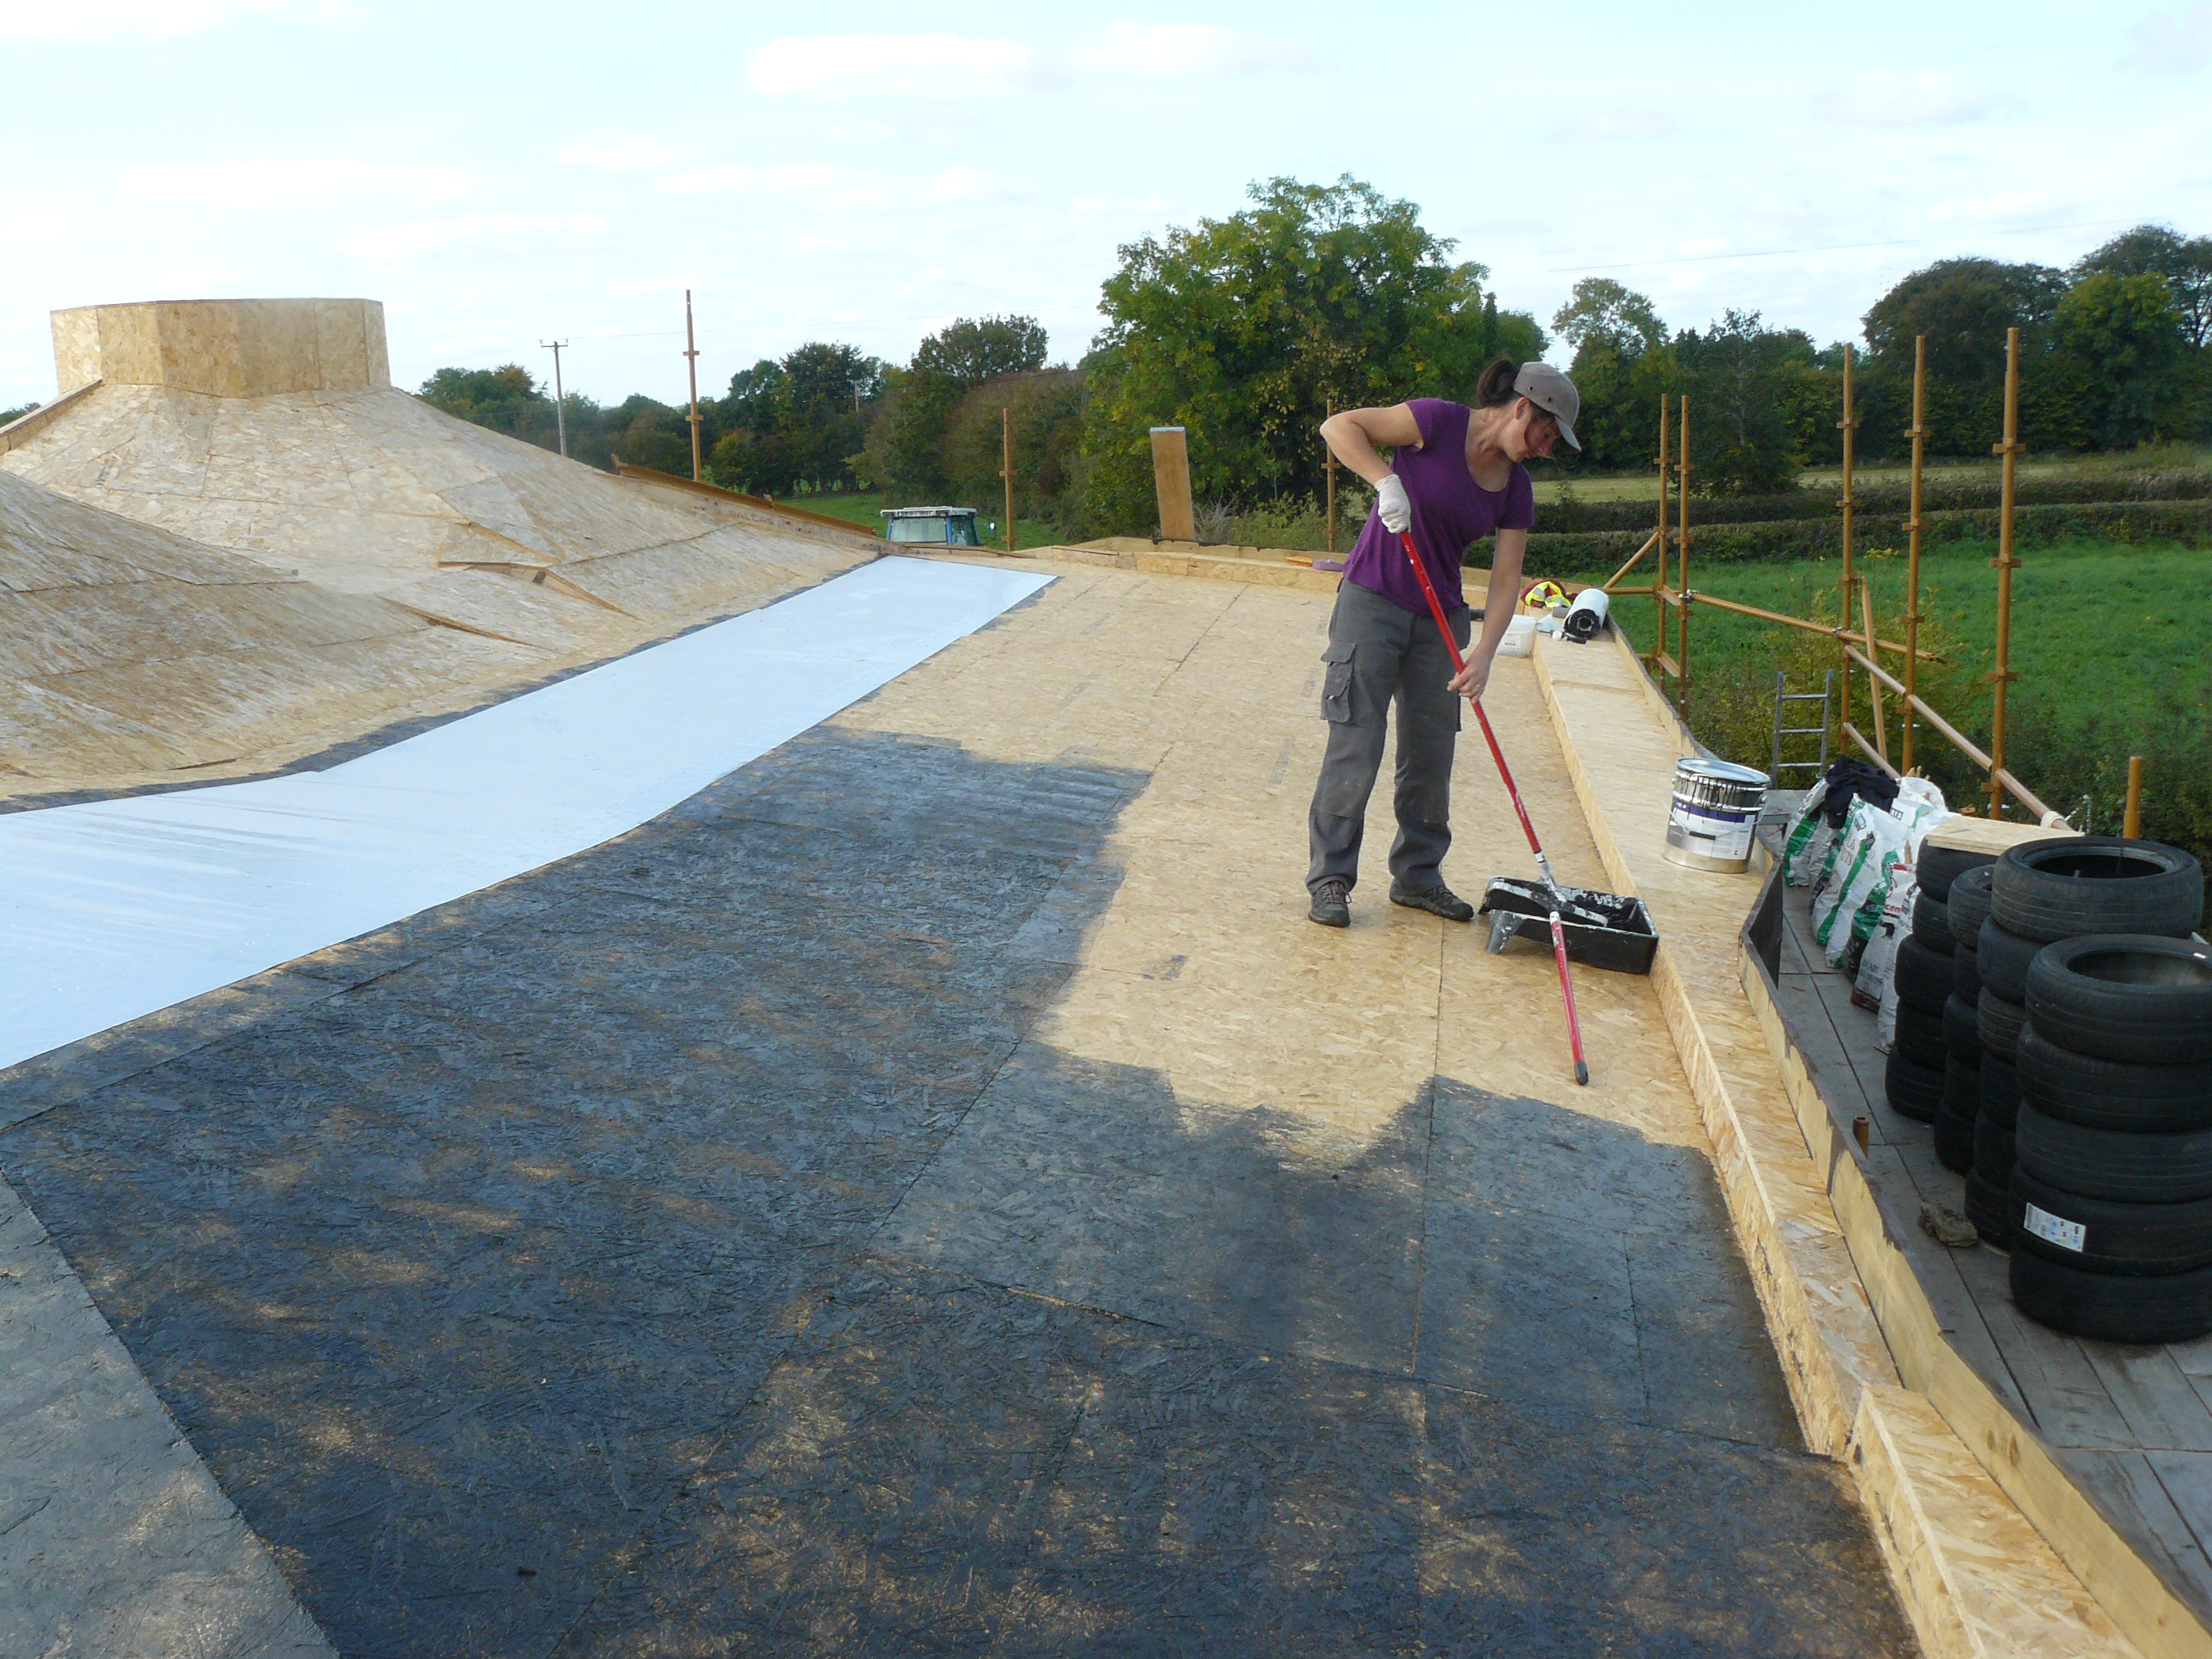
The purpose of the vapour barrier is to prevent the build up of moisture in the roof’s structure when cold and warm air meet. We contacted Laydex who supply systems for green roofs. The Vapour Barrier we used was Alutrix 600, which is a high performance barrier. Applying this was straightforward, a primer was painted on and then the Alutrix was applied (there are excellent videos to help do this).

P1120335
Applying primer

P1120341
Vapour Barrier on roof lean-to


The completed roof…

IMG-20181005-WA0001


Part 4: Roof Lights

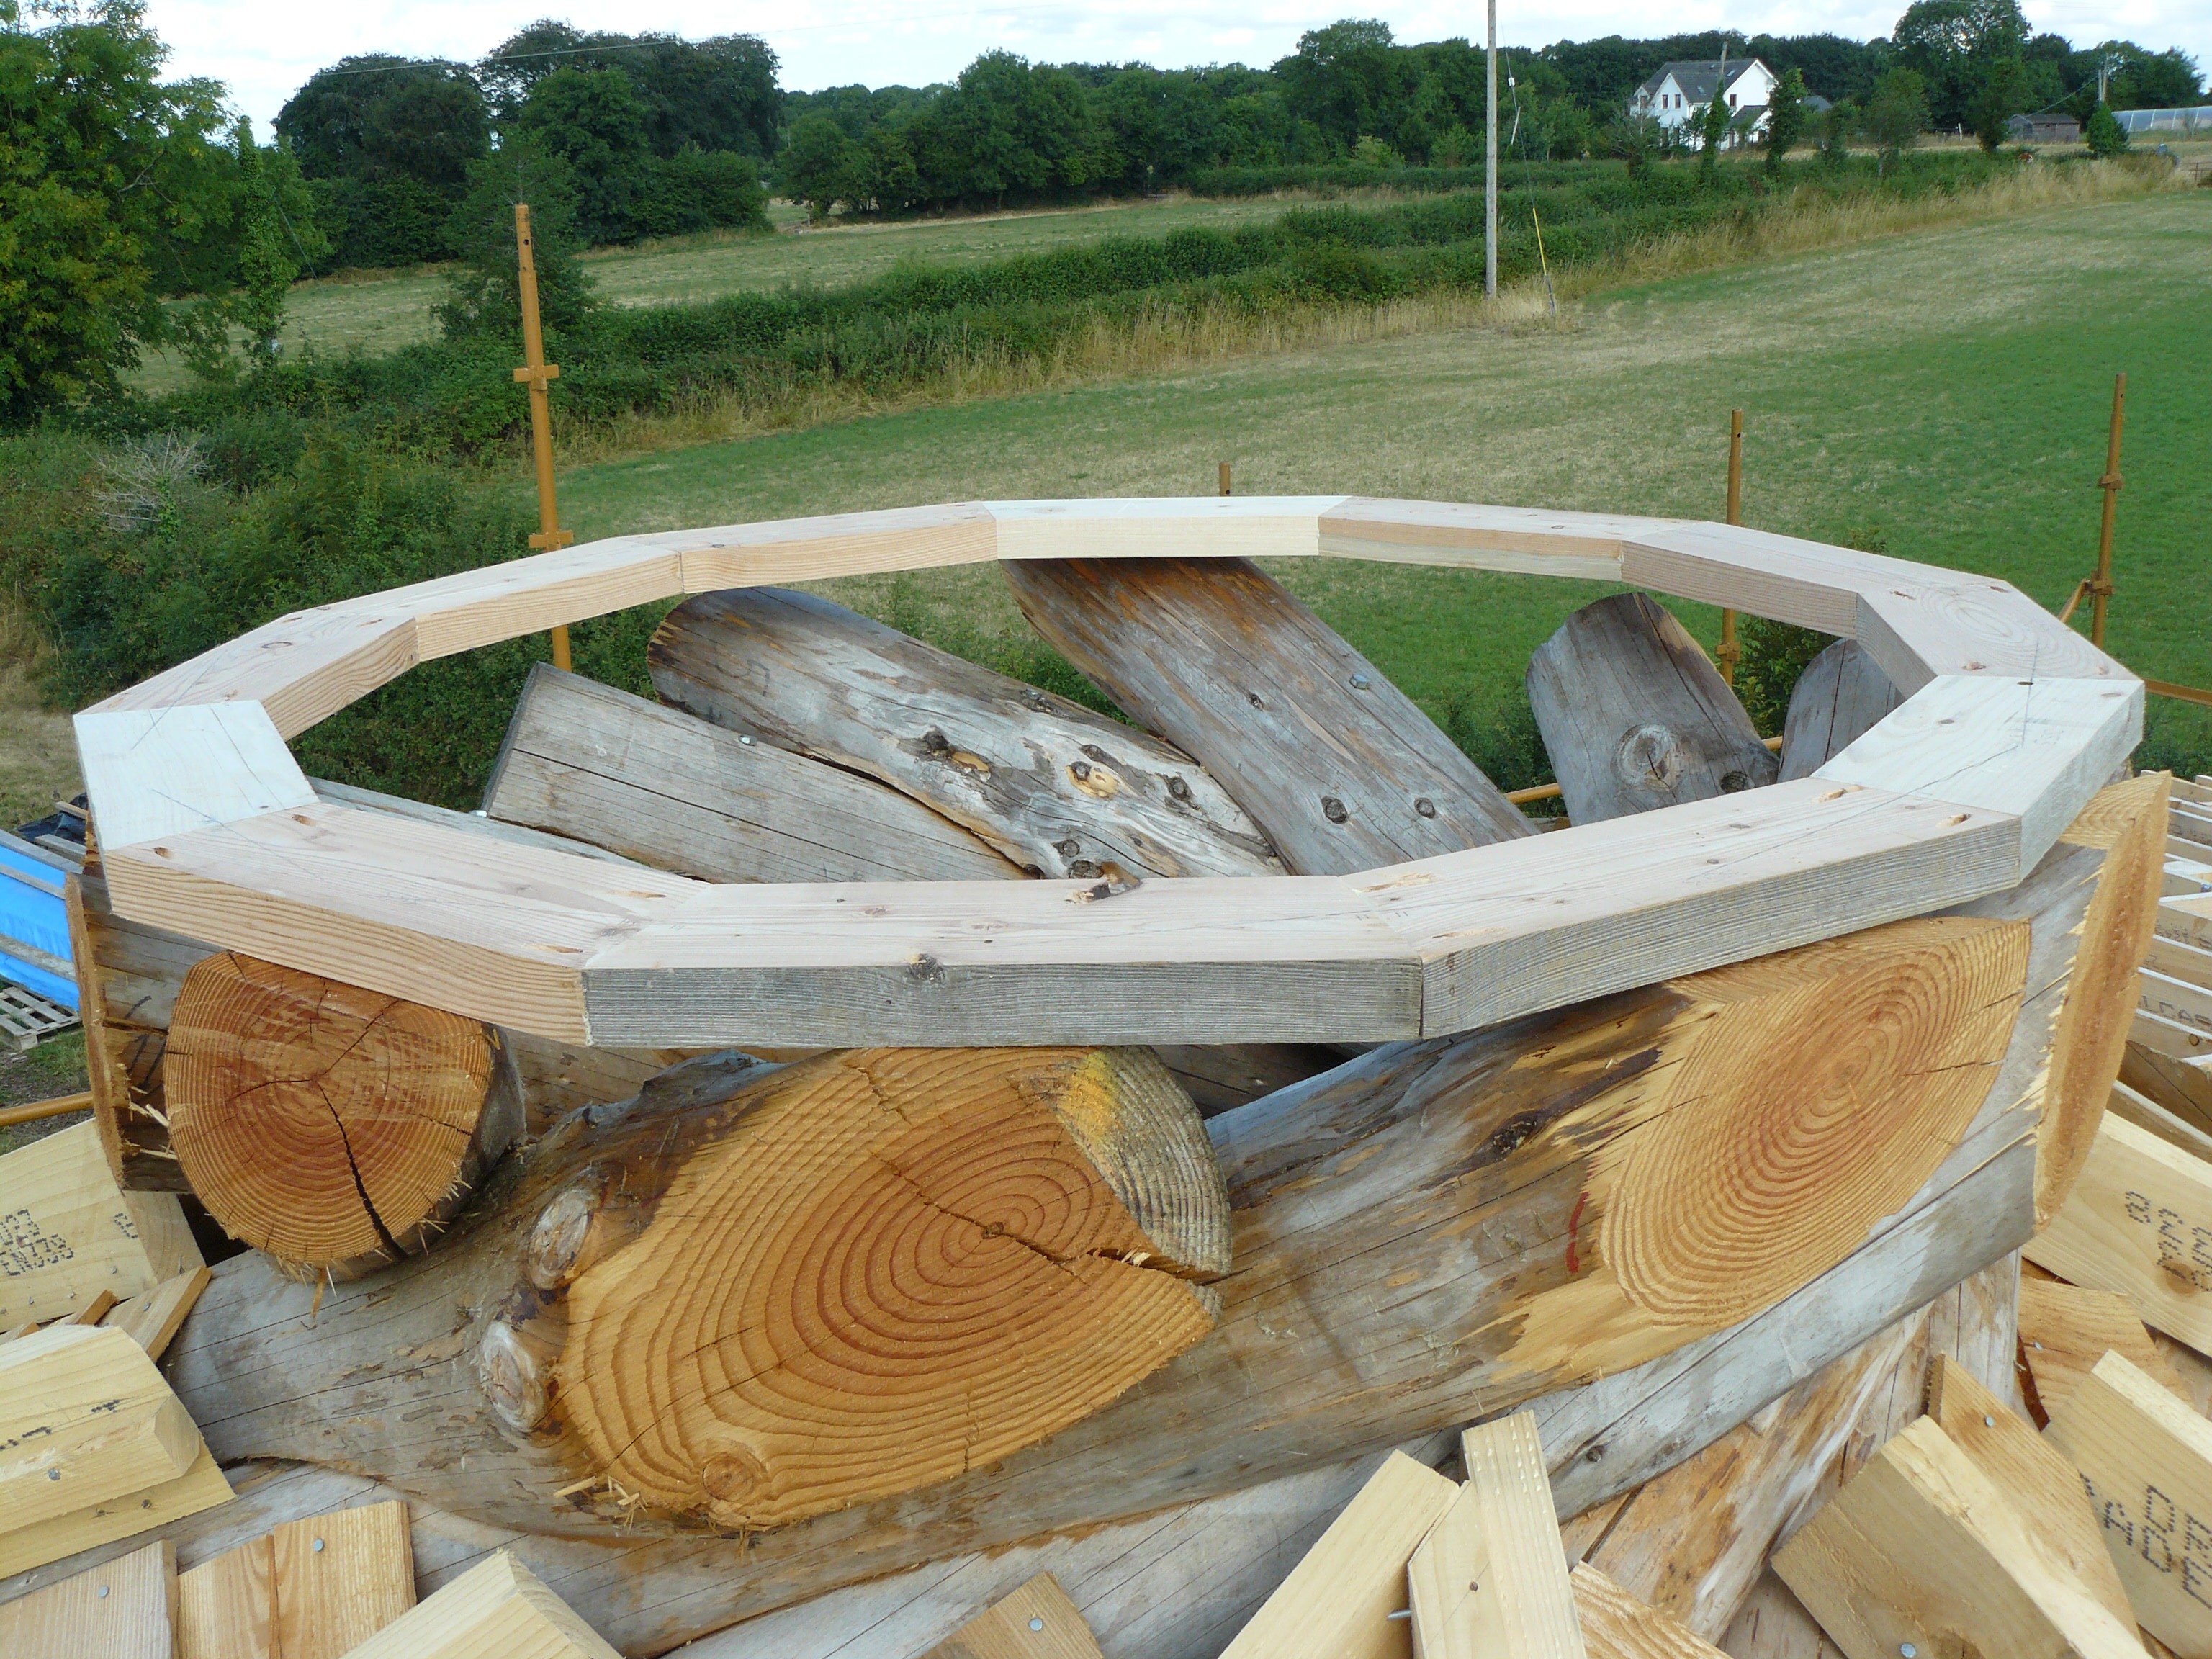
During the building of the deck, Osian made four wooden dodecagons (12-sided shaped) which were affixed to the roof openings, once the rafters were cut back and levelled. We recycled some of the Larch we had kept from our framing bed for this.


P1120173
One of the four larch dodecagons for the roof opening

P1120167
Larch dodecagon in place


We purchased two roof lights online and they were relatively easy to install, although this depended on the weather. As it was now November, we had to wait for a calm, dry day to complete the installation.


P1120416
Roof light installed

P1120415
Roof kerb in place


Unfortunately, time and the weather were against completing the roof in 2018. It still needs to be insulated and covered with the waterproof barrier. We were a bit disappointed because ideally the roof should have been water-proof by the end of the year. It may well be that our time scales were over-ambitious as there is a high level of unforeseen complexity to the work, which, as amateurs, we found difficult to factor in.
Towards the end of 2018, we covered the entire roof with 1000-gauge polythene to protect the vapour barrier. We will be aiming to complete the roof in 2019, with perhaps a more realisable timescale.

Building the Roof (I)

Building in Winter was a real test of stamina and strength. Building in late Spring and early Summer has been, in contrast, joyful. The site has been transformed by the rush of new growth. Birds building nests or searching for food, the cows basking in the glorious May sunshine with bellies full of grass. New wildflowers appear on a weekly basis, adding additional colours to the landscape. The season has also seen a prolonged period of fine, sunny, warm weather, a welcome break from the epic Winter we’ve endured, and ideal weather for roofing.

Following on from our roof-raising, we have been working on completing the rest of the roof structure. It consists of several main layers: 1) principle and common rafters; 2) waney-edged cladding/sarking boards; 3) decking, made from 6″ x 2″s and OSB; 4) insulation; 5) waterproof layer; and, lastly; soil.

The first layer was completed towards the end of April. This involved ensuring that everything was fixed properly and soundly, as the roof structure needs to be able to support its load. It has to be fixed so that any shear forces are directed downwards, or contained. The majority of the fixings were M20 high-tensile threaded bar and M20/M15 galvanised coach screws (300mm).

P1120019 (1)
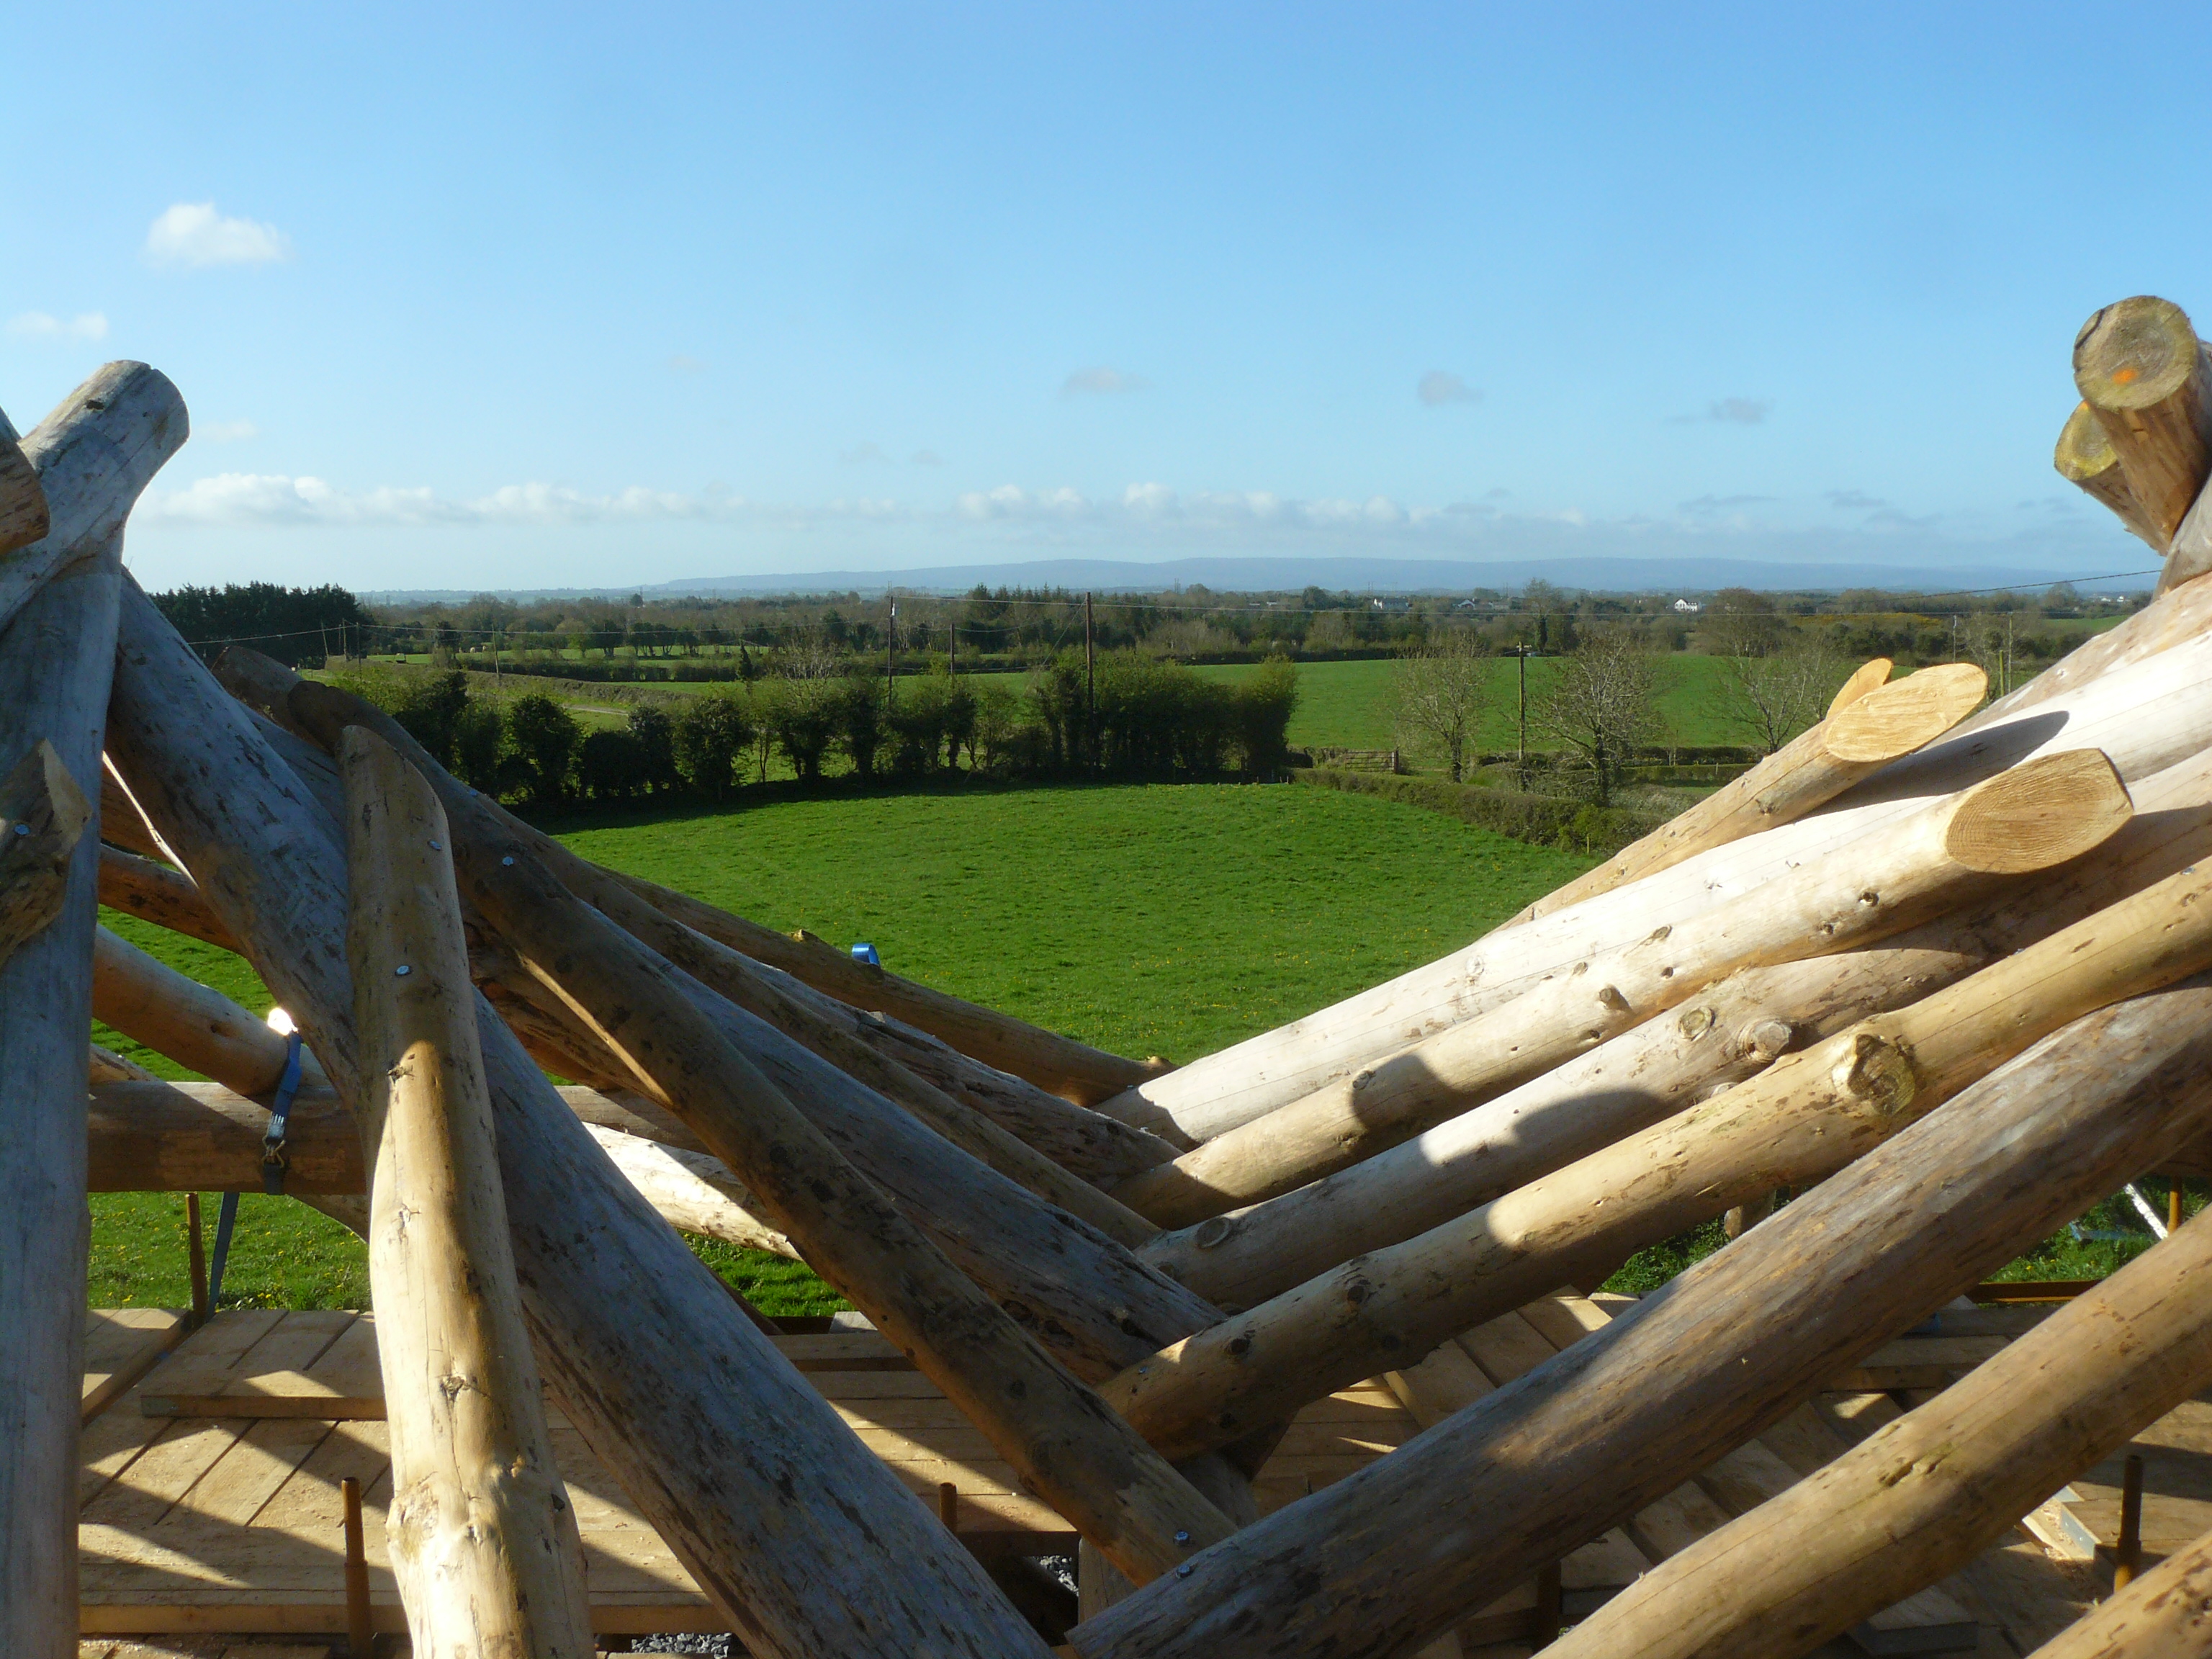
The roof valley with the Slieve Bloom Mountains in the distance (May 2018)

P1110983
Fixing the secondary rafters onto the hip rafter (April 2018)


When we completed this layer, we said goodbye to Osian, our carpenter and friend, who helped us to realise our dream.DSC_0115

He has been superb in the quality of his work and also in his dedication to completing the structure through one of the longest and coldest winters in recent memory.


We began our second layer, which was to cover the entire roof with waney-edged cladding/sarking boards, in late April. We started on the easier part – the lean-to – rather than the reciprocal parts. We purchased a cordless drill and a circular saw to speed up the process. Holes needed to be pre-bored for the nails, as the timber is quite green and is likely to shrink over time, possibly resulting in splitting. The circular saw was essential as there are several thousand cuts to be made during the construction of this layer!

Luckily, the weather has really picked up and we have rarely been interrupted by adverse conditions. Ideal conditions for roofing.


P1120082 (1)
Cladding completed May 2018

P1120074
Ideal weather for roofing May 2018


Cladding the reciprocal roofs was quite challenging, as all boards have to be placed in a certain way so that from the inside, it should be appealing to the eye. Each board has to be individually measured and cut, drilled and nailed. Each reciprocal roof needed about 700 boards. A further issue with cladding the reciprocal roofs is that, because we have round wood rafters, it is not always possible for each rafter to be on the same plane so that some corners of the boards will stick up. However, this may only be a problem on the top of the roof; from the inside it will look fine.

WhatsApp Image 2018-06-11 at 16.26.29
Reciprocal roof – view from inside

Our next phase will be to complete the additional layers of the roof and the circular openings. When this is completed, we will have a waterproof roof and we can begin building our straw-bale walls.

Our timeline to achieve all of this is quite challenging as, ideally, we would like to complete our walls by early to mid-September – they need to be plastered before the Autumnal frosts begin.

Raising the Roof

We are now one year into the build. We’ve reached a significant milestone in that we  have now finished the bulk of the work on the main roundwood structure. This has taken the best part of six months. We are delighted with the outcome and are very thankful to Osian, our carpenter, for his skills and attention to detail, and to David and Chris for their engineering advice and opinions. We have a beautiful, unique and incredibly strong structure for our house.

P1110915
…to this! (Feb ’18)

P1100508
From this (Feb ’17) ….


Our work on the large roundwood poles has involved a huge effort. We’ve been working outdoors throughout the winter and have a new-found respect for builders, farmers and other workers who have to brave the elements in their daily endeavours! Working in sub-zero temperatures is tough and can be physically draining. Stamina, as well as creativity is a vital quality for a self builder, you just have to keep at it until you are satisfied (see video of the frame being erected here)


P1110793
Using chain-blocks to position each brace into place

P1110804
Misty, damp, cold morning


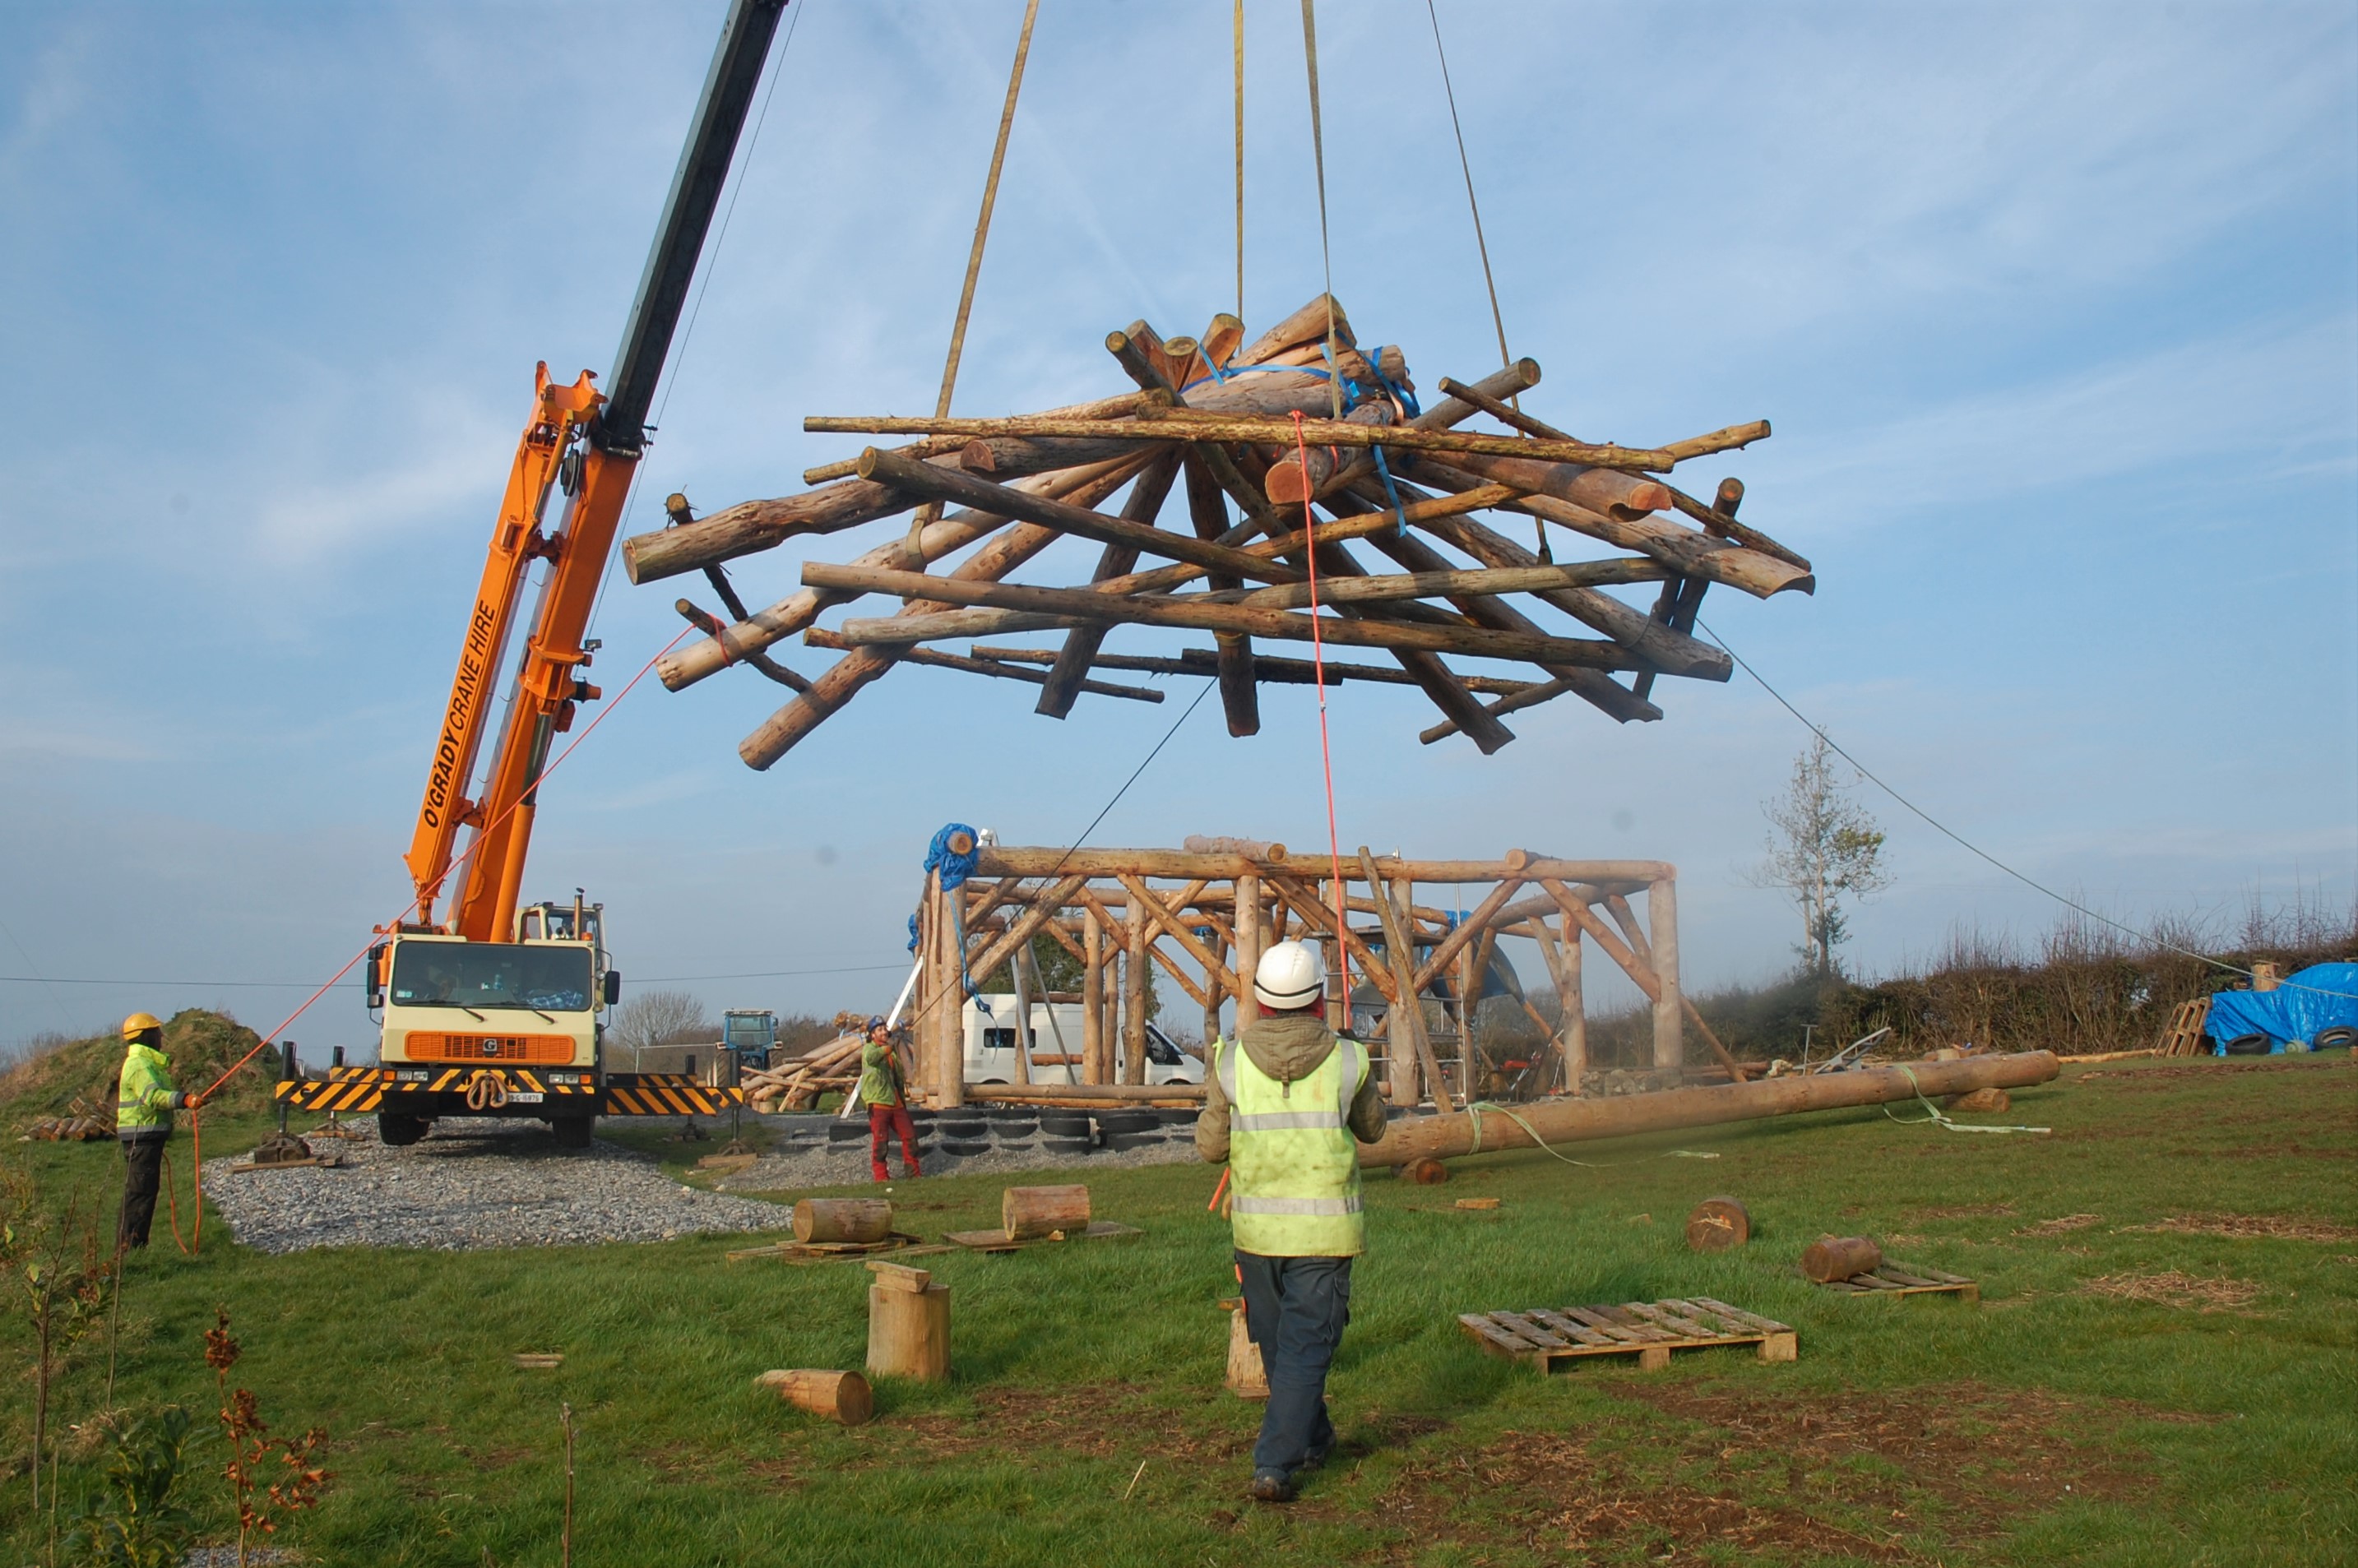
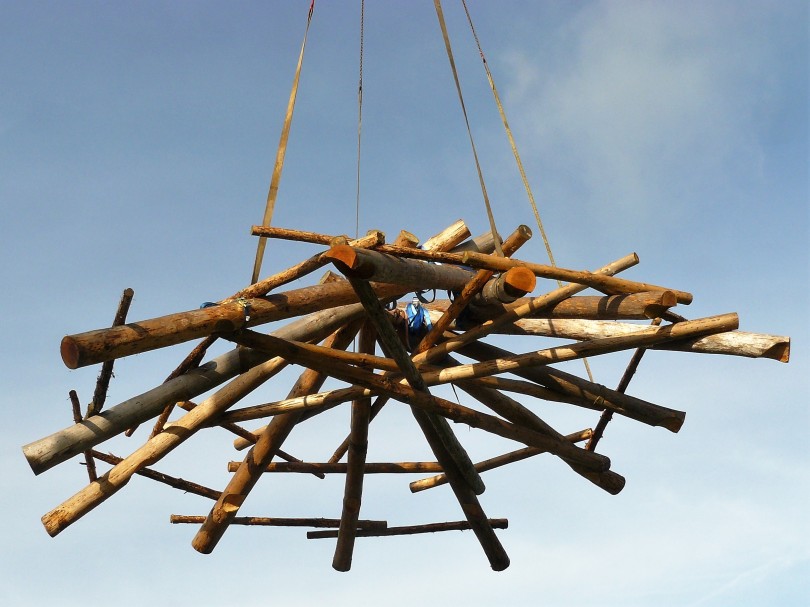
Raising the roof involved placing the two reciprocal roofs we built last year onto their resting place along the wall plate (beams). Great skill was needed, not only in building the reciprocal roofs, but also in constructing the posts and beams to accommodate them accurately. Ill-fitting beams and rafters would  compromise the strength of the structure. Osian’s attention to detail, and his carpentry skills, meant that we were very confident that everything would be fine. Ultimately each roof fit snugly and correctly into place.  It’s important in this type of construction to avoid tension in the joints and connections, as too much tension would eventually cause problems.


P1110825 (1)
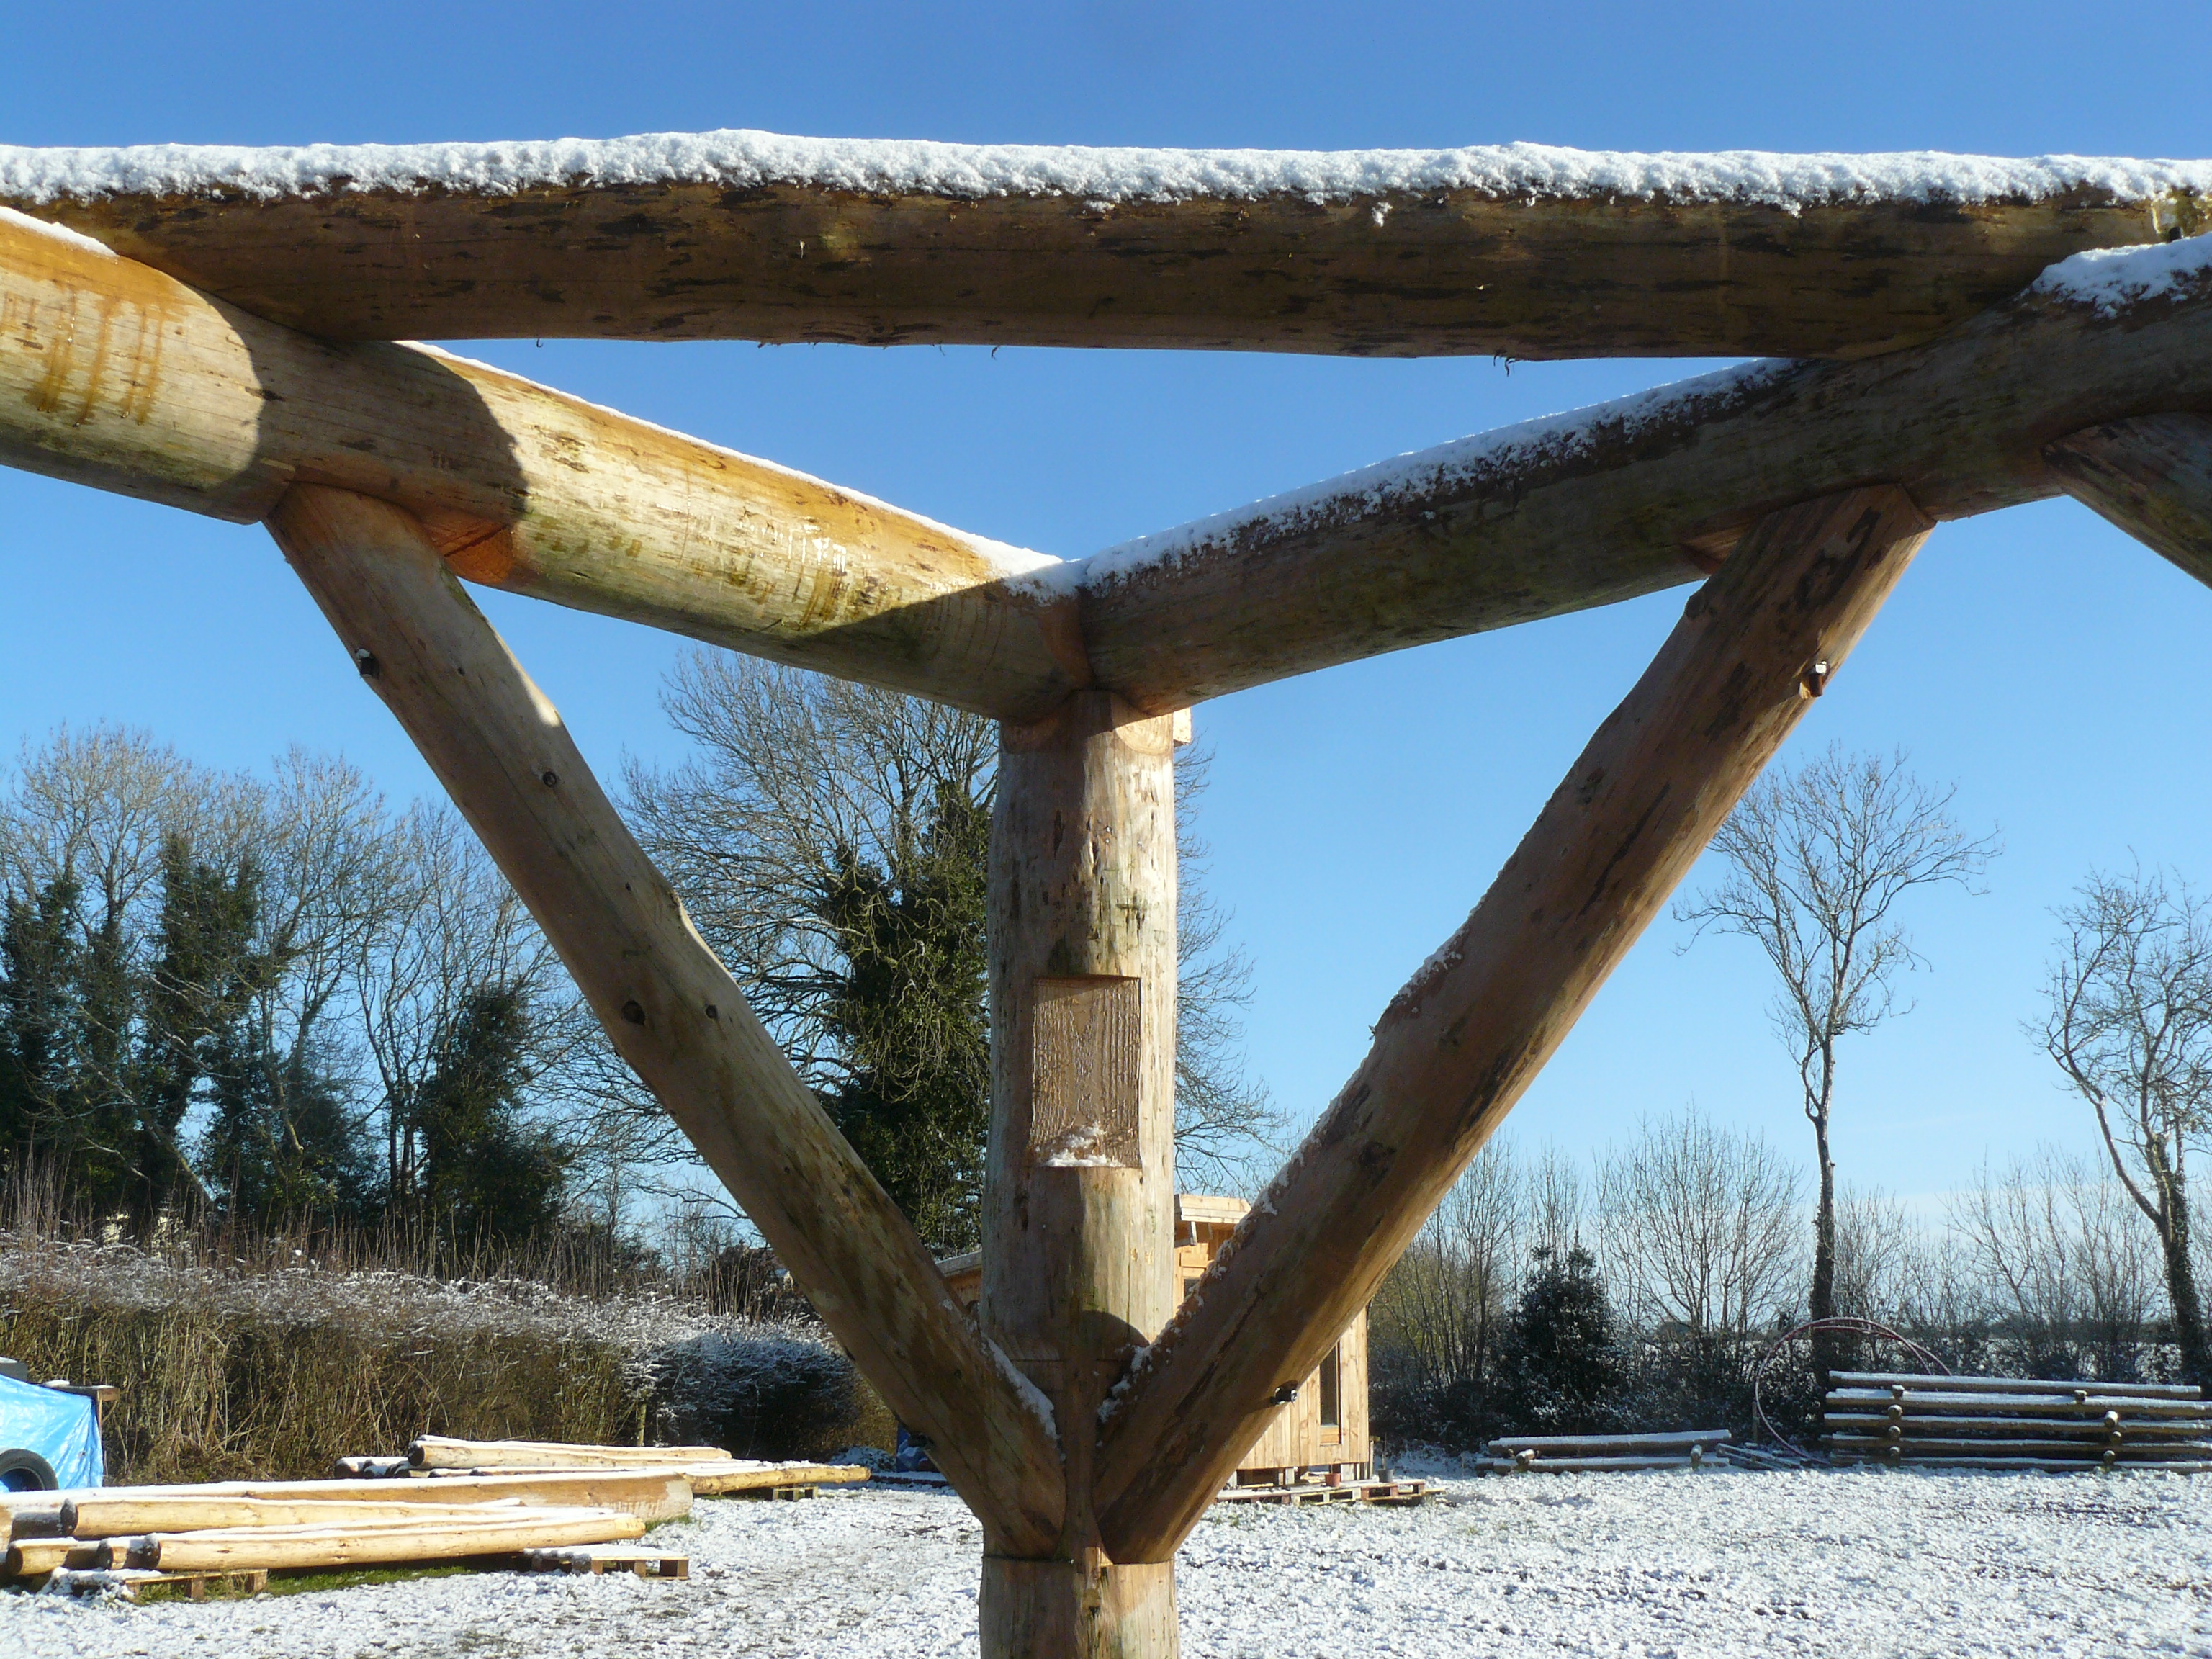
Timber Engineering: Three beams meet at this junction. They are connected with M20 threaded bars and the trough is then filled with Rotafix TG6 Grout.

P1110869
Detail of one of the corner posts with beams and braces.


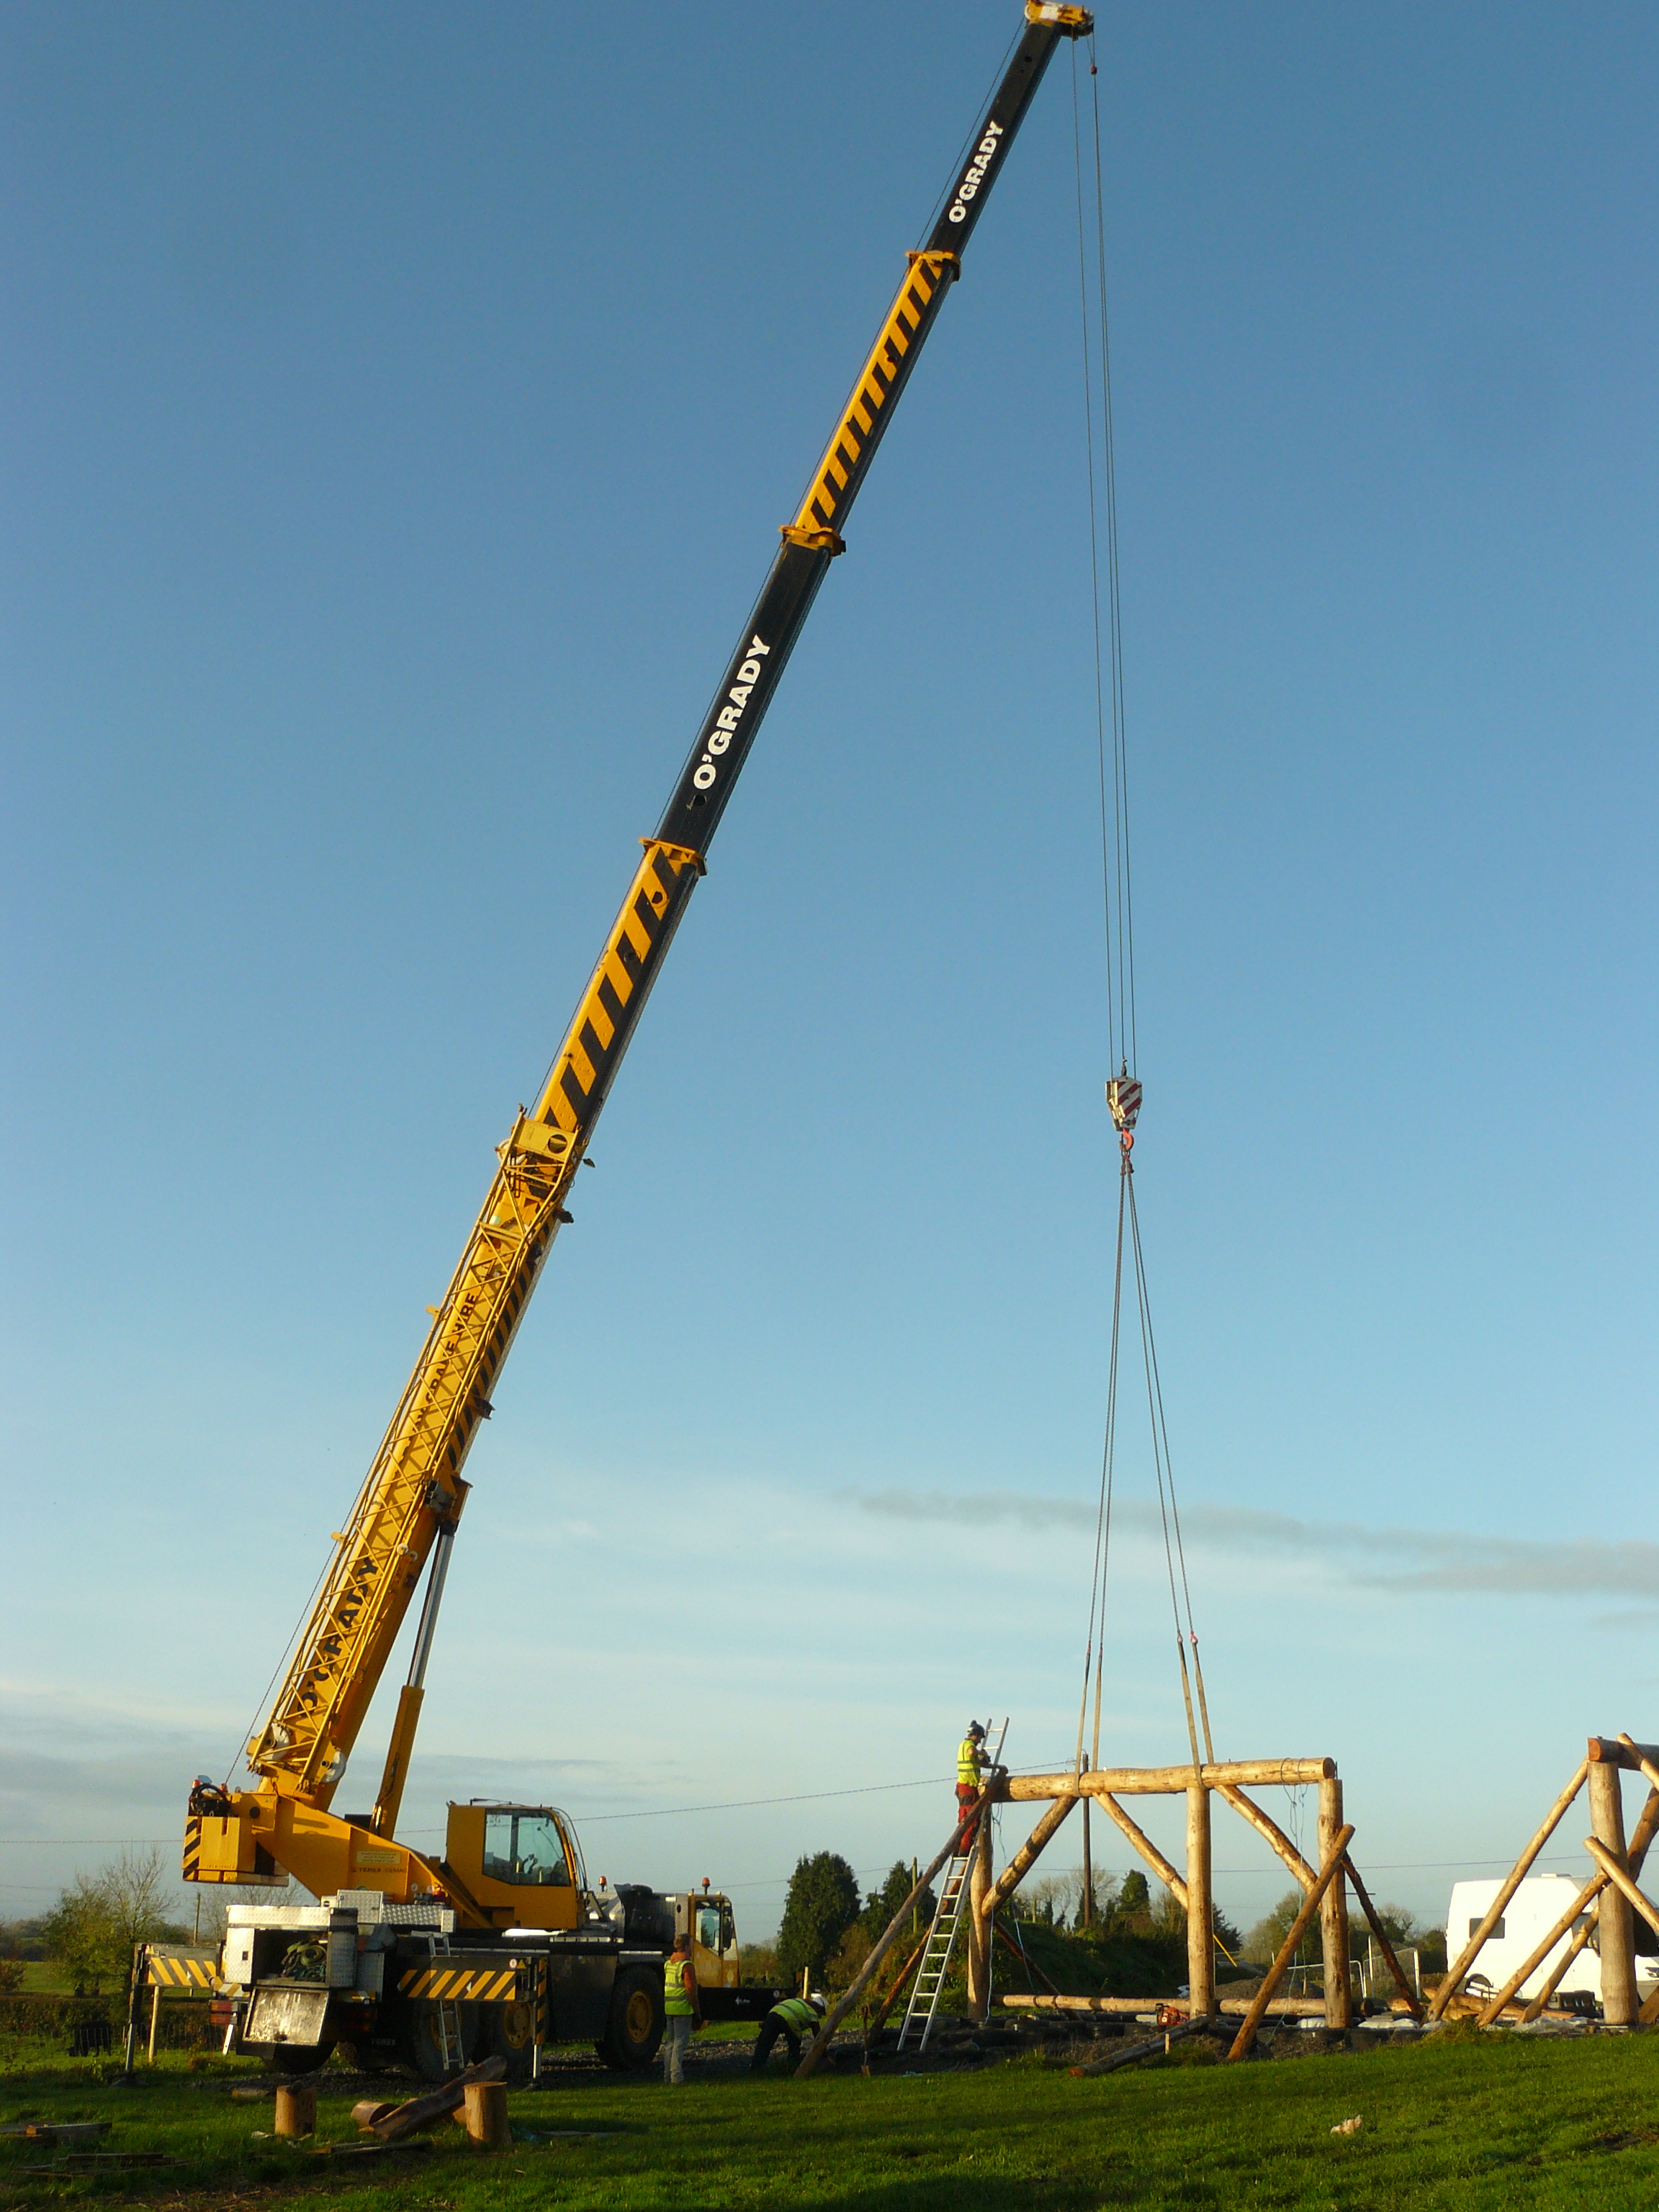
We contacted O’Grady Crane Hire to assist us with this lift, as each roof weighs about 2 tonnes and mechanical lifting was the only way to do this safely. We also needed to lift into place our largest rafter (600 kgs) which rests on the north-east corner of the lean-to and supports the joining of the north and east roofs. Some of our friends and family attended our Crane Day, and it was great to share this exciting day with all of them. The topping-out ceremony was completed by fixing some sprigs of Douglas Fir and Larch to the roof and adding some Holly (to symbolise longevity), completed by sprinkling some whiskey and a song in Welsh by Osian!


DSC_0135
…lands perfectly in place

DSC_0122
Reciprocal Roof lift, and it…


P1110915
The completed structure


Luckily, we were able to complete the work with the crane on that day because by the following week Storm Emma had caused the countryside to grind to a halt for several days.

Our next stage is to complete some of the remaining work on the frame, organise our scaffolding and begin work on adding the various layers to the roof. With straw bale building in a temperate climate, it’s vital to have a covering before you begin building the walls so as to protect the straw bales from absorbing excess moisture.


Assembling the Frame

Over the last month, we have begun to assemble the frame, which will support our roof. This process involves three distinct phases, 1) Initial working on roundwood, 2) Laying-up – checking the individual members (posts, braces, beams) fit together. This takes place on the ground, ideally on a level surface, and, 3) Erection of the frame – this usually involves erecting individual bents (post and beams joined together and braced) and joining them to each other with connecting beams or rafters. These processes take time and need  great skill and accuracy to achieve a strong structure. We have completed most of the first and second phases, although each phase will run until the end of the entire process.

Assembling the frame brings with it a great sense of achievement and, having spent the last four months working on the ground, it allows the structure to express its three-dimensional shape. It also allows us to begin to understand how our home will relate to its site and its environment.


P1110584
Erecting sections of the frame using a tripod and scaffolding

We were able to erect parts of the frame with our tripod and winch system (see video). However, for the large reciprocal roofs and beams, we decided that hiring a crane would be the most efficient and cost effective method of erecting the frame. Mechanical handling of the wood means is unavoidable given its size and the demands of safety.

Another important factor was the time it would take to dismantle and re-assemble the reciprocal roofs at height.


P1110596
A section or bent of the east frame being lifted into place

We contacted O’Gradys, a local crane hire firm to advise us on raising some of the structure. Our plans were interrupted by Hurricane Ophelia and Storm Brian (as cranes are not tolerant of wind speeds over 40-50km/hr) but eventually the weather settled and on a bright sunny morning our crane arrived! (see video)

Erecting the frame was an exciting experience for all involved. Working with a crane enables large heavy structures to be moved quickly and smoothly around the site. It is very satisfying to witness the bents we’ve been working on being lifted and slotted into place producing a really strong structure.


We envisage working with a crane on two subsequent days to fully complete the structure.

P1110570
Charring the bottom of the post to improve its resistance to moisture

P1110560
Pumping Rotafix Structural Adhesive (RSA), a strong resin which bonds the threaded bar to the wood.

P1110637
The east and north sides of the frame

P1110622
Drilling through the brace and the post to accommodate the M20 threaded bar which secures the structure